
Are you facing an issue where one of your hard drives, such as an SSD, is not showing up in File Explorer after upgrading to Windows 11? Have you recently added an SSD to your computer, but Windows 11 cannot detect the new drive? Regardless of the cause, this article will provide you with solutions to resolve the issue of an SSD not showing up in Windows 11.

When you add a new SSD to your computer, it needs to be initialized before it can be used properly. Initializing a newly added SSD allows you to configure its partition structure, allocate storage space, and assign a file system that is compatible with your operating system. This process is necessary to ensure that the SSD is correctly recognized and accessible by your computer's operating system, such as Windows 11. Follow these steps:
Step 1: Right-click on the Win icon and select Disk Management.

Step 2: A dialogue box will pop up for initialization. Click GPT partition type and then click OK to confirm.

Step 3: Right-click on the new SSD and select New Volume Type. Then Follow the onscreen instructions to create a new volume on the disk, during which you can allocate its storage size and assign a drive letter to it.

Step 4: Locate File Explorer and you will find the SSD is displayed on the screen.
Ensure that the SSD is properly connected to your computer. Check the cables, ports, and power supply to make sure everything is securely connected. Try connecting the SSD to a different SATA port or using a different cable to rule out connection issues.
Step 1: Right-click on the Start icon and select Disk Management.
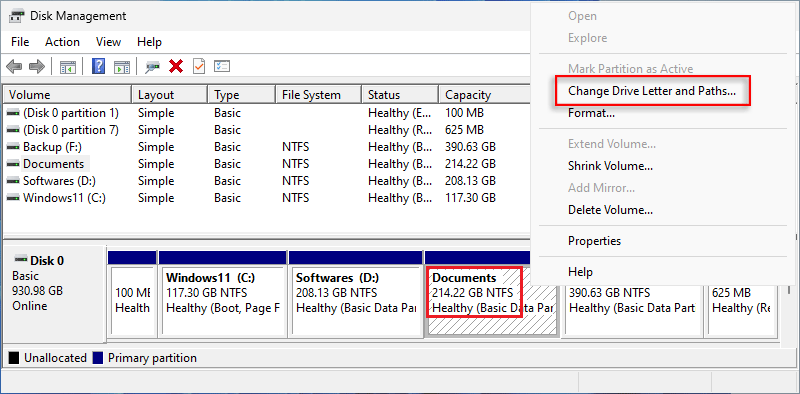
Step 2: From here, right-click on the SSD without a drive letter and select Change Drive Letter and Paths.
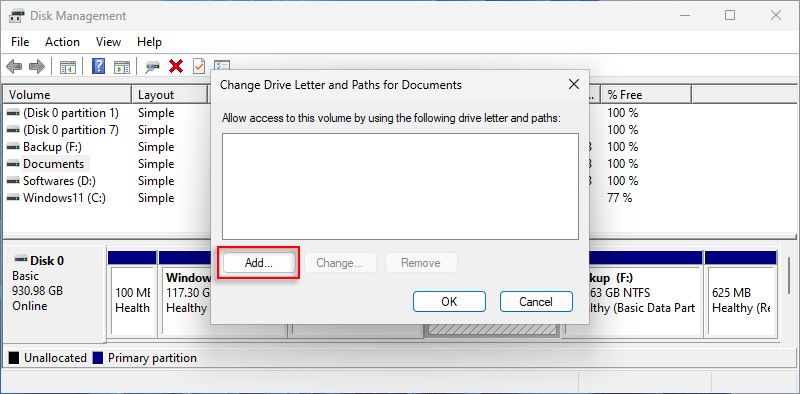
Step 3: Click Add.
Step 4: The program will automatically assign a drive letter to the disappeared drive, or you can choose a letter you prefer. Click OK to proceed.
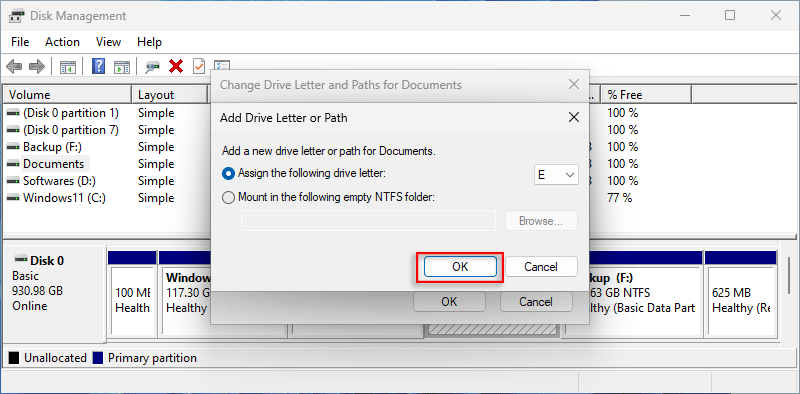
Step 5: Once complete, you can see the SSD with the letter E.

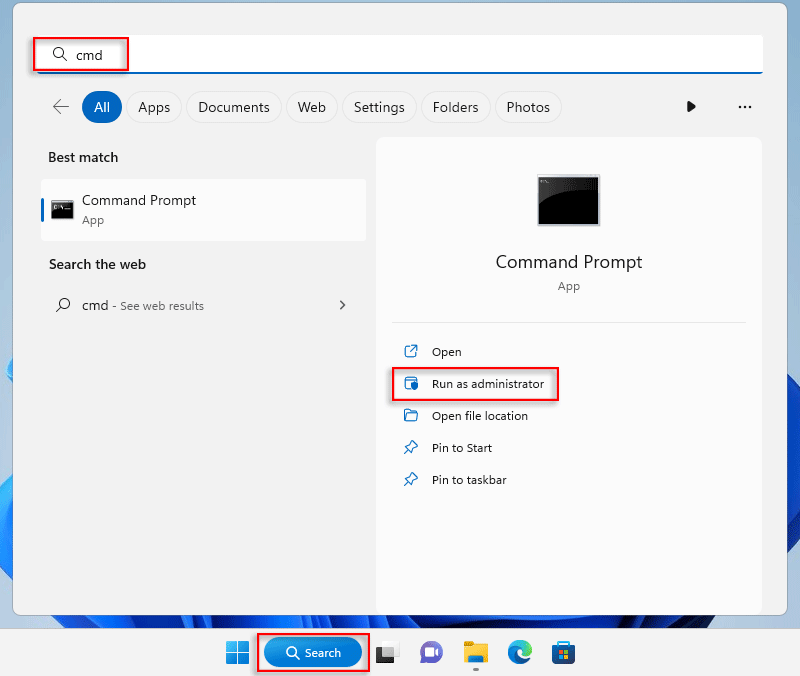
Step 1: Type cmd on the search bar and click Run as administrator.
Step 2: Click Yes.
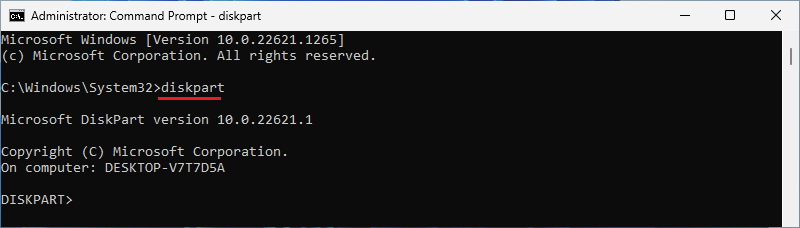
Step 3: On the command panel, type diskpart and press Enter, launching the DisKPart tool.
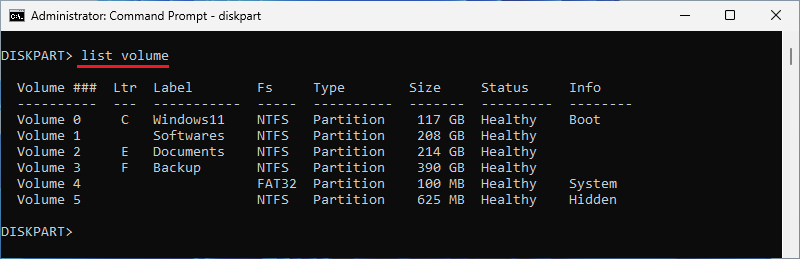
Step 4: Type list volume and hit Enter, which will list all the available partitions and disks on the computer.
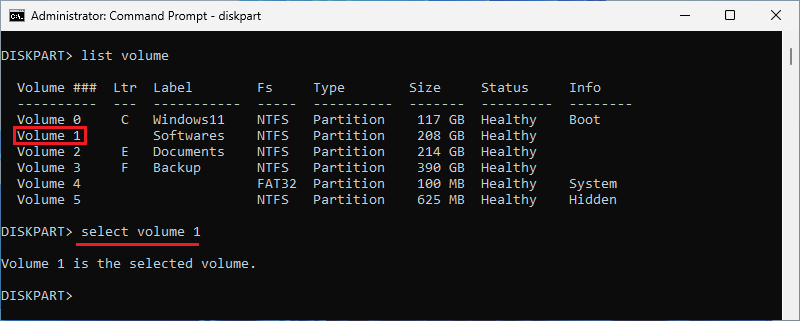
Step 5: As the list shows, the letter of Volume A is not showing. Thus, type select volume 1 and press Enter.
Note:
Step 6: Type assign letter=D and press Enter, which assigns the letter D to volume 1.

Step 7: Leave DiskPart by typing exit and pressing Enter.

Step 8: The SSD is showing on the Windows 11.

 Easily
Migrate Windows 11 to New m.2 SSD without Reinstalling
Easily
Migrate Windows 11 to New m.2 SSD without Reinstalling
 [Windows
11] A Comprehensive Tutorial on System Backup
[Windows
11] A Comprehensive Tutorial on System Backup
 Fix:
Windows 10 Won't Let Me Enter Password at Login Screen
Fix:
Windows 10 Won't Let Me Enter Password at Login Screen
 Cannot
Sign into Microsoft Account on Windows 10
Cannot
Sign into Microsoft Account on Windows 10
 How
to Add Sign-in Options for User Account on Windows 10
How
to Add Sign-in Options for User Account on Windows 10
