
Windows 11 no longer supports accessing the Advanced Startup Options by pressing the F8 key, as it has been replaced by the Recovery Mode for faster and safer booting. Some users, however, may prefer the previous method for its convenience and speed. This article will guide you through the detailed steps of setting up the F8 key for quick access to the Advanced Startup Options in Windows 11.

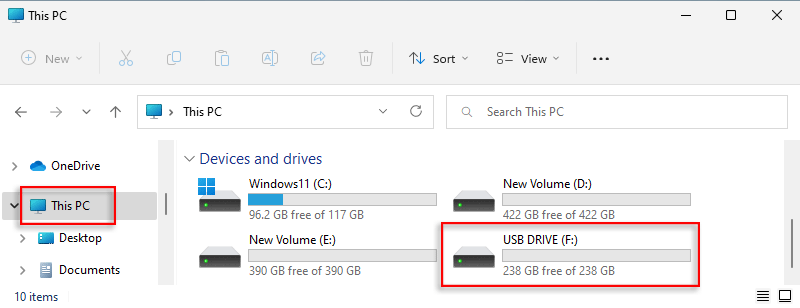
Step 1: Insert a USB flash drive into the computer.
Step 2: Click the Search icon on the taskbar and input Create a recovery drive, then select the result.

Step 3: Choose Yes when a prompt box appears.

Step 4: Uncheck "Back up system files to the recovery drive" in the window, then click Next button to continue.

Step 5: Select your USB drive and select Next.

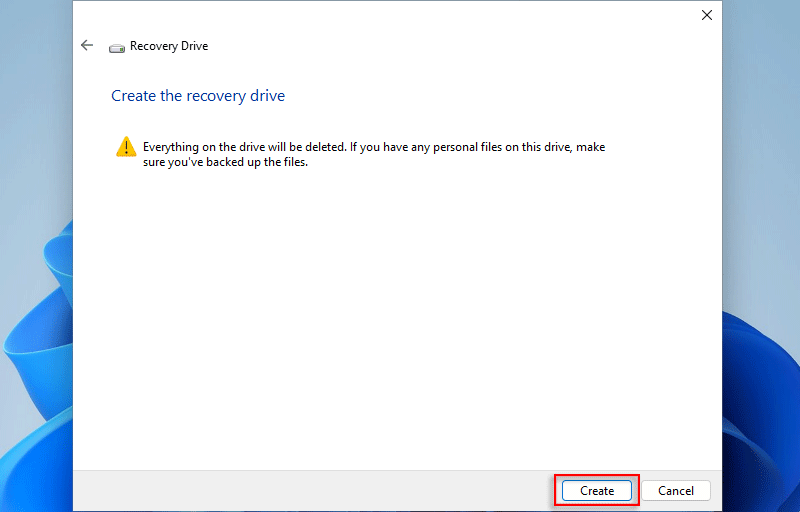
Step 6: Click on Create button.
Step 7: The recovery drive is being created, showing a progress bar.

Step 8: Click Finish after the operation is complete.

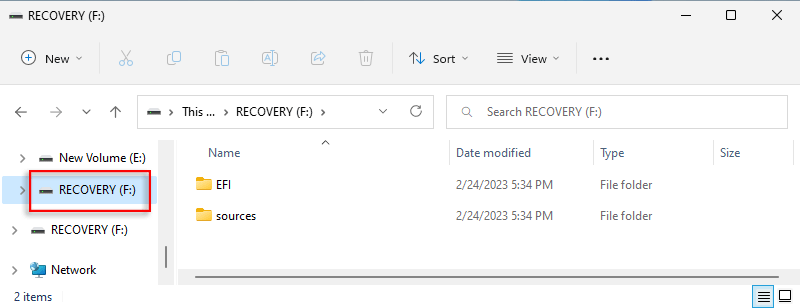
NOTE: You can check the copies in F drive.
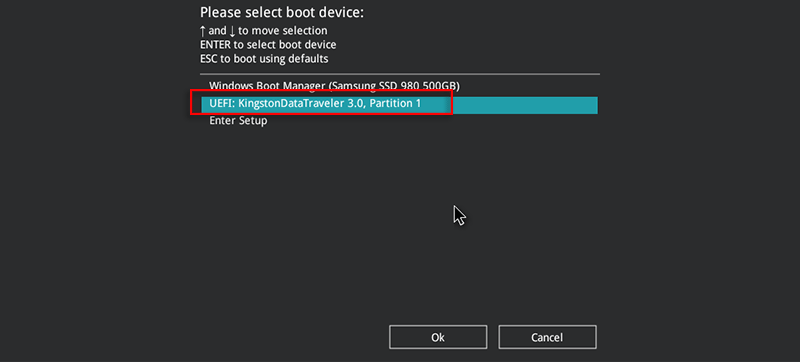
Step 1: Restart your computer and press the F8/F12 key immediately and constantly until you access the BIOS/UEFI interface. Then select USB flash drive with Down key and press OK to enter the WinRE system.
Step 2: Launch CMD by choosing US » Troubleshoot » Command Prompt in sequence.

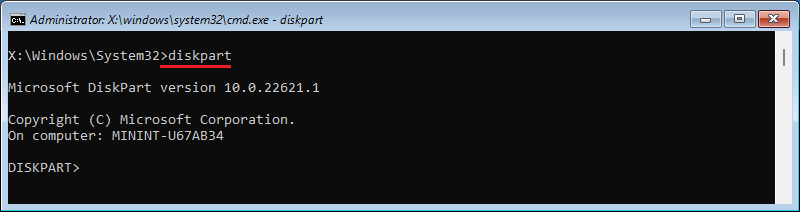
Step 3: Type "diskpart" and hit Enter Key.
Step 4: After entering "list volume" and pressing the Enter key, information for all volumes will be displayed, including Volume 3, which is an EFI partition formatted with the FAT32 file system.

Step 5: Type "select volume 3" command, then hit Enter.

Step 6: Input "assign letter=S" and press Enter to assign the drive letter "S".

Step 7: Check volumes by typing "list volume" again, and the letter of Volume 3 has already been changed.

Step 8: Terminate DiskPart program with "exit" command.

NOTE: In this section, the path of BCD depends on your boot mode:
Step 1: Type "bcdedit /store S:\EFI\Microsoft\Boot\BCD" and hit Enter for the configuration information. In "{default}" list, the value of "bootmenupolicy" is "Standard".

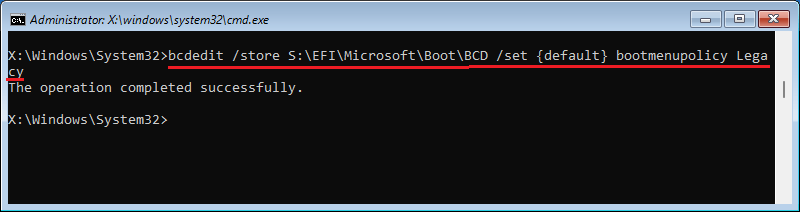
Step 2: Using "bcdedit /store S:\EFI\Microsoft\Boot\BCD /set {default} bootmenupolicy Legacy" command to modify it to Lagacy.
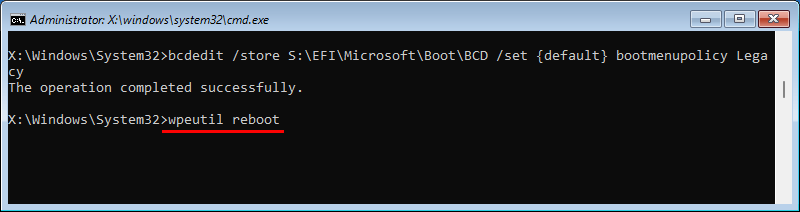
Step 3: Type "wpeutil reboot" and hit Enter, which computer will be restarted.
Step 4: Now you can quickly access Advanced Startup Options by entering the F8 key during the reboot.

 6 Ways to Boot into Recovery Mode in Windows 11
 How to
Disable Test Mode in Windows 11
How to
Disable Test Mode in Windows 11
 Cannot
Sign into Microsoft Account on Windows 10
Cannot
Sign into Microsoft Account on Windows 10
 Fix:
Windows 10 Won't Let Me Enter Password at Login Screen
Fix:
Windows 10 Won't Let Me Enter Password at Login Screen
 Cannot
Remember Windows 10 Password, How to Access the PC
Cannot
Remember Windows 10 Password, How to Access the PC
 How
to Add Sign-in Options for User Account on Windows 10
How
to Add Sign-in Options for User Account on Windows 10