
Microsoft recently released Windows 11 23H2 in the last half year of 2023, and many users cannot wait to upgrade their PCs to the latest version. Some of them, however, have encountered the "This computer does not meet the minimum requirements..." error message when trying to install Windows 11 23H2 on an unsupported PC.
If you find yourself in this situation, don't worry! This article is here to present you with a step-by-step tutorial on how to install Windows 11 23H2 on an unsupported PC. Let's get started!

Note: "Installing Windows 11 on an unsupported PC is not recommended. If you choose to install Windows 11 on ineligible hardware, you should be comfortable assuming the risk of running into compatibility issues", Microsoft says.
Step 1: Download Windows 11 23H2 ISO on the computer. Select Windows 11 (multi-edition ISO for x64 devices) » Download Now » select the product language » Confirm » 64-bit Download.
It's worth noting that the selected language should be the same as your current system language.

Step 2: Download Rufus on the PC.

Step 3: Connect the USB driver to the computer.
Step 4: Locate the downloaded Rufus and run it by double-clicking. If asked Yes or No to allow Rufus to check for application updates online, click Yes to proceed.

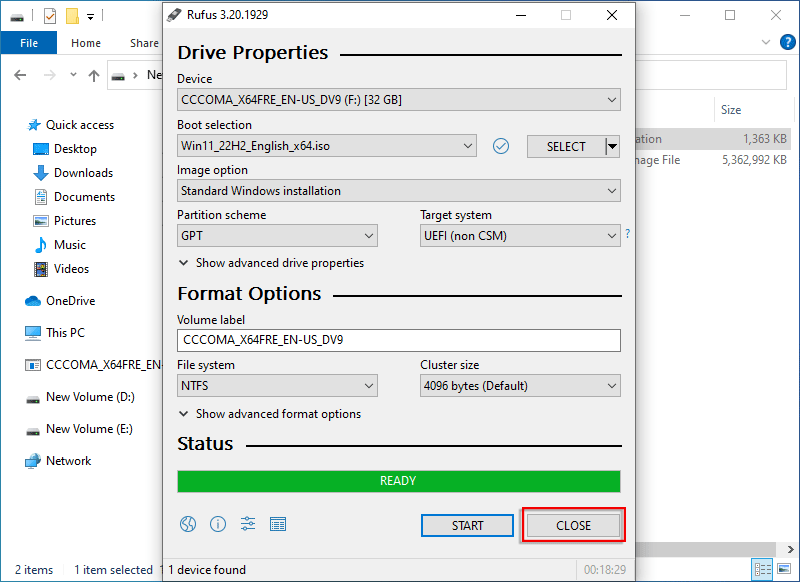
Step 5: Within the program, click on the SELECT button, and then navigate to the location where you have downloaded the Windows 11 23H2 ISO file. Once you find it, select the file to proceed by clicking Open.

Step 6: Once selected, click START.
Note: If your computer model is on the older side, you can set the Partition scheme to MBR with BIOS ID.

Step 7: Check all 6 items, or select them based on your needs. Then click OK.

Step 8: If prompted to format the USB drive, click OK to confirm. Wait for the burning to complete, then click CLOSE to close the window.
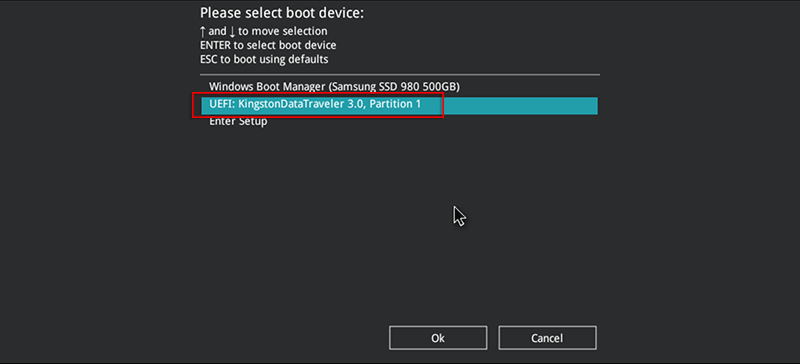
Step 9: Reboot the computer and during the startup, press shortcut to access Boot Device menu, where you select the USB drive as the boot device, then click OK.
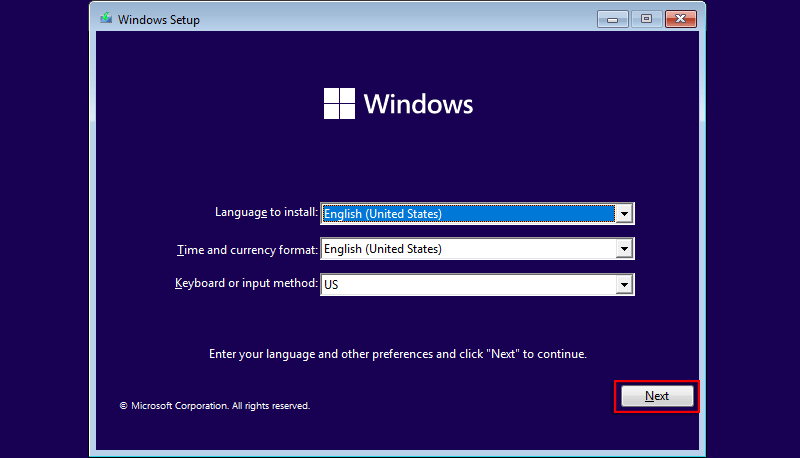
Step 10: Click Next.
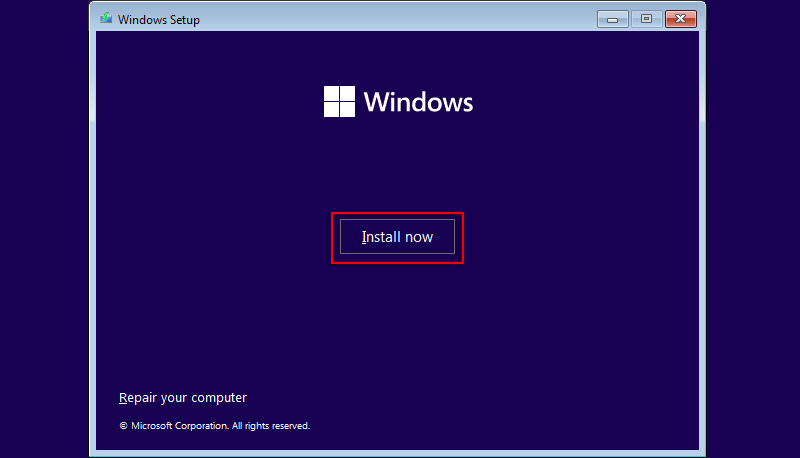
Step 11: Click Install now.
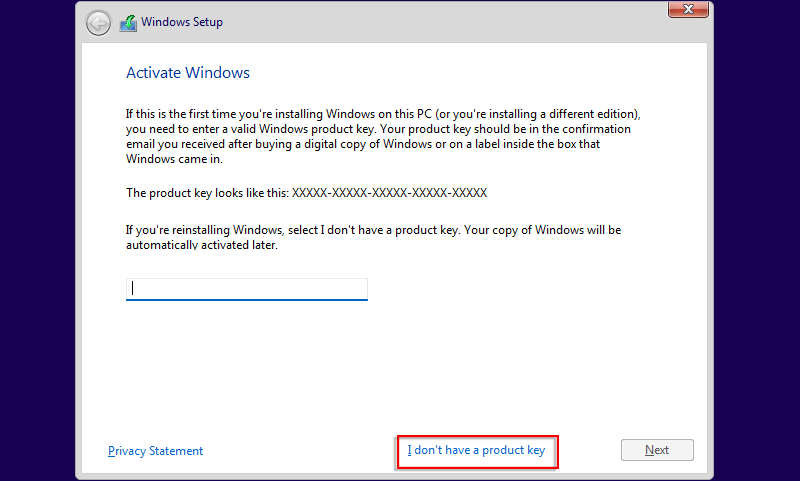
Step 12: Select I don't have a product key.
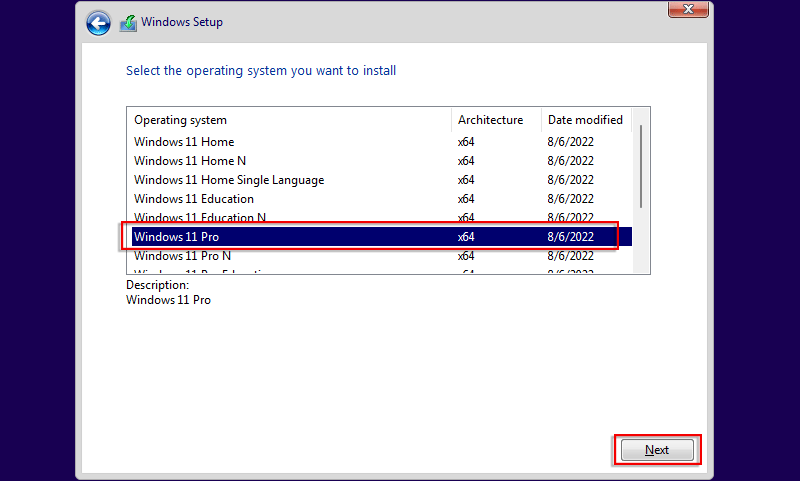
Step 13: Select the operating system that you want to install and click Next.
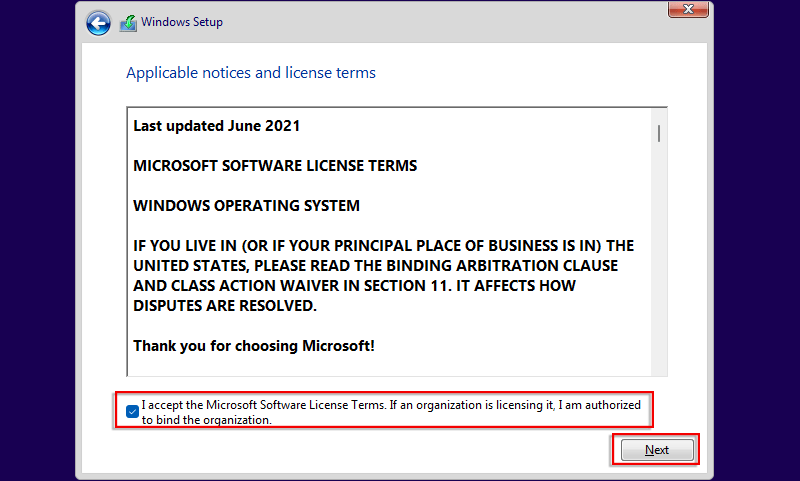
Step 14: Check the agreement and click Next.
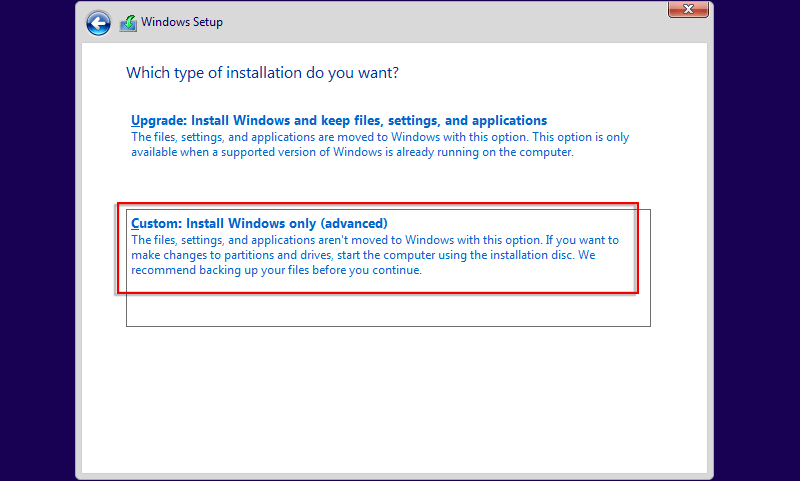
Step 15: Select Custom: Install Windows only (advanced).
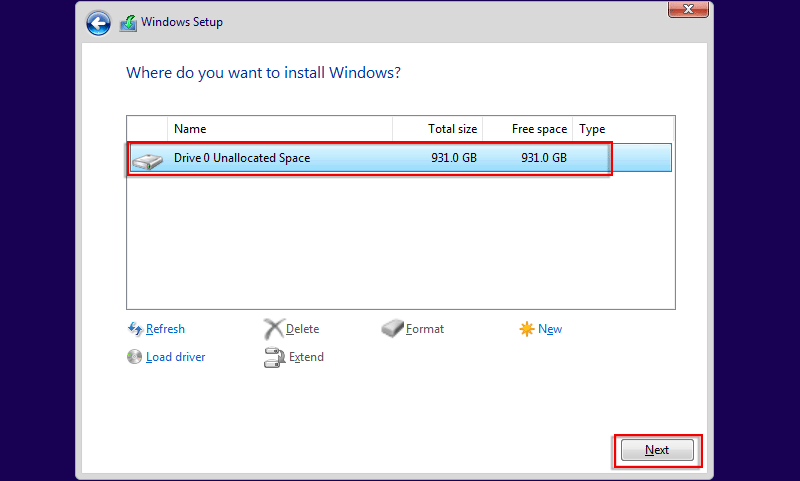
Step 16: Select a disk or partition where you install Windows 11 23H2 on the unsupported PC, then click Next.
Note: If you cannot proceed to the next step, you need to clean the disk using "diskpart" command in the cmd or convert the disc to GPT format.
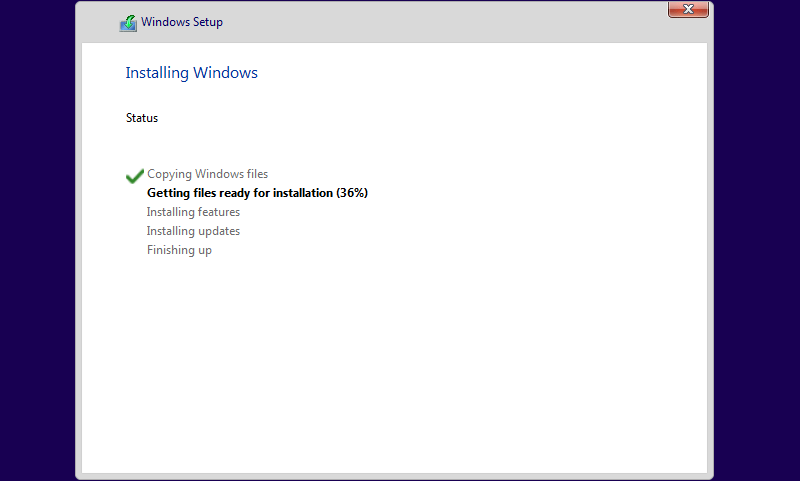
Step 17: Once clicked Next, the Windows 11 23H2 will be installed, and the PC will restart when it completes the installation.
Step 18: After restarting, wait for a few minutes.

Step 19: You will then be taken to the Windows 11 desktop.

Step 20: Reboot the PC and you will be asked to change your password. Click OK to continue.

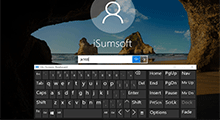
Step 21: Set a new password. Please note that leave the previous old password field blank.

Step 22: Click OK and you will be able to access Windows 11 23H2.

 Easily
Migrate Windows 11 to New m.2 SSD without Reinstalling
Easily
Migrate Windows 11 to New m.2 SSD without Reinstalling
 [Windows
11] A Comprehensive Tutorial on System Backup
[Windows
11] A Comprehensive Tutorial on System Backup
 Fix:
Windows 10 Won't Let Me Enter Password at Login Screen
Fix:
Windows 10 Won't Let Me Enter Password at Login Screen
 Cannot
Sign into Microsoft Account on Windows 10
Cannot
Sign into Microsoft Account on Windows 10
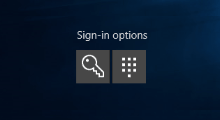 How
to Add Sign-in Options for User Account on Windows 10
How
to Add Sign-in Options for User Account on Windows 10
