
If you are looking for a free tool to create a Windows To Go USB drive, Rufus is definitely a good choice. This article will show you step by step how to create a Windows To Go USB drive using Rufus in Windows 10.

You will need a USB 3.0/3.1/3.2 flash drive or external hard drive, a Windows ISO file, and Rufus.
Step 1: Insert a USB drive into one of your computer's USB ports. Then, back up the important data (if any) on the USB drive to another place, as Rufus needs to formate the USB drive to create Windows To Go on it.
Step 2: Download a Window 10 ISO file to your computer from Microsoft's official website or any reliable resource you like.
Step 3: Open the Rufus website, scroll down to the Download section, and download the Rufus onto your computer. After downloading, you can run this tool directly without installation.

Step 4: Under Drive Properties on Rufus, select the USB drive you inserted from the Device drop-down menu. If the USB drive you inserted does not appear in the Device drop-down menu, check the "List USB Hard Drives" checkbox under "Hide advanced drive properties" and the USB drive will appear.

Step 5: Click the SELECT button. Then, in the pop-up Open window, navigate to the Windows 10 ISO file, select it, and then click Open. The Windows 10 ISO file will be added into Rufus and displayed under "Boot selection".

Step 6: Select Windows To Go from the "Image option" drop-down menu.

Tips: Both Standard Windows Installation and Windows To Go in Rufus can help you create a bootable Windows USB drive and install Windows, but there are some differences between them.
Step 7: Rufus will automatically choose the suitable partition scheme and other necessary options according to the Windows ISO file you've added. So just leave the remaining options at their default values and click the START button at the bottom.
Step 8: If the Windows 10 ISO file you've added contains multiple Windows 10 editions, the Version selection dialog opens and you need to select the Windows version you want to install on the USB drive.

Step 9: A Waring dialog box pops up to tell you that all data on your USB drive will be destroyed. Click OK to confirm and Rufus will immediately start creating Windows To Go on your USB drive.

Step 10: Wait for the creation to complete. Rufus usually takes 30 minutes to 2 hour to make Windows To Go, depending on the write speed of the USB drive. So, just wait patiently.
Step 11: When the green Status bar at the bottom shows Ready, it means the Windows to Go USB drive has been successfully created. At this time, you can quit Rufus.

Then, you can plug the Windows to Go USB drive into any computer anywhere and set that computer to boot from the USB drive. Once the computer boots from the USB, a full version of Windows will run directly on the USB and you can install and run apps on the Windows without affecting the OS on the computer's internal hard drive.
Most of the time, Rufus can help you successfully create a Windows To Go USB drive without any problems. But sometimes, for some reason, it might not work as you expect. If Rufus fails to create Windows To Go, or it takes forever to create Windows To Go, or the Windows To Go option missing in Rufus, turn to other Windows To Go creation tools, such as iSumsoft SYSOnUSB. iSumsoft SYSOnUSB is the best alternative to Rufus for making Windows To Go USB drives. Here is how it works.
Step 1: Download and install iSumsoft SYSOnUSB on your computer, and download a Windows 10 ISO file onto your computer.
Step 1: Plug a USB drive into your computer and back up the data on the drive if necessary.
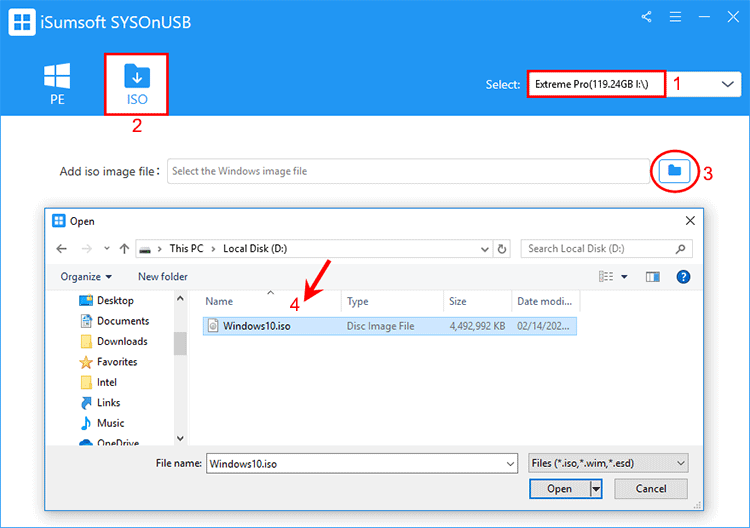
Step 3: Launch iSumsoft SYSOnUSB and select the USB drive from the drop-down menu in the upper right corner. Then, select the ISO tab, and then click the file icon to the right of "Add iso image file" to add the Windows 10 ISO file to the tool.
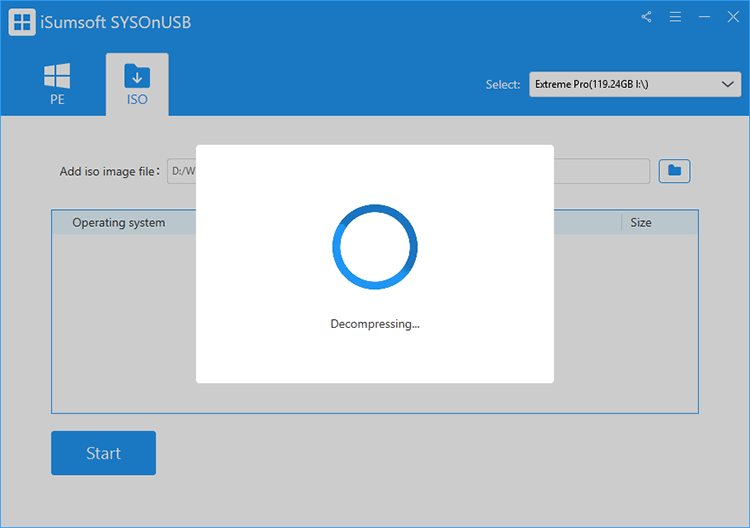
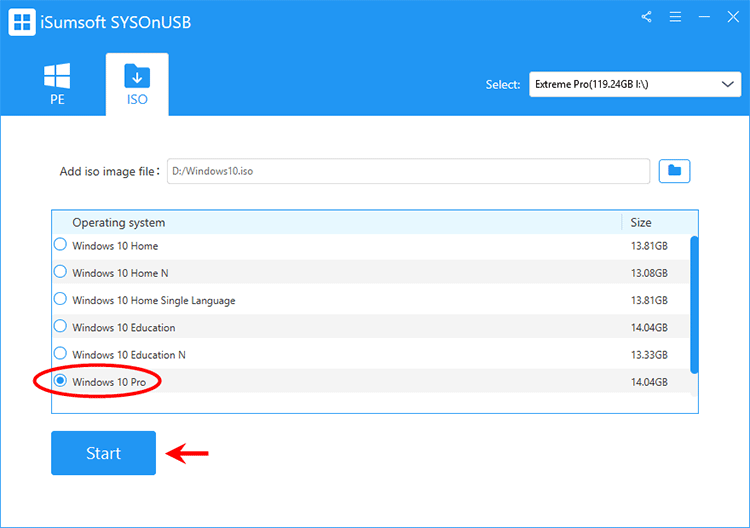
Step 4: The tool will automatically extract the Windows operating systems from the added ISO file and list them on the screen.
Step 5: Select the Windows edition you want to install on the USB drive, and then click Start. The software will immediately start creating Windows To Go on the USB drive.
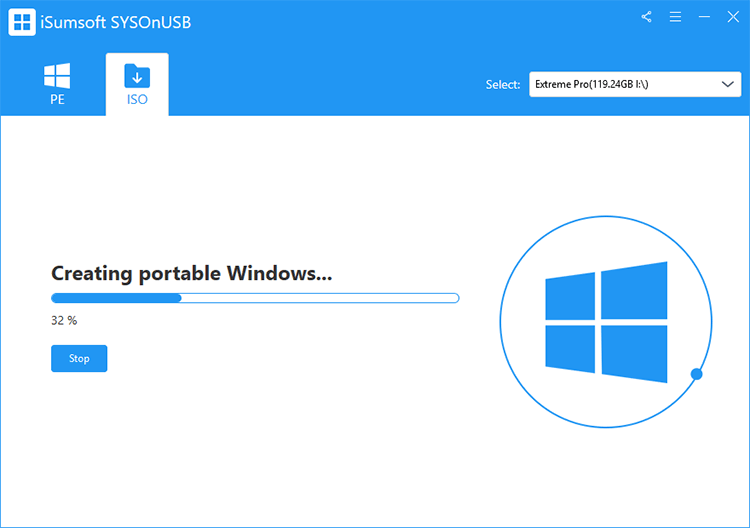
Step 6: Keep the USB drive plugged into the computer and wait until Windows To Go is created. This takes only a few minutes.
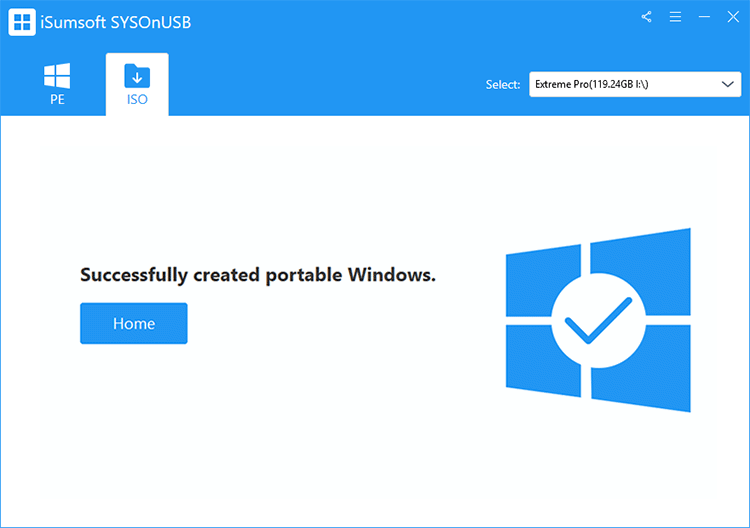
Step 7: When the software page displays "Successfully create portable Windows", it means that you have successfully created a Windows To Go USB drive.
Tips: iSumsoft SYSOnUSB is more powerful than Rufus in creating Windows To Go USB drives. It also supports creating Windows To Go from a PE (WIM) file. This will completely copy the existing Windows on the computer to a USB drive and make it bootable on the USB drive. Please click that link for more details if you want.
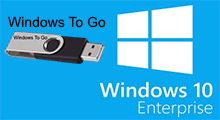 How to Create Windows to Go USB in Windows 10 Enterprise
 Install Windows 10 On USB Flash Drive or External Hard Drive
 How to Burn a Windows 10 ISO File to a USB Drive
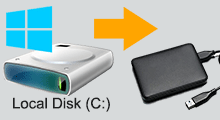 How to Copy C Drive to External Hard Drive in Windows 10
 How to Transfer Windows 10 from HDD to SSD without Data Loss
 How to Reset Windows 10 Password with a USB Drive