Windows To Go is a built-in feature in Windows 10 Enterprise and Windows 10 Education. It helps you create a Windows To Go workspace on a USB drive, so that you can boot and run a full version of Windows 10 directly on the USB drive. This article will show you step by step how to create a Windows To Go USB drive in Windows 10 Enterprise.

Tips: Windows To Go is available only in the Enterprise and Education versions of Window 10, and is removed in Windows 10, version 2004 and later. So, if you are using a non-enterprise edition of Windows 10 or a newer version of Windows 10, please see How to Create a Windows To Go USB Drive without Enterprise Edition.
You will need a Microsoft Windows To Go certified USB drive and possibly a Windows 10 ISO file.
Step 1: Connect a Windows To Go certified USB 3.0 drive to a USB port of your computer. Then, back up the important data (if any) on the USB drive, because the USB drive needs to be formatted to create Windows To Go workspace on it.
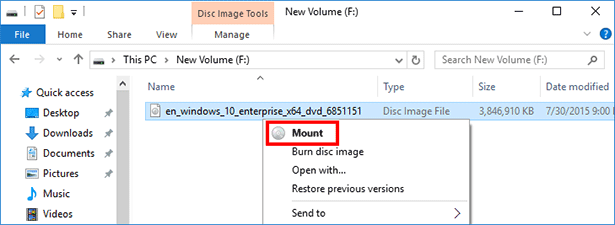
Step 2: Download a Windows 10 Enterprise ISO file onto your computer, then right-click the ISO file and select Mount to mount the ISO file on your Windows 10 in case you will need to use it in Step 5.
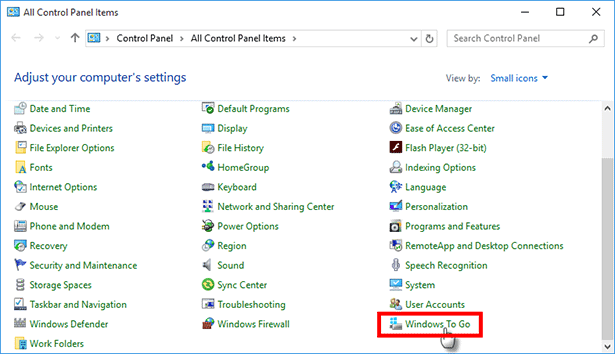
Step 3: Open Control Panel, select to view by "Small icons" in the upper right corner, and then click the Windows to Go option.
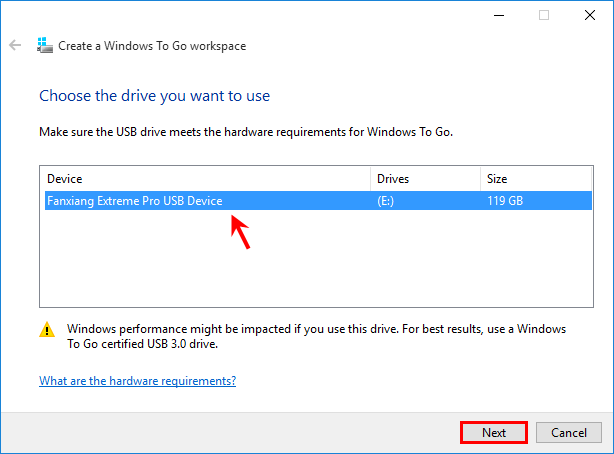
Step 4: The "Create a Windows to Go workspace" wizard opens and automatically start searching for the USB drive you've inserted to your computer. When the USB drive is displayed on the interface, select it and then click Next.
Step 5: Generally, Windows 10 Enterprise will automatically search for the image file (install.wim) that comes with the current Windows 10 installation, and display the file on the screen. So, just select the Windows 10 Enterprise install.wim file on the screen and click Next.

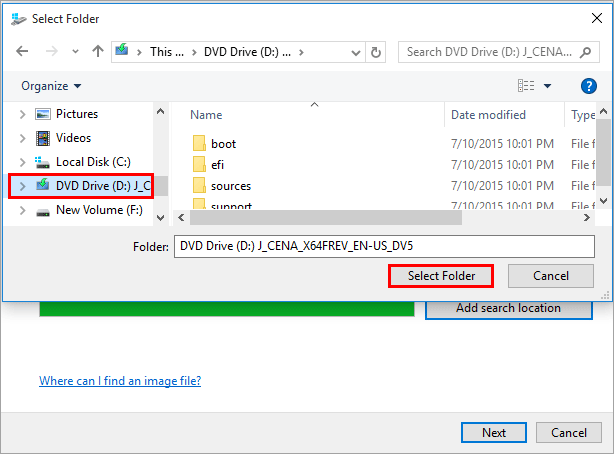
If no Windows image file is listed on the screen or if you hope to install a clean Windows 10 on the USB drive, click the "Add search location" button. Then, select the DVD drive of the ISO file you've mounted in Step 2 above, and then click Select Folder. The Windows 10 install.wim file will be automatically extracted from the mounted ISO file and displayed on the screen. Select the install.wim file and then click Next.
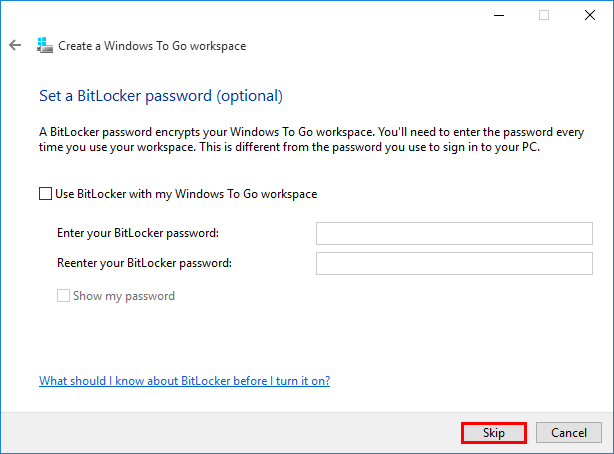
Step 6: Set a BitLocker password to encrypt your Windows To Go workspace if you want. Or, click Skip if you don't want to encrypt your Windows To Go workspace.
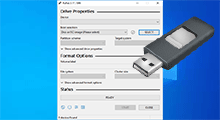
Step 7: When you are ready to create your Windows To Go USB drive, click Create to start now.

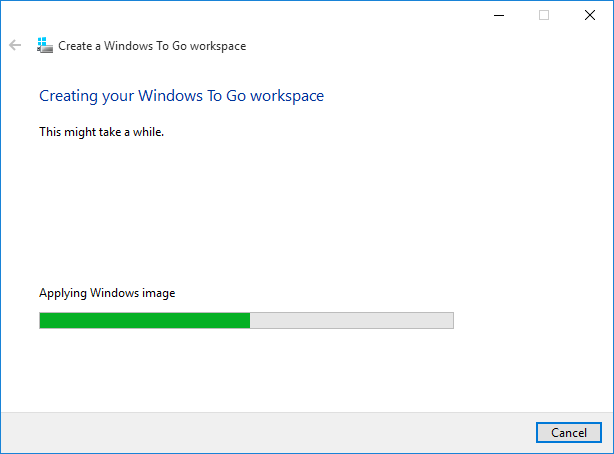
Step 8: Keep the USB drive connected and wait for Windows To Go to be created. This will take a while.
Step 9: When your Windows To Go workspace has been created successfully, you will be asked to choose a boot option. If you want to automatically boot from the Windows To Go USB drive when the USB drive is connected and your PC restarts, select Yes. Otherwise, if you prefer to manually your computer's firmware settings to use the Windows To Go workspace, select No. Now, to test whether the Windows To Go USB drive works as expected, choose Yes and click Save and restart.

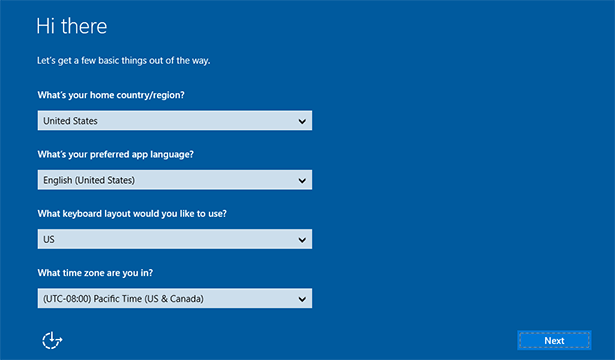
Step 10: After your computer has finished booting from the USB drive, a full version of Windows will run on the USB drive.
If you selected the install.wim file that comes with your current Windows installation in Step 5 above, a full copy of your personalized Windows will run directly on the USB drive.
If you selected the install.wim file extracted from a mounted Windows 10 ISO file in Step 5 above, a clean Windows 10 will run on the USB drive. In this case, when you first boot from the Windows To Go USB drive, you will see the familiar Windows 10 setup screen. Just follow the onscreen instructions to set up your Windows 10 and you can get to the Windows 10 desktop. Then, next time you boot from the Windows To Go USB drive, you can directly access the Windows 10 without installing or set-up.