In Microsoft Excel, you can set passwords to restrict opening a file or modification of the workbook, a worksheet, or individual elements in the worksheet. This tutorial will show you different levels of protection in Excel, and show you how to encrypt/lock workbooks/worksheet with password so that secure your data against unauthorized access.
The following options give users of Microsoft Excel instructions on adding passwords to workbooks in Excel 2010, Excel 2013, Excel 2016 that make workbook/worksheet in read-only mode or locked.
You can assign two passwords: One is to access the file and the other is to provide specific reviewers with permission to modify its content. They are different from each other. Here is firstly show you how to set password to open. By default, this feature uses advanced encryption. Encryption is a standard method used to help make your file more secure.
Step 1: In Excel, go to File > Info, select Protect Workbook, and then click Encrypt with Password.
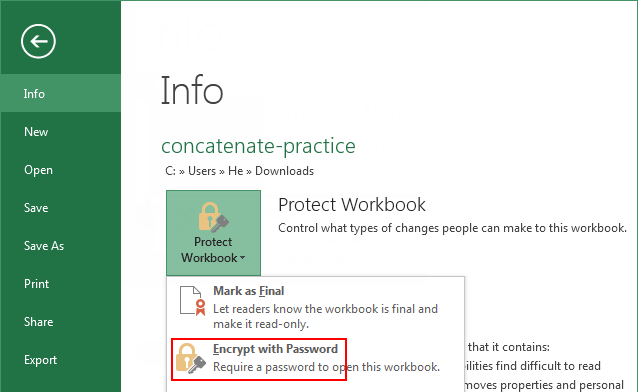
Step 2: In the Password box, type a password, and then click OK.
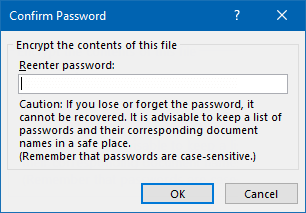
Step 3: In the Reenter password box, type the password again, and then click OK.
This feature does not use any encryption method. It is designed so you can collaborate with content reviewers you trust. It's a nice way to allow people to VIEW the document but restrict them from making any changes.
Step 1: In an opening workbook, click File > Save As.
Step 2: Click a location, or click Browse to select a location.
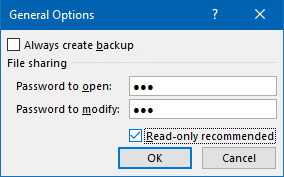
Step 3: In Save As dialog, click Tools, select General Options.

Step 4: In General Options dialog, enter password to modify.
Step 5: Once you click OK. You have to enter the passwords again in order to confirm them.
Read-only access does not prevent someone from making changes to a file, but it does prevent them from saving those changes unless they rename the file and save it as something other than the original. If you want to remove editing restrictions, see how to disable read-only in Excel.
Note: It's generally a good idea to create a backup copy of your file without a password in the event that you forget it. If you need to open a password protected Excel workbook/worksheet, but have no password, you can refer to this tutorial about How to open password-protected workbook /worksheet in Excel 2010-2016 File.
You can protect the structure of your Excel workbook with a password, so that prevent other users from viewing hidden worksheets, adding, moving, deleting, or hiding worksheets, and renaming worksheets. Here's how:
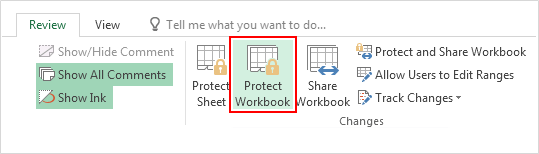
Step 1: Click Review > Protect Workbook.
Step 2: Enter a password in the Password box.
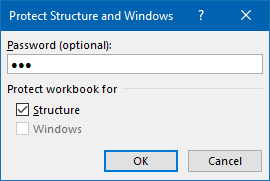
Step 3: Click OK, re-enter the password to confirm it, and then click OK.
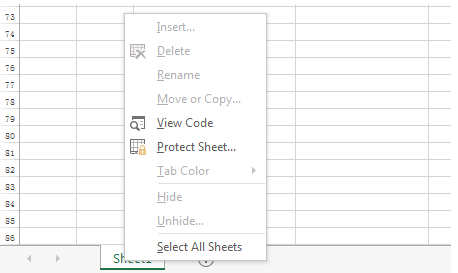
When done, right-click on the bottom of a sheet inside your workbook, you will notice that the options to change the workbook structure, such as Insert, Delete, Rename, Move, Copy, Hide, and Unhide sheets are all unavailable.
With this option, you can lock the cells on your Excel worksheet and then protect the sheet with a password. So that prevent unwanted changes from others by limiting their ability to edit.
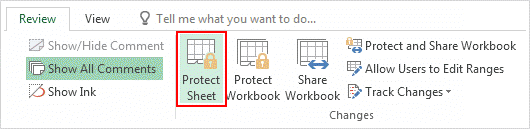
Step 1: Click Review > Protect Worksheet.
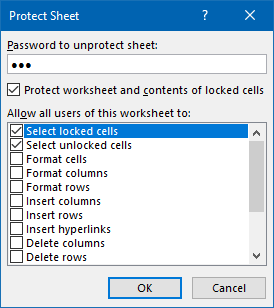
Step 2: Enter a password.
In the Allow all users of this worksheet to list, select the elements you want people to be able to change.
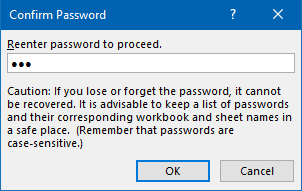
Step 3: Reenter the password in the Confirm Password dialog box and click OK.
The way to enable password protection to protect a workbook structure and lock a spreadsheet is similar to Excel 2010 -2016, While there is a slight difference to put an opening password on a workbook in Excel 2007. Here's how:
1. Open the spreadsheet you want to put a password on. Click on the Office button.
2. Click on Prepare and choose Encrypt with Password from the options.
3. Type your desired password in text field of the Encrypt Document dialog box.
4. Retype password in the Confirm Password dialog box.
5. Click OK to set password, then Save workbook.
To remove the password from a protected workbook, follow the steps above, but delete the characters entered in the Password fields.