
Creating a system image in Windows 11 can be a good idea if you tend to have a backup of your entire system, including your operating system, programs, personalized settings, and personal files. This can be helpful amid a system failure, malware infection, or other issues that may require you to restore your system to a previous state. Now, let's start learning to create a system image!

WBAdmin is a command-line tool in Windows that allows you to manage backups and recovery options. With it, you can perform a variety of backup and recovery tasks, such as creating backups of files, folders, volumes, and system state; restoring backups; listing available backup versions; etc.
Step 1: Right-click on the Start icon and select Windows Terminal (Admin).

Step 2: Click Yes to allow the program to make changes to your device, then you will access Windows PowerShell.

Step 3: Type wbadmin start backup -backuptarget:E: -include:C: -allcritical -quiet and hit Enter to create a system image of the C drive stored on the E disk. The backup status will be displayed on the panel.

Step 4: The program has successfully created a system image when it shows the following message.

Step 5: Open the E drive and you will see the WindowsImageBackup folder in its root directory.

iSumsoft Cloner, an excellent disk cloning software for Windows 11, is used to copy or clone Windows OS, data partitions, and even the entire hard drive. Not only does the software have a user-friendly interface design that makes it easy to back up the system efficiently, but it also has a high success rate.

Step 1: Download iSumsoft Cloner and launch it, then click Backup option in the home page.

Step 2: Select the C drive (system drive) to back up.
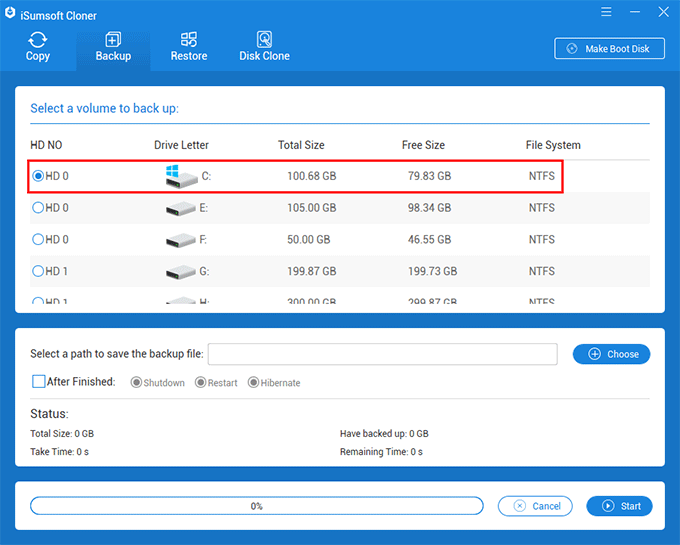
Step 3: Click Choose button to select a path to store the backup file.

Step 4: Click Start button to begin backing up and select Yes to confirm your selection.

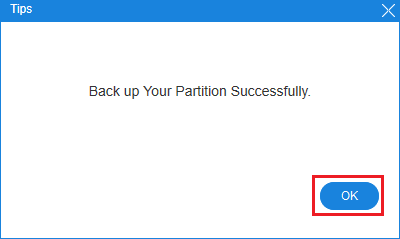
Step 5: Wait for the backup process to complete. Then click OK button when a Tips box appears. (This usually takes about 15 minutes to finish, depending on the size of the data being backed up.)
Wimlib, an open-source library, is a powerful and flexible tool for working with Windows disk images. Whether you need to create custom Windows installations, modify existing images, or extract individual files and folders, it provides a robust set of features and options to help you get the job done.
Step 1: Download wimlib v1.13.5 Windows binaries (64-bit) and place it in the root directory of the D drive.

Step 2: In D volume, right-click on the downloaded file and select Extract All » Extract sequentially.

Step 3: Rename the extracted file wimlib.

Step 4: Right-click on the Windows icon and then select Windows Terminal (Admin) from the options.
Step 5: Enter Yes when a dialog box appears to launch Windows PowerShell.
Step 6: Type D:\wimlib\wimlib-imagex capture C:\ D:\win11bk.wim --check --snapshot, then press Enter. This command will back up the system drive, generating a portfolio named win11bk.wim in the D drive.

Step 7: Completed successfully.

Step 8: You can see that the file is on drive D.

 Easily
Migrate Windows 11 to New m.2 SSD without Reinstalling
Easily
Migrate Windows 11 to New m.2 SSD without Reinstalling
 [Windows
11] A Comprehensive Tutorial on System Backup
[Windows
11] A Comprehensive Tutorial on System Backup
 Fix:
Windows 10 Won't Let Me Enter Password at Login Screen
Fix:
Windows 10 Won't Let Me Enter Password at Login Screen
 Cannot
Sign into Microsoft Account on Windows 10
Cannot
Sign into Microsoft Account on Windows 10
 How
to Add Sign-in Options for User Account on Windows 10
How
to Add Sign-in Options for User Account on Windows 10
