
Are you trying to recover files after a factory reset in Windows 11? You may factory reset your Windows 11 computer for various reasons, such as a forgotten password or sluggish performance, and if you encounter unexpected errors, you may also need to reset your PC by following the onscreen instructions, which can resolve most of the issues. However, this operation is risky as you may lose your data.
So, in this article, we will discuss how to recover files after a factory reset in Windows 11.

Yes, it is possible to recover files after a factory reset in Windows 11. Windows provides two options for factory reset: "Keep my files" and "Remove everything." If you select the "Keep my files" option, your personal files, such as documents, photos, music, and videos, stored on your C drive or other internal and external drives will not be deleted. However, all installed programs and settings will be removed. On the other hand, if you choose the "Remove everything" option, all data on your computer will be erased.

Even if you reset to factory settings by selecting the "Remove everything" option, there is still a chance to retrieve your data. However, if the disk has been overwritten after the reset, your files may not be fully recoverable.
Note:
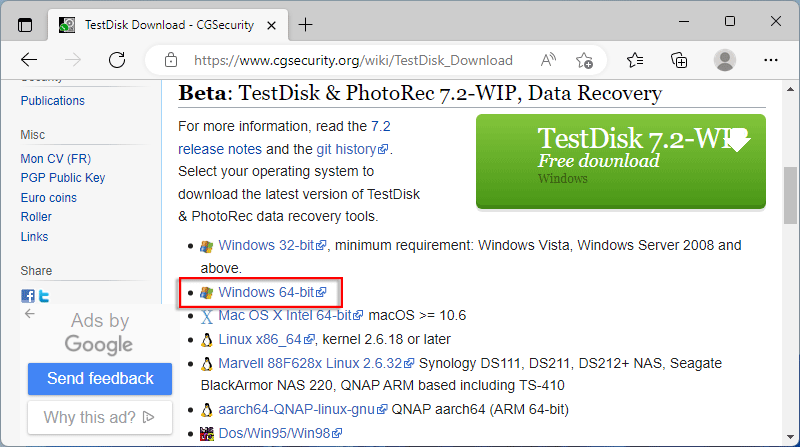
A common use case for TestDisk is recovering files from formatted drives. In contrast to Windows file recovery software, which only works with NTFS file systems, it supports multiple types, including NTFS, FAT32, FAT16, exFAT, and so on. Learn how to use TestDisk:
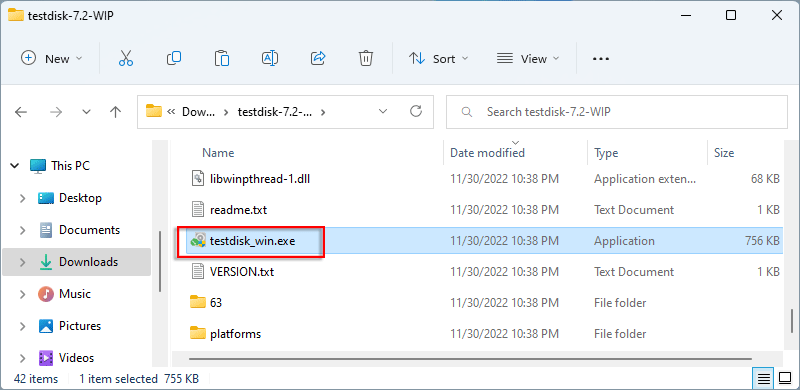
Step 1: Download TestDisk and then extract it to the C drive or other location.
Step 2: Locate the extracted file, then launch the application by double-clicking on the .exe file.
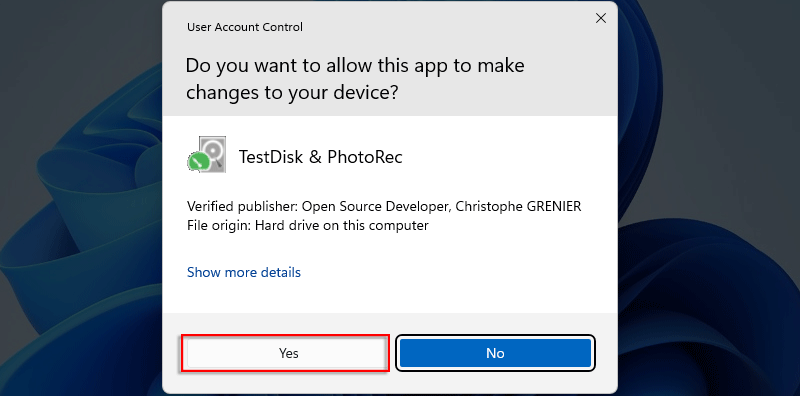
Step 3: Click Yes.
Step 4: Use arrow keys to select Create.

Step 5: Use Up and Down keys to select a drive from which you want to recover files. Then use Left and Right keys to select Proceed and hit Enter.

Step 6: The program will automatically detect the partition table style of the drive you selected. Enter the prompted table type.

Step 7: Select Advanced by using Up and Down keys, then hit Enter.

Step 8: Choose the Basic data partition with Up and Down keys, then select Undelete by using Left and Right keys and press Enter

Step 9: Select the file you want to recover and press the lowercase c key.

Step 10: Press the uppercase C key to save the recovery file. (Here you can see the storage path shown on the Directory.)

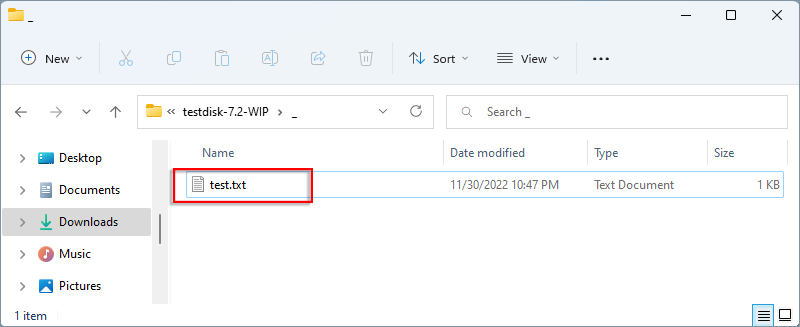
Step 11: Navigate to the storage folder.
Step 12: You will see the selected file has been recovered successfully.
If you prefer software with a Graphical User Interface (GUI), iSumsoft Data Refixer, a professional data recovery tool, will be the right choice for you. With just a few clicks, it allows you to recover files after Windows 11 reset factory settings.

Here is how to use iSumsoft Data Refixer:
Step 1: Download and install the software. Then launch it.
Step 2: The software will detect all the partitions on the computer. Select a hard drive or partition where data was lost and click Start.

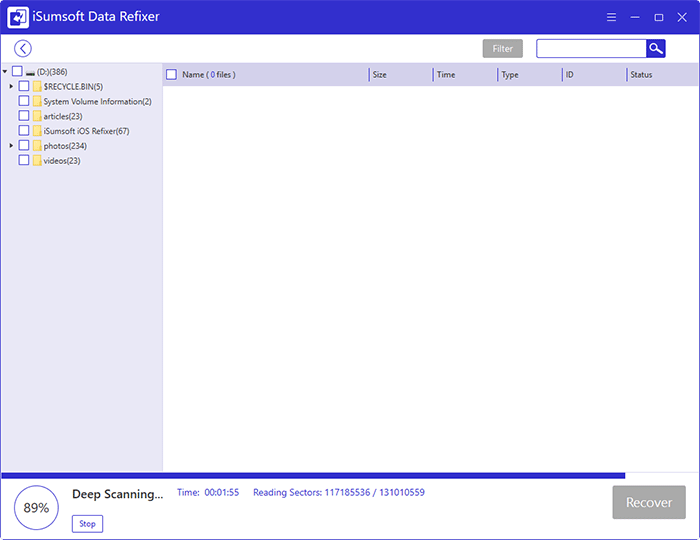
Step 3: The program will then start deeply scanning all the lost and deleted files previously stored on the drive. The scanning time depends on the storage space of the disk. The larger the disk, the longer the time.
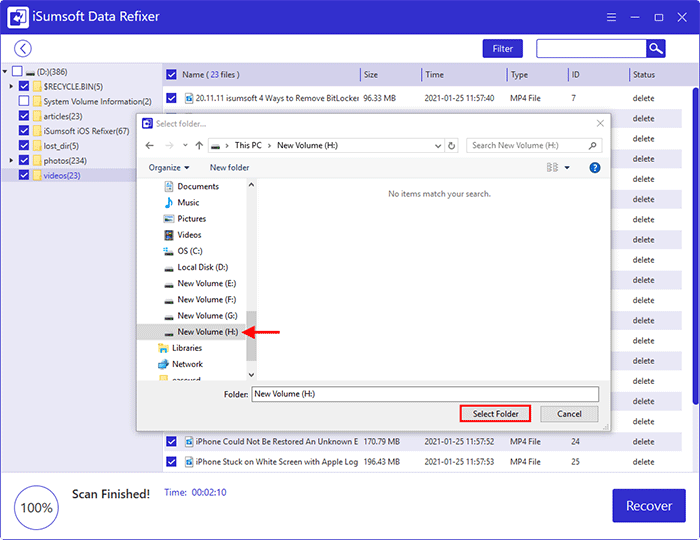
Step 4: After scanning, all files are categorized on the left side. Select the file (s) you want to recover and click Recover.

Step 5: Select a folder to save the recovery file (s).
Note:
Step 6: Once complete, you are asked whether to open the recovery folder. Based on your needs, click Yes or No.

In addition to the above-mentioned software, Microsoft has developed a command-line tool called Windows File Recovery, which allows you to recover files from formatted partitions or drives. However, it is crucial to back up your data as a precautionary measure in case any issues arise.
 Easily
Migrate Windows 11 to New m.2 SSD without Reinstalling
Easily
Migrate Windows 11 to New m.2 SSD without Reinstalling
 How to
Create an Administrator Account in Windows 8/8.1
How to
Create an Administrator Account in Windows 8/8.1
 Cannot
Sign into Microsoft Account on Windows 10
Cannot
Sign into Microsoft Account on Windows 10
 Fix:
Windows 10 Won't Let Me Enter Password at Login Screen
Fix:
Windows 10 Won't Let Me Enter Password at Login Screen
 How
to Add Sign-in Options for User Account on Windows 10
How
to Add Sign-in Options for User Account on Windows 10
