
This comprehensive tutorial will guide you through the troubleshooting steps to fix the Windows 11 Chat App not working properly. Whether you're experiencing connection issues, error messages, or any other problems, this tutorial has got you covered. So, let's dive right in and get your Windows 11 Chat App back up and running smoothly!

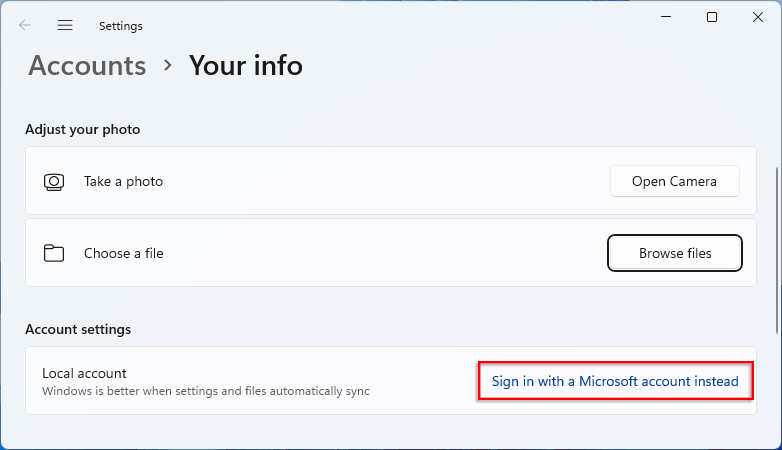
Step 1: Click on the Start icon, then click on your profile and select Change account settings.

Step 2: Select Sign in with a Microsoft account instead.
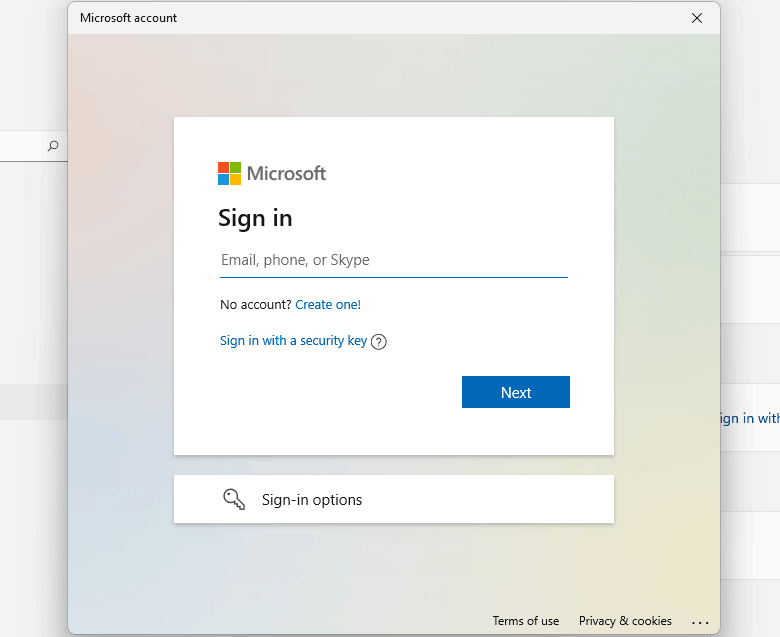
Step 3: Sign in to your Microsoft account.
Step 1: Type "cmd" on the search bar and click Run as administrator.

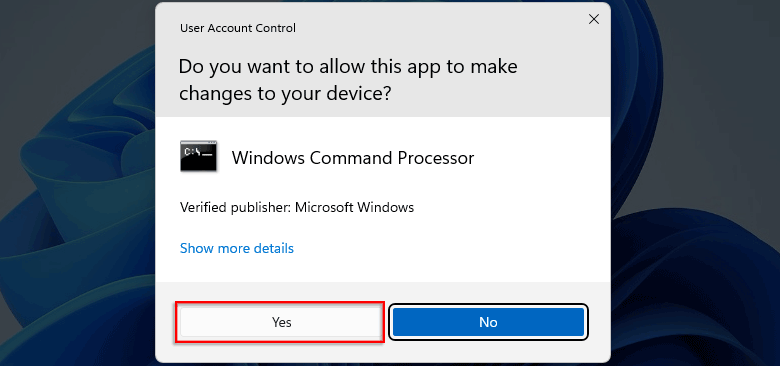
Step 2: If asked Yes or No, select Yes.
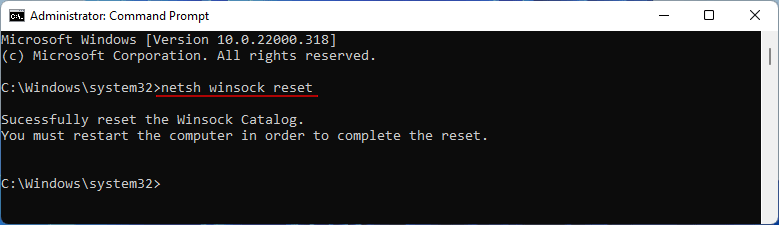
Step 3: Type netsh winsock reset
and press Enter to reset the configuration.
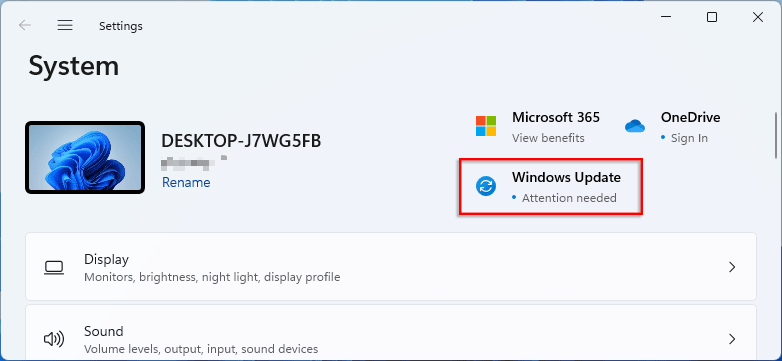
Step 1: Click on the Start icon and select Settings.

Step 2: Click Windows Update.
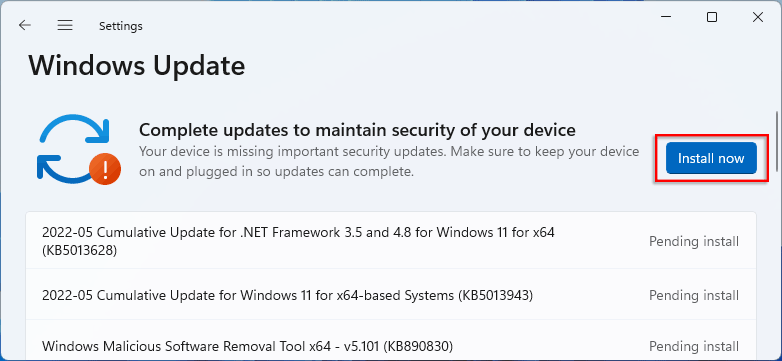
Step 3: Click Install Now or Check Update.
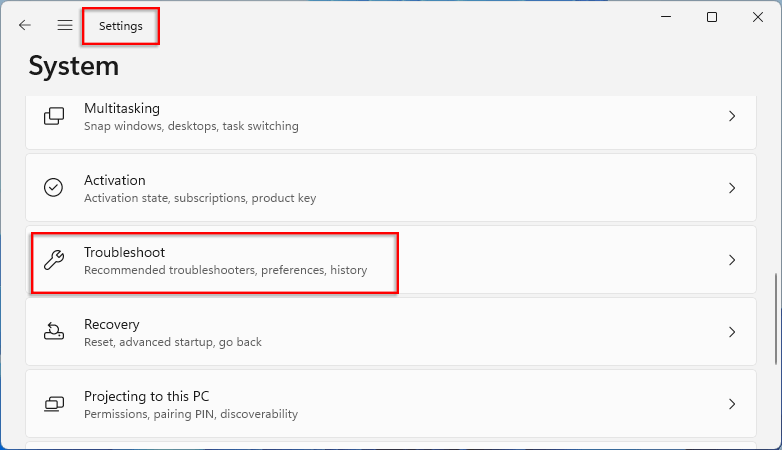
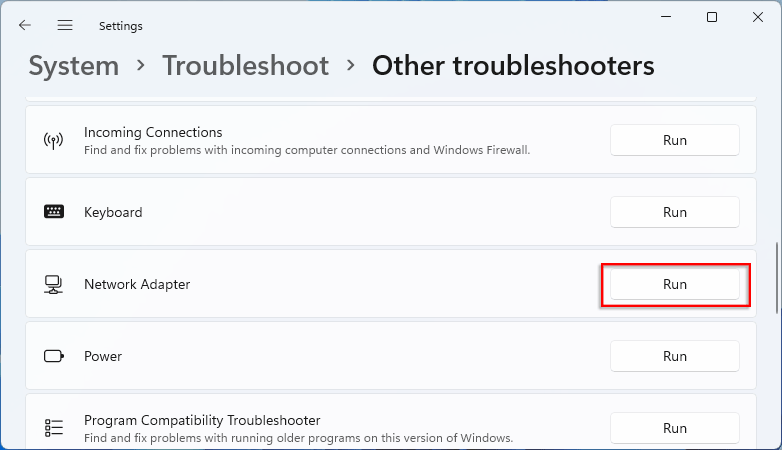
Step 1: From Settings, select Troubleshoot.
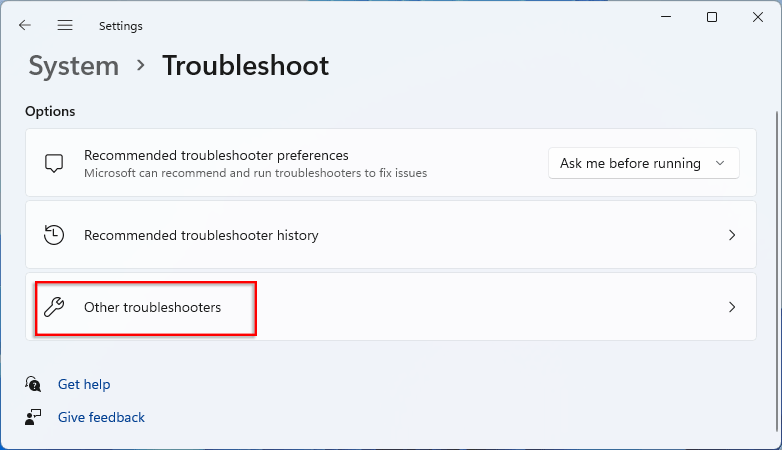
Step 2: Click Other troubleshooters.
Step 3: On the Internet Connections tab, click Run and follow the onscreen instructions to troubleshoot issues.

Step 4: Similarly, run Network Adapter to troubleshoot problems.
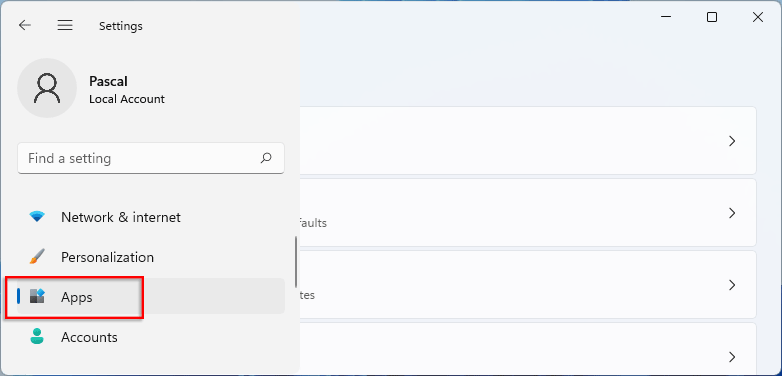
Step 1: On the Settings panel, click Apps.
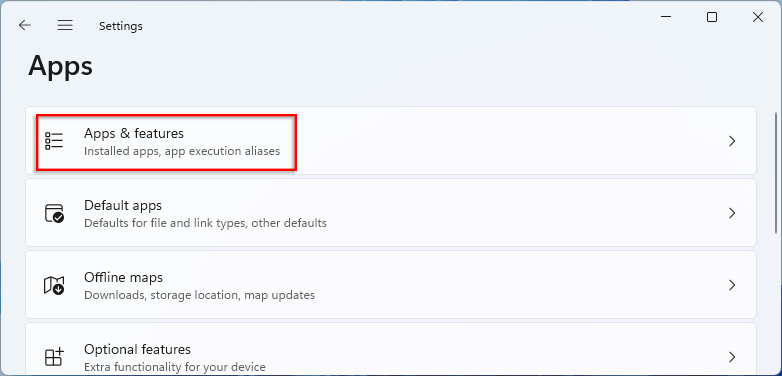
Step 2: Select Apps & features.
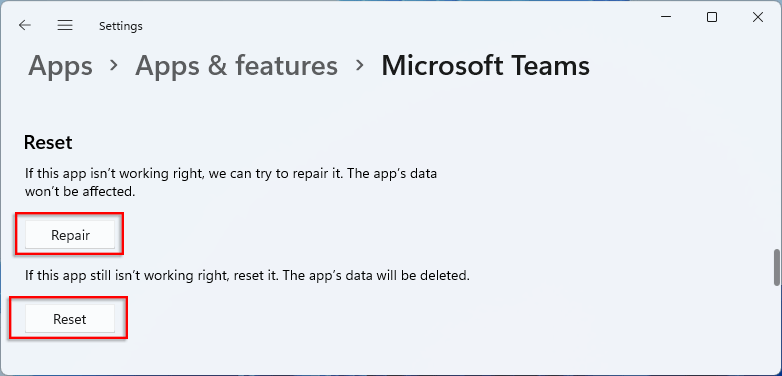
Step 3: Locate Microsoft Teams and right-click on its dropdown button, then select b Advanced options.
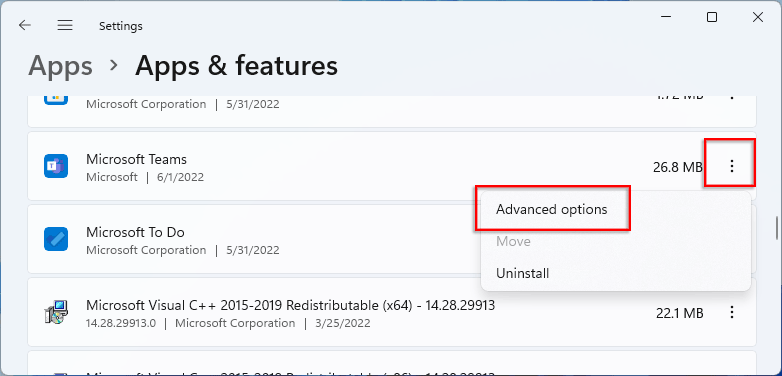
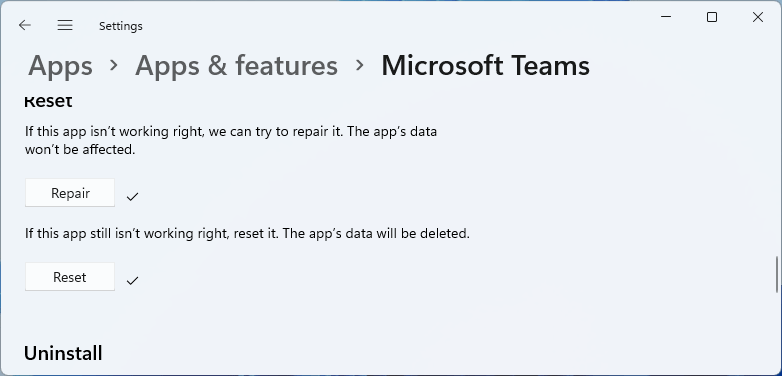
Step 4: Click Repair and Reset separately.
Step 5: Complete the process.
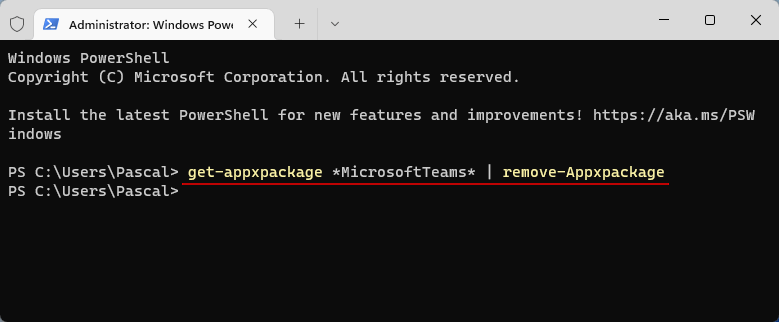
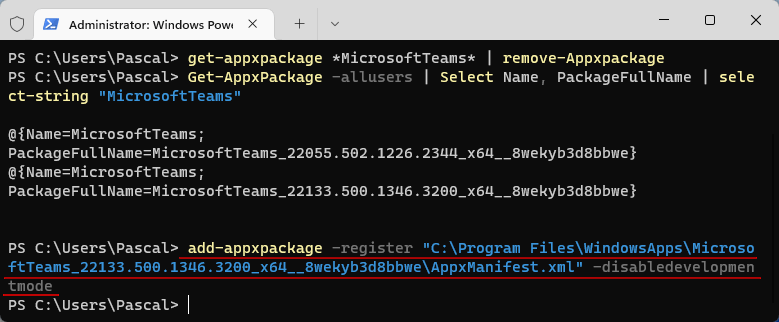
Step 1: Right-click on the Windows icon and select Windows Terminal (Admin).

Step 2: Click Yes to allow this app to make changes to your device.
Step 3: Type get-appxpackage *MicrosoftTeams* | remove-Appxpackage
and press Enter.
Step 4: Type Get-AppxPackage -allusers | Select Name, PackageFullName | select-string
"MicrosoftTeams" and press Enter.
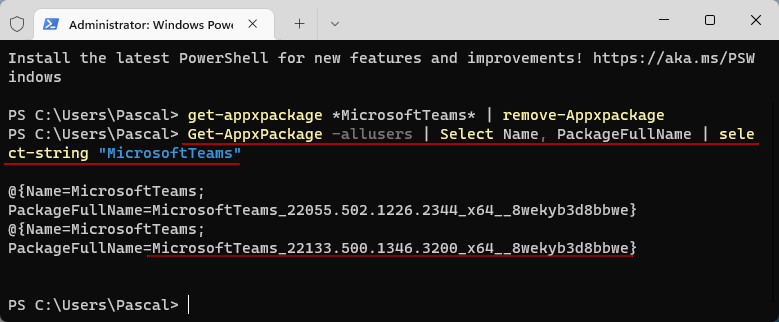
Step 5: Type add-appxpackage -register "C:\Program
Files\WindowsApps\MicrosoftTeams_22133.500.1346.3200_x64__8wekyb3d8bbwe\AppxManifest.xml"
-disabledevelopmentmode and press Enter.
 Use
CMD to Create a New User with Administrator Privileges in Windows 11 Home
Use
CMD to Create a New User with Administrator Privileges in Windows 11 Home
 How
to Create Administrator Account When Can't Sign in Windows 10
How
to Create Administrator Account When Can't Sign in Windows 10
 How to
Create an Administrator Account in Windows 8/8.1
How to
Create an Administrator Account in Windows 8/8.1
 Cannot
Sign into Microsoft Account on Windows 10
Cannot
Sign into Microsoft Account on Windows 10
 Fix:
Windows 10 Won't Let Me Enter Password at Login Screen
Fix:
Windows 10 Won't Let Me Enter Password at Login Screen
 Cannot
Remember Windows 10 Password, How to Access the PC
Cannot
Remember Windows 10 Password, How to Access the PC