
This article will show you how to create a recovery drive or system repair disc for Windows 10. If your Windows 10 has problems or can't start correctly, you can use either of the two types of recovery disks to boot your computer to the recovery environment, and then do troubleshooting, system restore, or system recovery.
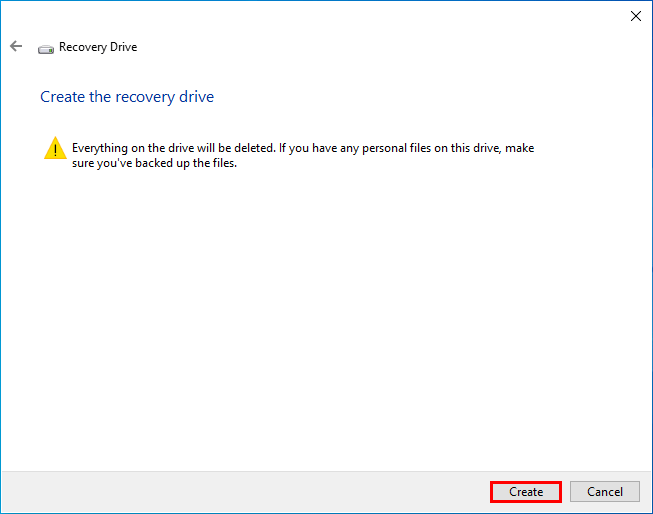
Step 1: Insert a USB flash drive into your computer. If you have any personal files on the USB drive, make sure you've backed them up. Because everything on the USB drive will be deleted while creating a recovery drive on it.
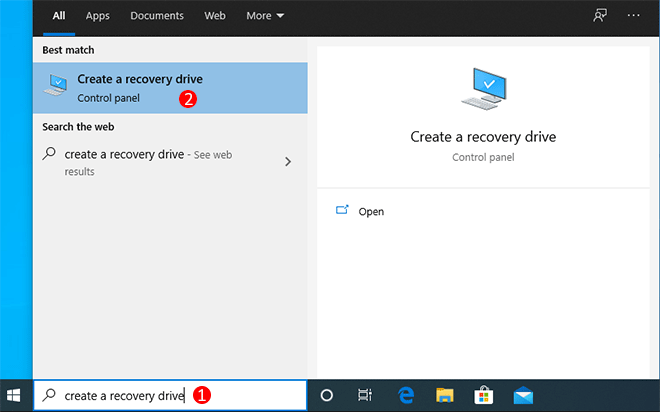
Step 2: Type create a recovery drive in the search box next to the Start button, and then hit Enter.
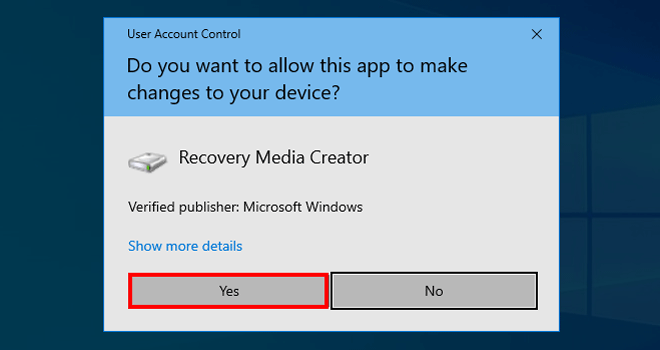
Step 3: If a User Account Control dialog pops up, click Yes to continue.
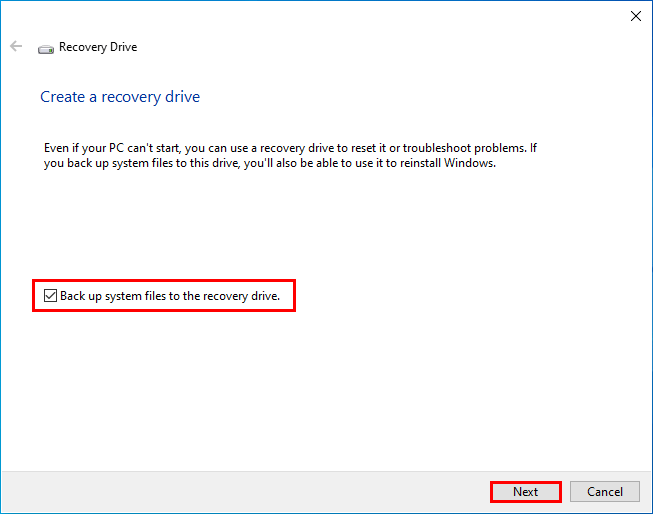
Step 4: The Recovery Drive wizard opens. Make sure the box of "Back up system files to the recovery drive" is checked, and then click Next.
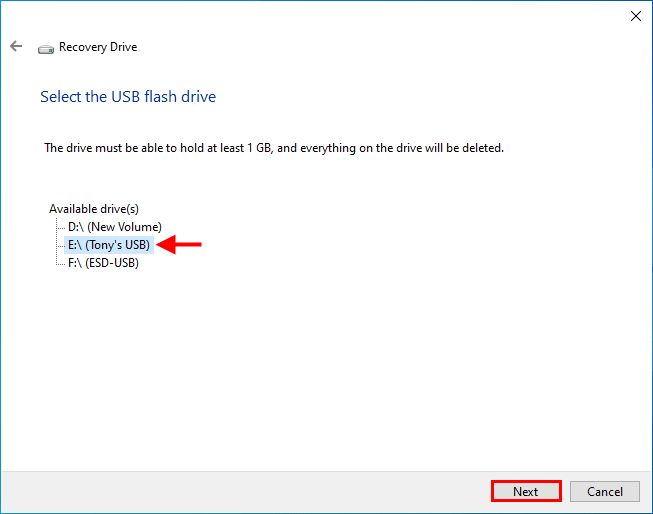
Step 5: Select the USB flash drive from the available drive list, and then click Next.
Step 6: Click Create and Windows 10 will immediately start creating the recovery drive.
Step 7: Wait for the creation process to complete. This will take a few seconds or minutes. When "The recovery drive is ready" is displayed on the window, you're done. Click Finish and put the recovery drive in a safe place.

Step 1: Plug the recovery drive into your computer's USB port.
Step 2: Start the computer and once it starts, press the key prompted on the screen to access the Boot Menu or BIOS Menu. Then set your computer to boot from the USB drive.
Step 3: After the computer boots, choose your keyboard layout on the screen.

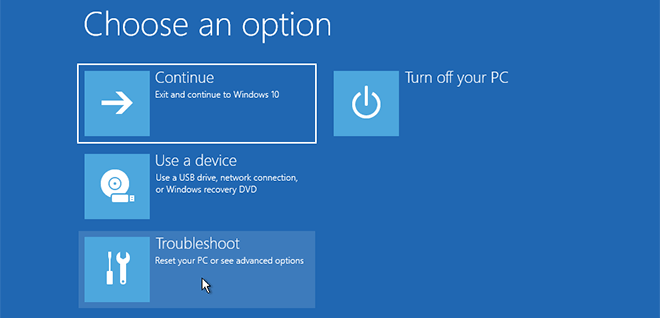
Step 4: Then you get to the recovery environment (also called Advanced Startup Options menu). Click Troubleshoot, and then select your wanted recovery option to recover your Windows 10.
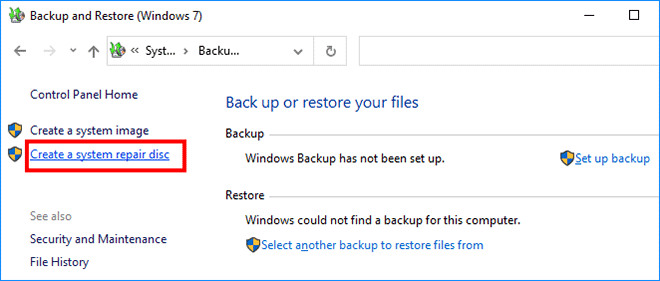
Step 1: Open Control Panel and click Backup and Restore (Windows 7) > Create a system repair disc.
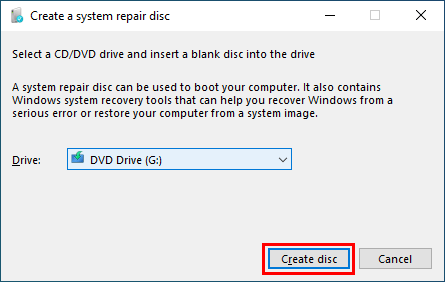
Step 2: The "Create a system repair disc" dialog opens. Select CD/DVD drive and insert a blank disc into your computer's CD/DVD drive. Then click Create disc.
Step 3: Windows 10 will start creating the system repair disc. Just wait for the creation to complete.
Step 1: Insert the system repair disc into your computer's CD or DVD drive.
Step 2: Similarly, restart the computer to the Boot Menu or BIOS Settings, and then set the computer to boot from the CD/DVD.
Step 3: When the Advanced Startup Options menu appears, choose a recovery option you want to recover your Windows 10.
If your Windows 10 is not booting correctly and you haven't created a recovery drive or system repair disc, you can create one on another working Windows 10 computer, or use a Windows 10 installation media for system recovery.
 How to Create and
Use a System Restore Point in Windows 10
How to Create and
Use a System Restore Point in Windows 10
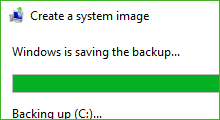 How
to Create System Image Backup on Windows 10
How
to Create System Image Backup on Windows 10
 How to Create a
WinPE Bootable Disk for Windows 10
How to Create a
WinPE Bootable Disk for Windows 10
 How to
Create Bootable USB for Windows Password Reset
How to
Create Bootable USB for Windows Password Reset
 How to
Delete Recovery Partition in Windows 10
How to
Delete Recovery Partition in Windows 10
 How
to Do a System Restore When PC Won't Boot
How
to Do a System Restore When PC Won't Boot
