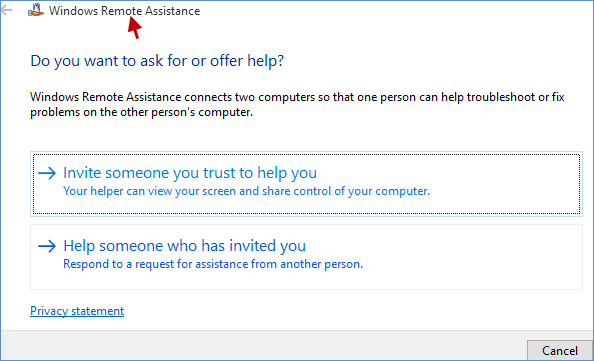
Windows Remote Assistance is a useful tool for providing remote technical support to other Windows users by connecting to another computer. To utilize this feature, understanding how to launch it is essential. This guide outlines six straightforward methods to open Windows Remote Assistance in Windows 10.
Here are six methods to access Windows Remote Assistance; choose the one that suits you best.
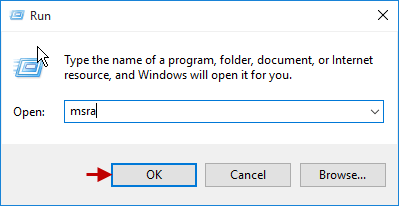
Press Win+R to open the Run dialog box, type msra, and click OK.
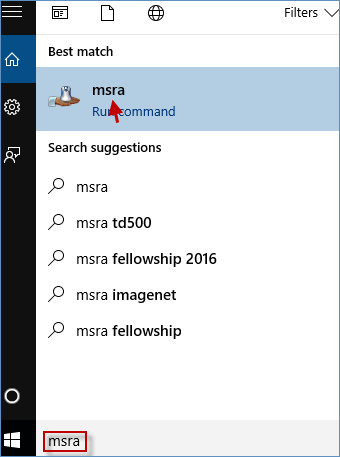
Type msra in the Windows Search bar and select msra from the Best match results.
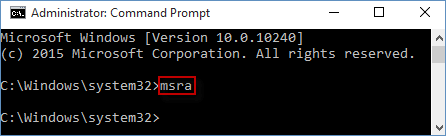
Step 1: Open Command Prompt as administrator.
Step 2: Type msra in the Command Prompt window and press Enter.
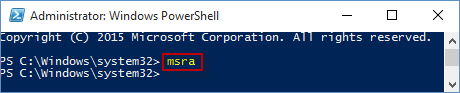
Step 1: Run PowerShell as administrator.
Step 2: Type msra in the Windows PowerShell window and press Enter.
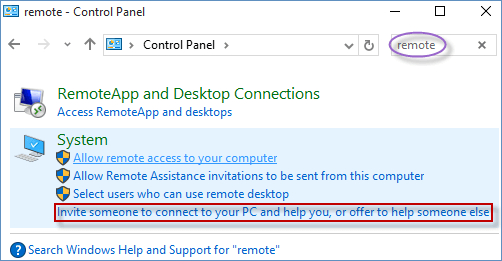
Step 1: Access Control Panel.
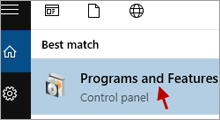
Step 2: Input remote in the Control Panel search box, then select Invite someone to connect to your PC and help you, or offer to help someone else.
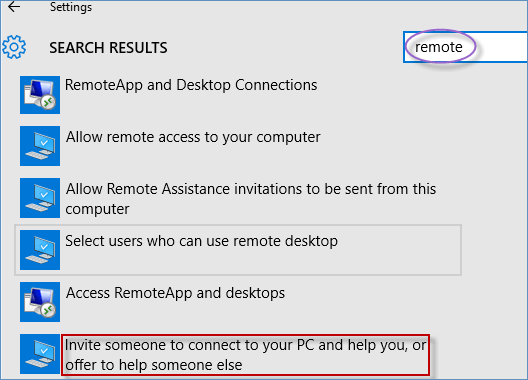
Step 1: Open the Settings app.
Step 2: Type remote in the Settings search box, then click Invite someone to connect to your PC and help you, or offer to help someone else.
Step 3: Windows Remote Assistance will open.