A power plan, also known as a power scheme, is a set of hardware and system settings that controls how your Windows 10 computer consumes and conserves power. By creating a custom power plan, you can strike a balance between power savings and system performance, or optimize for one or the other. If you're wondering how to create a power plan in Windows 10, follow these simple steps.
To get started, let's dive into the process of creating a custom power plan in Windows 10.
The process is straightforward. Here's how to do it:
Step 1: Open Power Options on your Windows 10 computer.
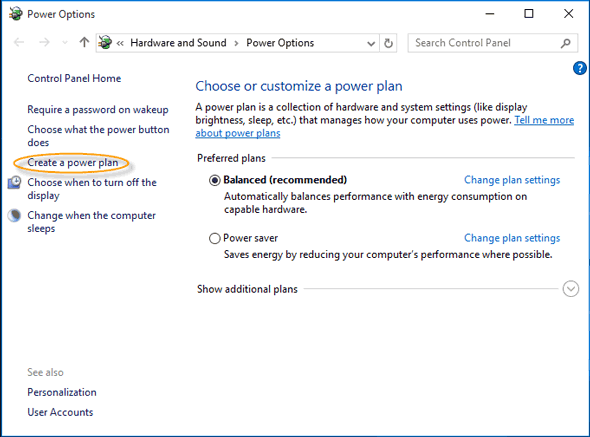
Step 2: In the Power Options window, click on Create a power plan under Control Panel Home.
Step 3: In the Create a Power Plan window, select one of the three pre-defined plans ( Balanced (recommended), Power saver, or High performance ) as a starting point, and give your new plan a name, such as Power-saving Plan. Then, click Next to continue.

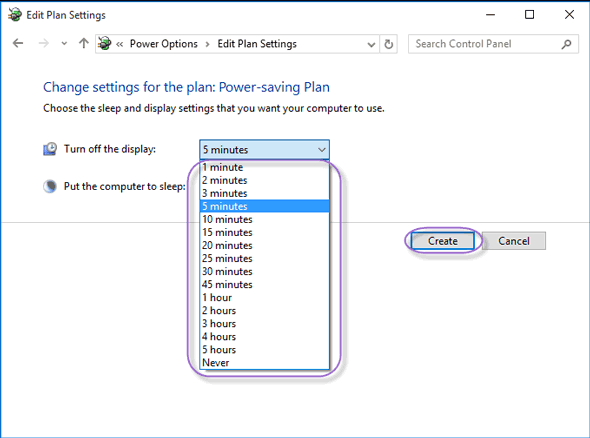
Step 4: Adjust the sleep settings according to your needs, and then click Create to finalize your new power plan.
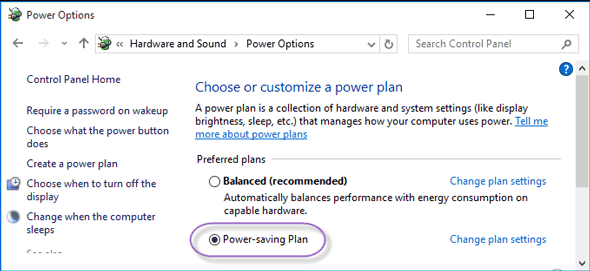
Step 5: Your newly created power plan will now be listed in the Power Options window.