It seems that I can't add new users in PC Settings on my Windows 10. I clicked "Add someone else to this PC", but nothing happened. I tried it many times, but it still doesn't work. I tried to restart my computer and checked the internet connection. Everything works fine except for adding a user account in the PC settings. Is there a way to solve this problem?
The reasons behind this issue may be miscellaneous, depending on your system usage, dependencies, and so on. If you can't add new users to your PC settings, try the following three options to add new users on Windows 10.
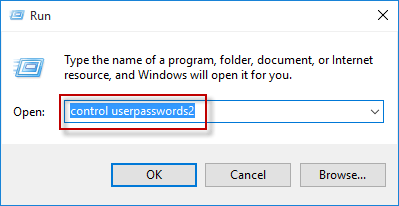
Step 1: Open the Run dialog using Win + R, then type control userpasswords2 and click OK to open the User Accounts dialog.
Step 2: Select the Users tab, and then click the Add button. If the Add button is grayed out, check the "Users must enter a user name and password to use this computer" option.

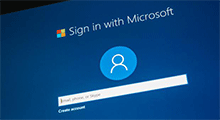
Step 3: This way you can add a Microsoft account. If you want to add a local user, click the Sign in without a Microsoft account (not recommended) link and then select "Local Account" on the next screen.

If this method doesn't work for your Windows 10, move on to the next one.
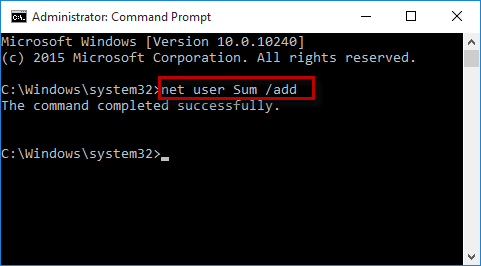
Step 1: Open a Command Prompt as administrator.
Step 2: Type net user <username> /add and press Enter. Note: Replace the <username> with your desired user name. This will add a new local standard account on Windows 10.
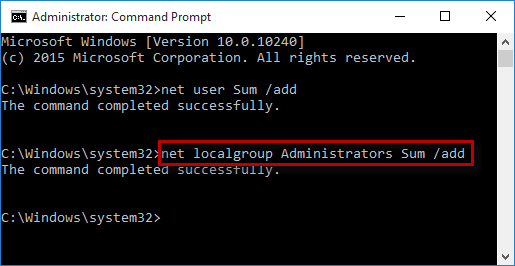
Step 3: If you want the added user to be an admin account, type net localgroup Administrators <username> /add and press Enter to promote the standard user to an admin account.
If this method doesn't work either, use the Option 3.
Unlike the previous two methods, Windows Password Refixer allows you to add new user without logging in Windows 10.
Step 1: Download and install the Windows Password Refixer software.
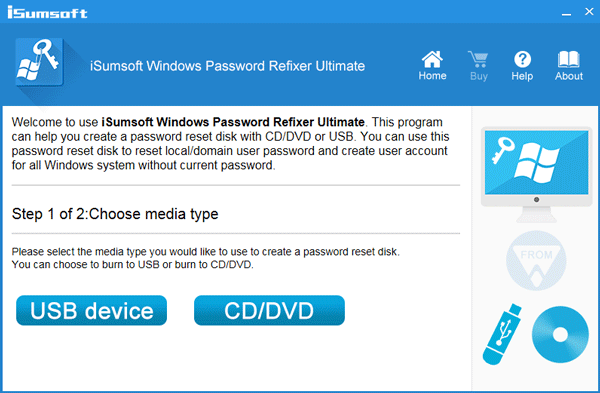
Step 2: Launch the software and burn it into a USB drive.
Step 3: Boot your computer from the USB drive.
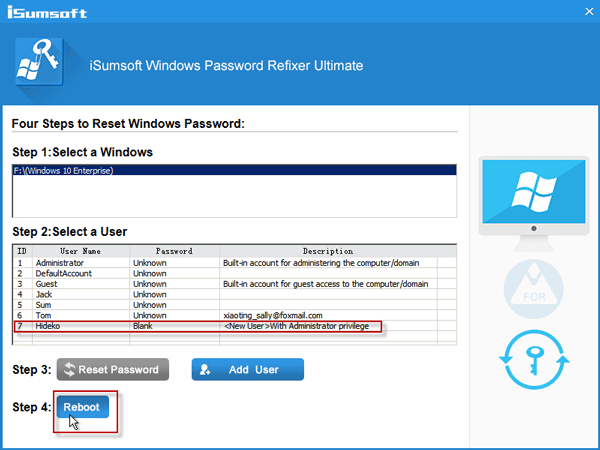
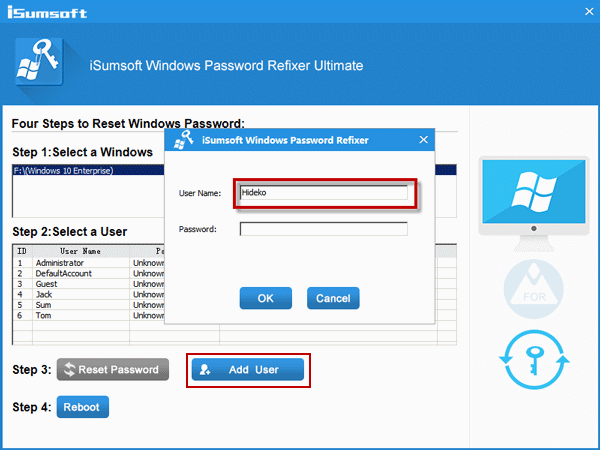
Step 4: After the "Windows Password Refixer" screen appears, click the "Add User" button.

Step 5: Type a name for the new user, and click OK. This will add a new user with administrator privilege to your PC.
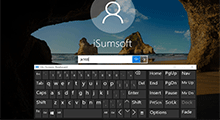
Step 6: Click Reboot and disconnect the USB drive. The computer will restart and then you can see the newly added user displaying in the lower left corner of the Windows 10 sign-in screen.