If you always boot your computer at the same time each day, you can set it automatically power on at a time when you start working. This document will show you 2 ways to automatically turn on your PC at the scheduled time.
Use the steps in this document to configure the computer's BIOS boot settings and automatically turn on the computer's power on a specific date and time.
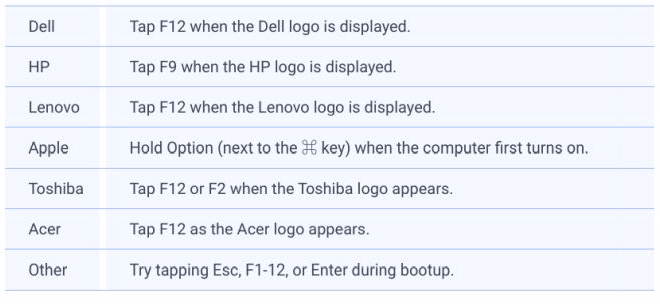
Step 1: Access your PC's UEFI or BIOS settings screen.
To access it, turn on the power of computer, press the "Delete" or "F2" key immediately during the boot process to enter BIOS advanced mode.
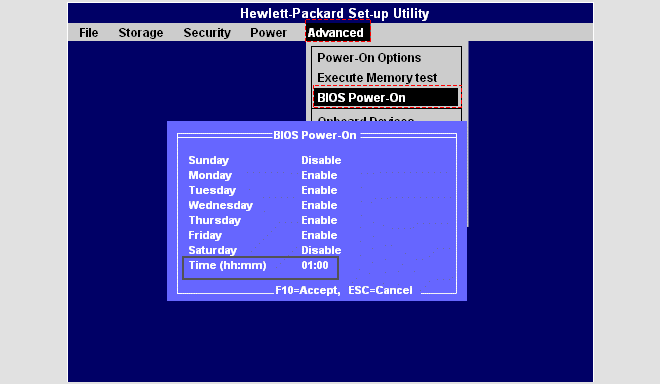
Step 2: In the UEFI or BIOS settings screen, look for an option that will boot your PC on a schedule. The available options and what they're called will depend on your PC. On an HP PC, the option was under Advanced > BIOS Power-On. Choose a power-on time and which days of the week it applies to.
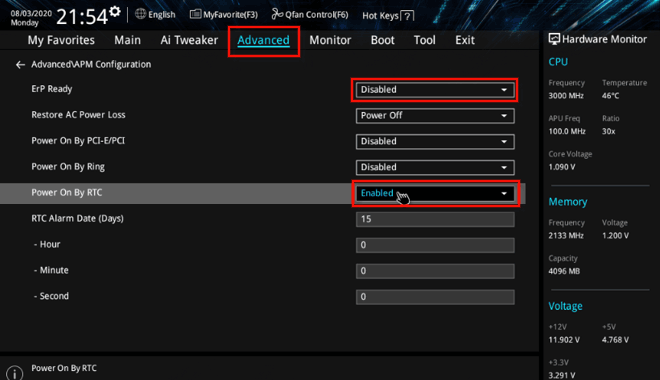
On an Asus PC, this option at Advanced Settings > APM Configuration > Power On By RTC. Make sure [Erp ready] is Disabled and change [Power on By RTC] to Enabled as below.
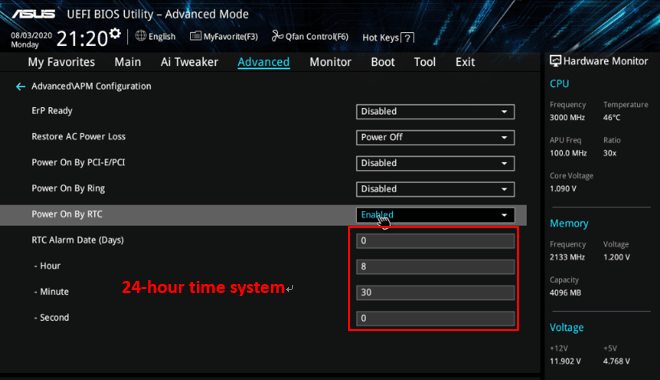
Step 3: Set Day and Time that you want to wake up the device. If you want motherboard to be powered on at 08:30 everyday, please set as below:
(Wake up date: 0 stands for every day, 1 stands for 1st day of the month, 2 stands for 2nd day of the month...31 is the 31st of the month)
Step 4: Press F10 to accept the changes. Your computer will now automatically turn on at the specified time.
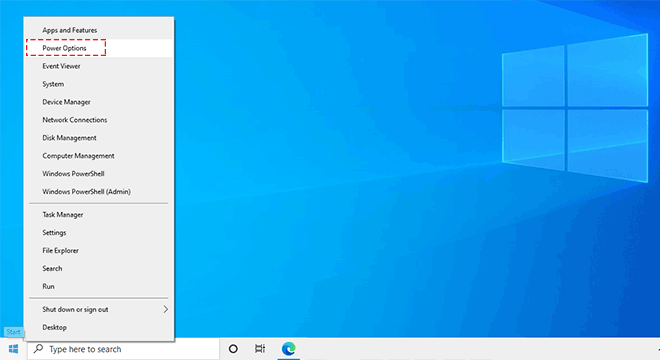
Step 5: Power on and enter Window10, right-click Windows logo in the start menu and select Power Options.
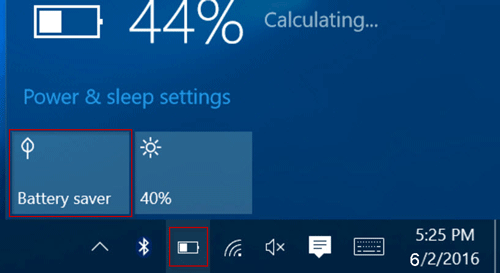
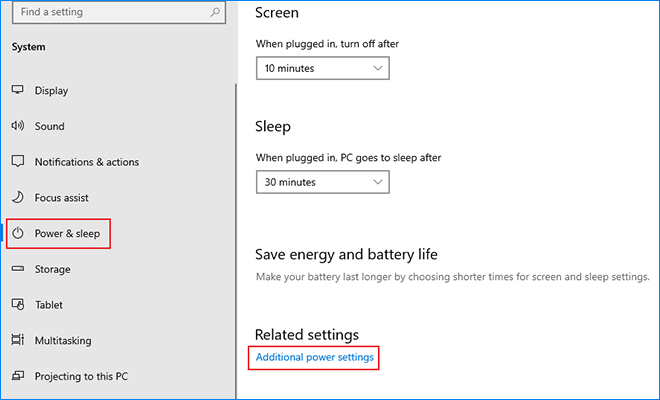
Step 6: Click Power & sleep >Additional power settings.
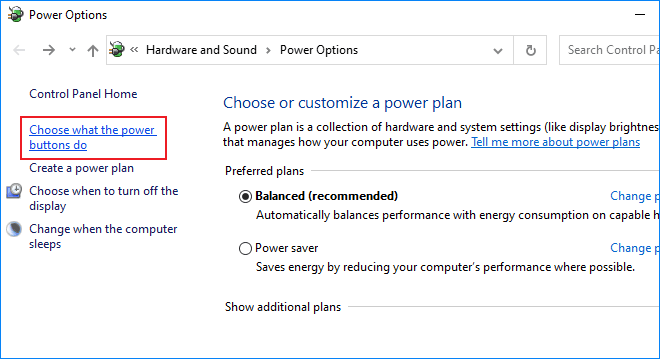
Step 7: Click Choose what the power buttons do.
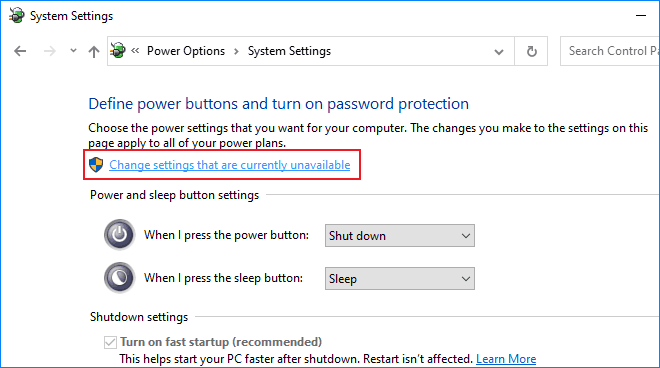
Step 8: Click Change settings that are currently unavailable.
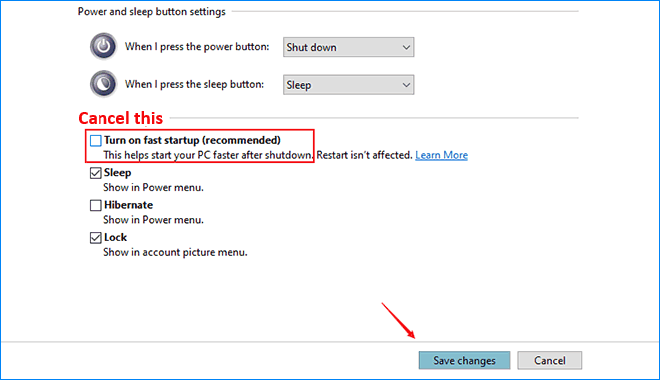
Step 9: Cancel to check the Turn on fast startup option, then click Save changes.
If there's no option to enable automatic startup in your PC's BIOS or UEFI setting screen, you can have your PC wake from sleep automatically. This is also useful if you put your PC to sleep when you aren't using it. To set this up, use the Task Scheduler to create a task that wakes your computer at a customizable time
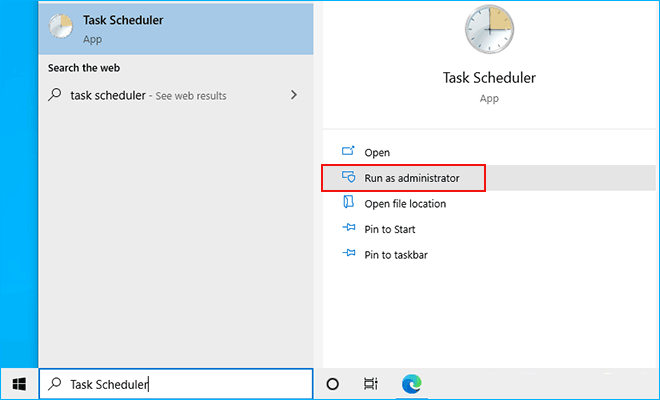
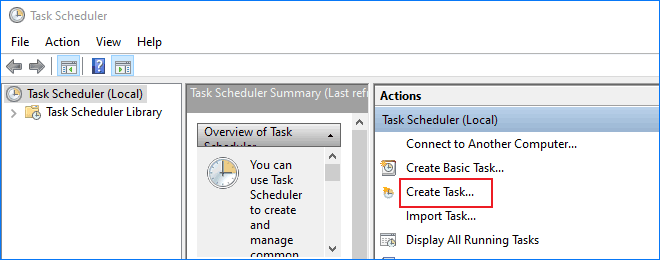
Step 1: Search for Task Scheduler, and click Run as administrator from the result.
Step 2: After Task Scheduler opens, click Create Task... in the right-side pane.
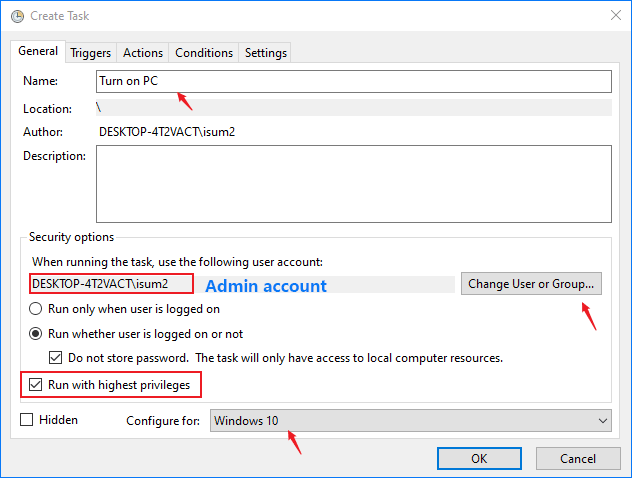
Step 3: Type Wake from sleep in the Name field. You may also want to tell it to run whether a user is logged on or not and set it to run with highest privileges. Finally, click Next.
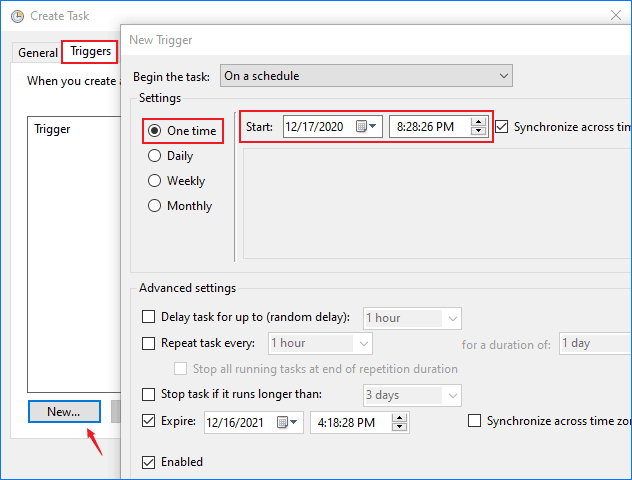
Step 4: On the Triggers tab, create a new trigger that runs the task at your desired time. This can be a repeating schedule or a single time.
Step 5: On the Actions tab, click on New and type a name for the action.
If you want to wake the system without running a program, you can tell the task to run cmd.exe with the /c "exit" arguments – this will launch a Command Prompt window and immediately close it, effectively doing nothing.

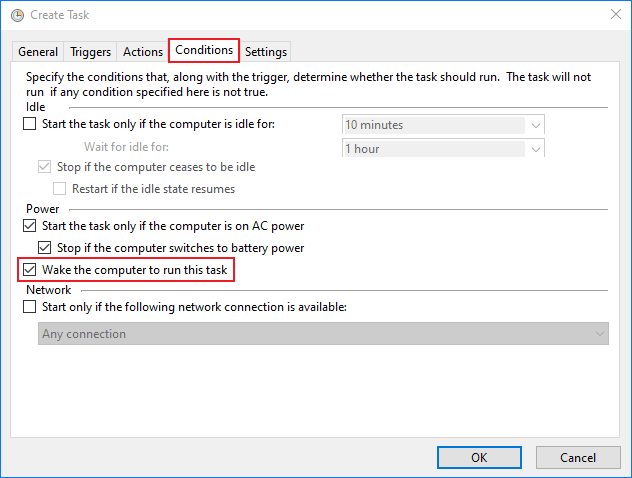
Step 6: On the conditions tab, enable the Wake the computer to run this task option.
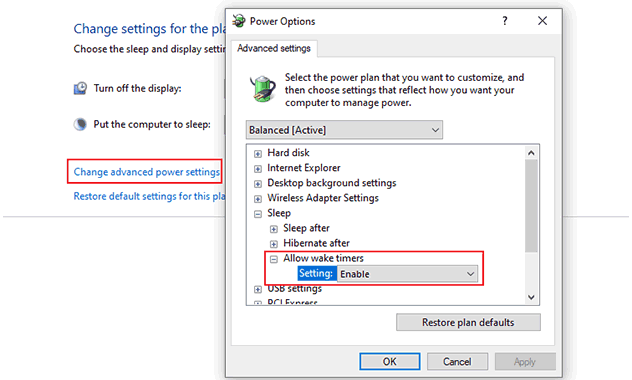
Step 7: Ensure wake timers are enabled.
Go to the Start menu, type Power Options in Search box. Click it from the result. Then click Additional power settings under related settings.
Click Change plan settings > Change advanced power settings, expand the "Sleep" section, expand the "Allow wake timers" section, and ensure it’s set to "Enable".