If you're unable to add new users in PC Settings on your Windows 10, clicking "Add someone else to this PC" without any response, you're not alone. This issue can be resolved by trying alternative methods to create a new user account.
Various factors can cause this issue, depending on system usage and dependencies. If adding new users via PC Settings isn't working, try the following three methods to add new users on Windows 10.
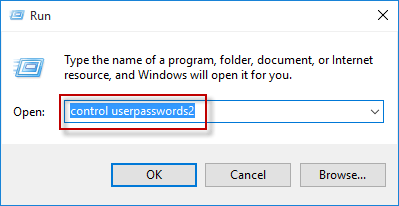
Step 1: Press Win + R to open the Run dialog, type control userpasswords2, and click OK to access the User Accounts dialog.
Step 2: Select the Users tab and click the Add button. If it's grayed out, check "Users must enter a user name and password to use this computer".

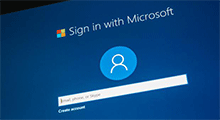
Step 3: To add a Microsoft account, follow the prompts. For a local user, click Sign in without a Microsoft account (not recommended) and select "Local Account".

If this method fails, proceed to the next one.
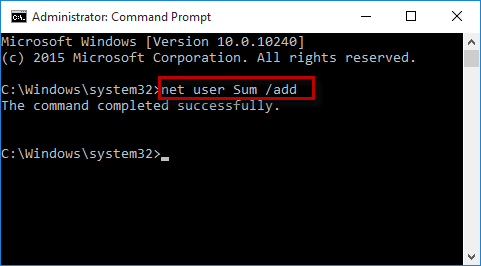
Step 1: Open Command Prompt as administrator.
Step 2: Type net user <username> /add and press Enter. Replace <username> with your desired username to create a new local standard account.
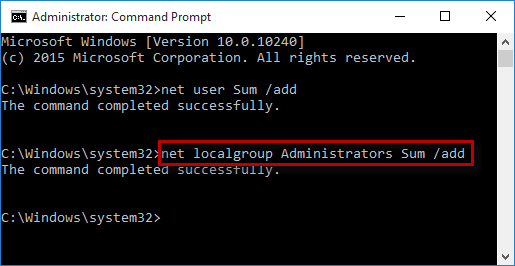
Step 3: To make the new user an admin, type net localgroup Administrators <username> /add and press Enter to promote the user to admin.
If this method doesn't work, try Option 3.
Unlike the previous methods, Windows Password Refixer allows you to add a new user without logging into Windows 10.
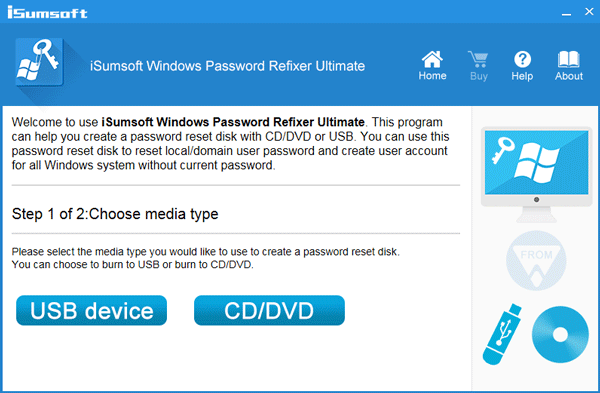
Step 1: Download and install Windows Password Refixer.
Step 2: Launch the software and burn it to a USB drive.
Step 3: Boot your computer from the USB drive.
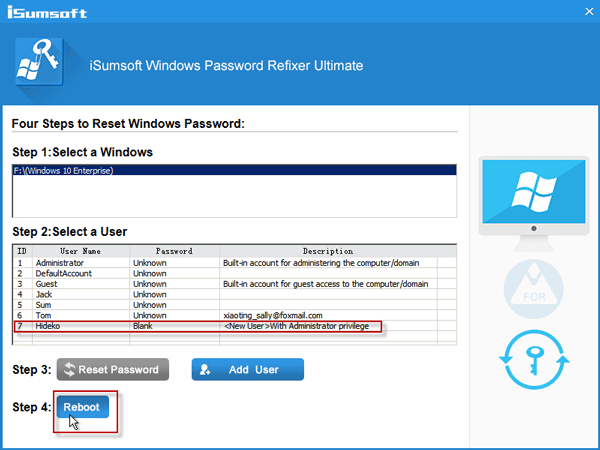
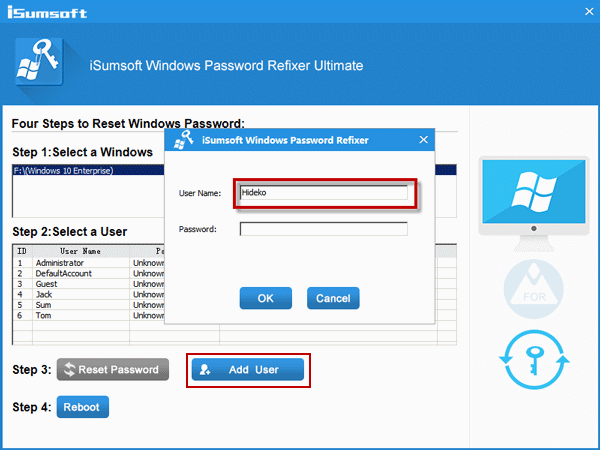
Step 4: After the "Windows Password Refixer" screen appears, click "Add User".

Step 5: Enter a name for the new user and click OK to create an administrator account.
Step 6: Click Reboot and remove the USB drive. The new user will be displayed on the Windows 10 sign-in screen.