Quick answer: If you want the new SSD to contain Windows, installed programs, boot partitions, and personal files exactly like the old SSD, clone the old SSD to the new SSD. If you only need documents, photos, downloads, or project folders, copy the files manually. Use a Windows system image when you want a restorable backup first, not when you need the fastest direct SSD-to-SSD transfer.
This guide shows three practical ways to transfer data from one SSD to another in Windows 10/11: direct disk cloning with iSumsoft Cloner, a Windows system image backup, and manual file transfer. Before you start, make sure the target SSD does not contain anything you still need because cloning and formatting can overwrite it.

Spend a few minutes checking the source and target SSDs before you move anything. This avoids the two most common problems: cloning the wrong direction and discovering too late that the target SSD is too small.
Important: Treat the target SSD as disposable during the transfer. Microsoft explains that initializing a disk that already contains data erases the data on that disk, so back up anything important first. See Microsoft's guide to initializing new disks in Windows.
| Check | What to Do | Why It Matters |
|---|---|---|
| Capacity | Open File Explorer and compare the used space on the source SSD with the size of the target SSD. | The target SSD must have enough space for the data you plan to transfer. |
| Connection | Connect the new SSD with an internal slot, USB-to-SATA adapter, USB enclosure, or M.2 enclosure. | A loose adapter can interrupt a clone or backup operation. |
| Disk visibility | Open Disk Management if the SSD does not appear in File Explorer. | A new SSD might need to be brought online, initialized, or assigned a drive letter. |
| Boot plan | Decide whether the target SSD should become your boot drive. | If yes, use a disk clone rather than a simple file copy. |
The best method depends on what "data" means in your situation. Moving only personal folders is very different from moving a bootable Windows installation.
| Your Goal | Recommended Method | What Transfers |
|---|---|---|
| Replace the old SSD and boot from the new SSD | Clone the SSD with a cloning tool | Windows, boot partitions, installed apps, settings, and personal files |
| Create a restorable copy before changing drives | Windows system image backup | A backup image of selected volumes that can be restored later |
| Move documents, videos, photos, downloads, or project files | Manual copy in File Explorer | Selected files and folders only |
| Transfer data to a smaller SSD | Clean up first, then clone or copy selected files | Only the data that fits on the target SSD |
Cloning is the most complete method because it copies the disk layout, Windows installation, boot files, installed programs, and personal data to the target SSD. Use this method when you are upgrading to a larger SSD, replacing a failing SSD, or moving Windows to a faster drive.
Warning: Disk Clone overwrites the target SSD. Confirm that the source disk is the old SSD and the target disk is the new SSD before you click Start.
iSumsoft Cloner supports disk cloning, partition copying, backup, and restore. For a full SSD-to-SSD migration, use Disk Clone.

Step 1: Free download iSumsoft Cloner, install it, and keep both SSDs connected to the computer.
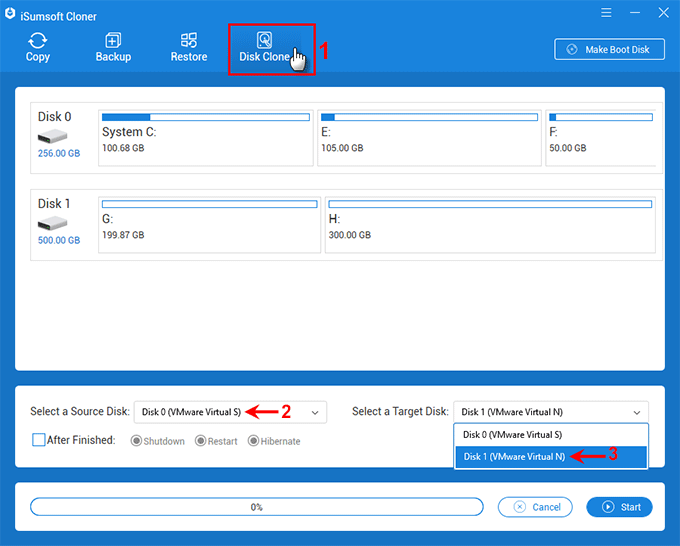
Step 2: Open the program and choose Disk Clone. Select the old SSD as the source disk and the new SSD as the target disk.
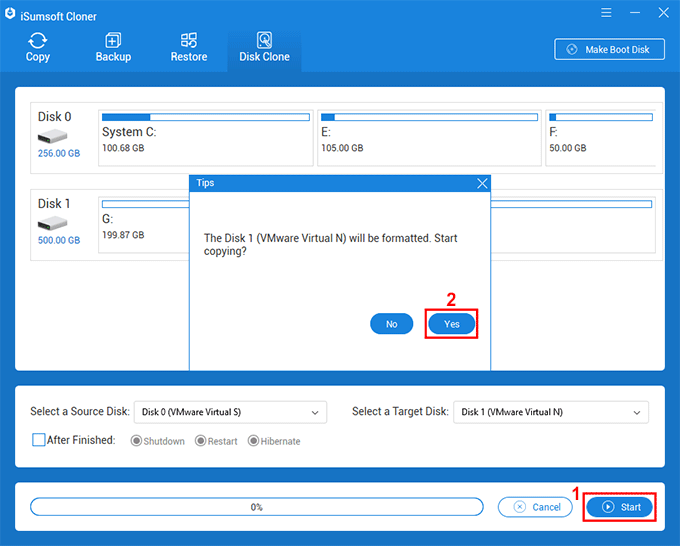
Step 3: Check the source and target one more time, then click Start. If the program asks to format the target SSD, click Yes only after confirming that the target SSD has no needed data.
Step 4: Wait until the clone finishes. Keep the computer powered on and avoid disconnecting either SSD during the process.
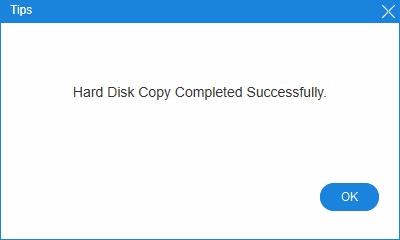
Step 5: If you cloned a Windows boot drive, restart the computer and set the new SSD as the first boot device in BIOS/UEFI. You can also read: How to Boot from SSD after Cloning.
Windows can create a system image, which is useful when you want a backup you can restore later. This method is safer than experimenting directly on the only copy of your data, but it is less direct than cloning because you create a backup first and then restore it to another drive.
Microsoft's wbadmin start backup documentation describes Windows backups as VSS-based backups that require administrator or Backup Operator permissions. For normal home PC users, the Control Panel interface is easier than the command line.
Step 1: Type Control Panel in the Windows search box and open it.

Step 2: Search for Backup and Restore, then open Backup and Restore (Windows 7).
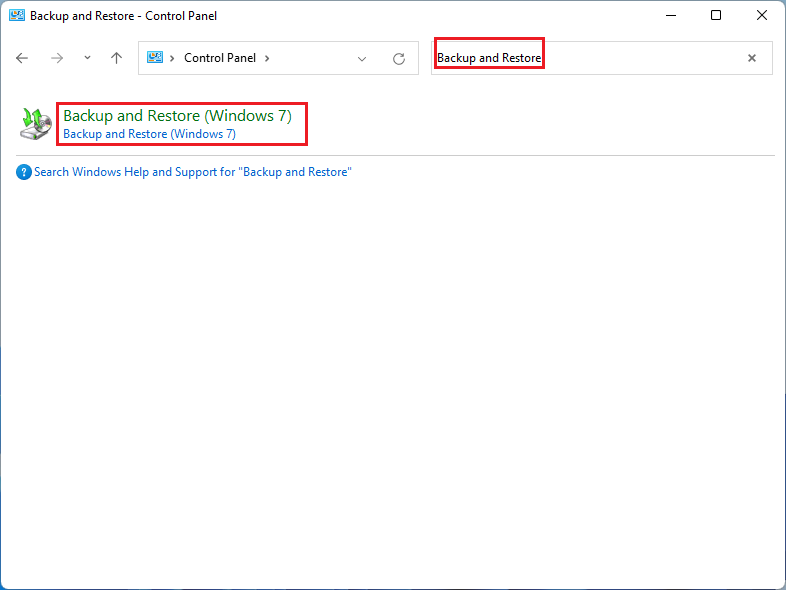
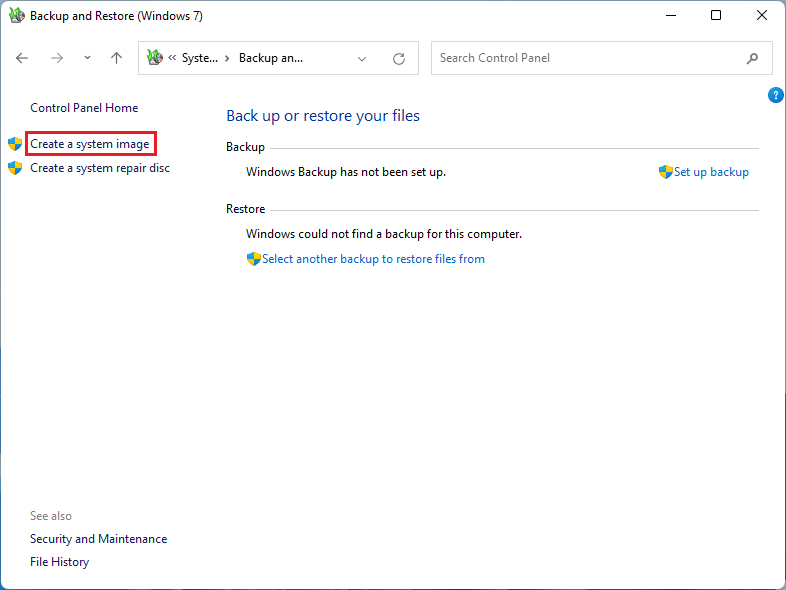
Step 3: Click Create a system image. Choose an external drive, another internal drive, or a suitable network location as the backup destination.
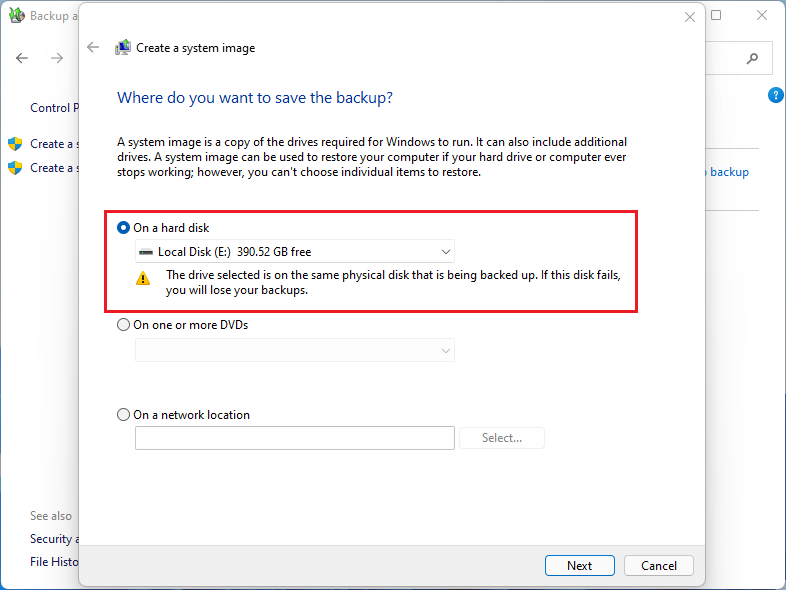
Step 4: Under On a hard disk, choose where to save the image backup, then click Next.
Step 5: Select the SSD or partitions you want to include in the backup, then click Next.
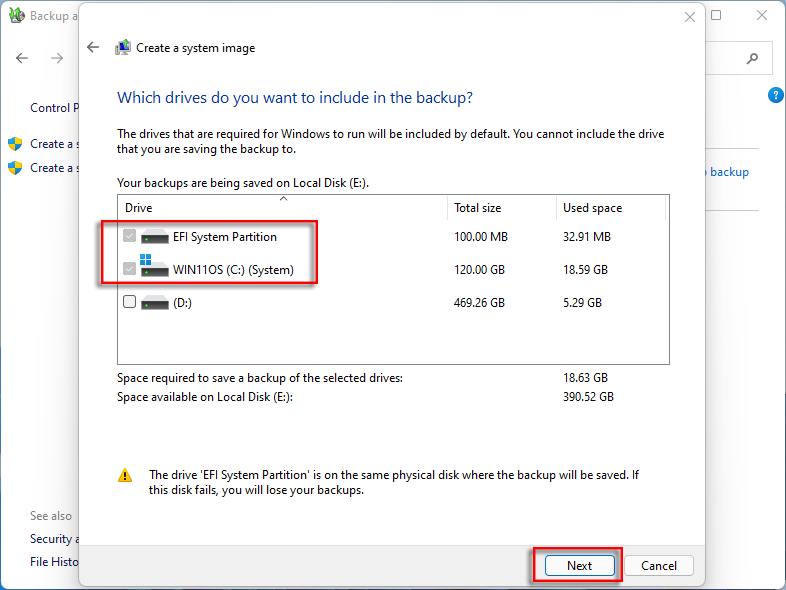
Step 6: Confirm the backup settings and click Start backup.
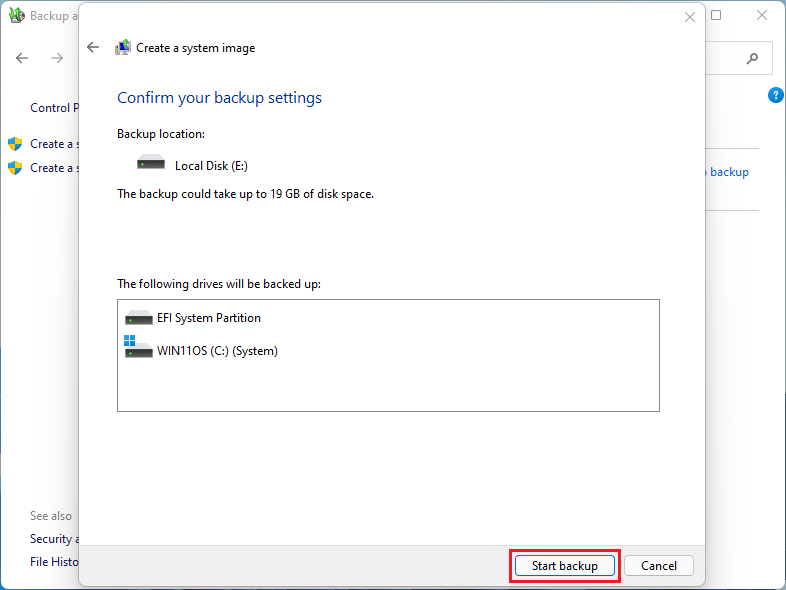
Step 7: Wait while Windows creates the image. If Windows asks whether to create a system repair disc, you can choose No if you already have Windows installation or recovery media.
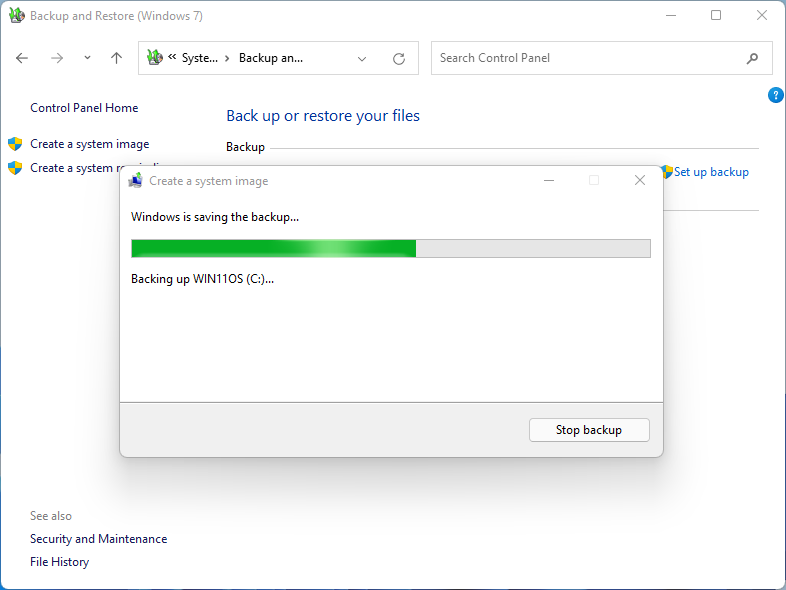
Step 8: After the backup finishes, verify that the WindowsImageBackup folder exists on the destination drive. To move the image to a replacement SSD, boot into Windows recovery and use System Image Recovery.
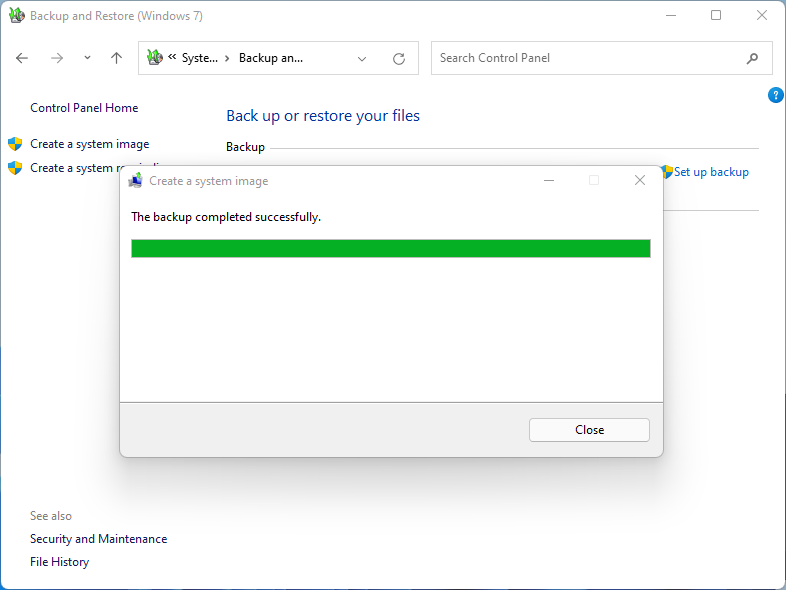
If you do not need Windows or installed programs on the new SSD, manual copy is the simplest method. It is also the safest choice when you want to review what moves to the new SSD instead of duplicating the entire disk.
Step 1: Connect the new SSD and make sure it appears in File Explorer. If it does not appear, check Disk Management and assign a drive letter. If Windows still cannot see it, use this guide: SSD Not Showing Up in Windows 11.
Step 2: Create clear folders on the target SSD, such as Documents, Photos, Videos, Downloads, and Projects.
Step 3: Copy your important folders from the source SSD to the target SSD. For very large transfers, copy in batches so you can spot errors more easily.
Step 4: Open several copied files from the target SSD to confirm that the transfer completed correctly.
Step 5: Keep the old SSD unchanged until you are sure the new SSD has everything you need.
| After-Transfer Check | How to Verify It |
|---|---|
| Files open normally | Open documents, photos, videos, project files, and archives from the target SSD. |
| Free space looks right | Compare used space on both SSDs if you cloned the whole disk. |
| Windows boots from the new SSD | Restart, enter BIOS/UEFI, and place the new SSD first in the boot order. |
| Programs launch correctly | Open apps you use often. If you only copied files manually, reinstall apps instead of expecting them to run from copied folders. |
Once the new SSD works correctly, you can keep the old SSD as a backup, wipe it for reuse, or move it to an external enclosure. Do not erase the old SSD until you have tested the new one for at least one normal work session.
A disk clone is usually the best method when you want to move Windows, installed programs, boot files, and personal data to a replacement SSD. A manual copy is better when you only need documents, photos, videos, or project folders.
Yes. A disk clone overwrites the target SSD. Back up any files on the target SSD before you start, and confirm that you selected the correct source and destination disks.
Yes, but only if the used space on the source SSD is smaller than the available capacity on the target SSD. Delete temporary files, move large media files elsewhere, and check the used space before cloning.
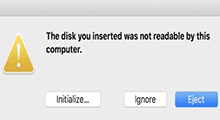
Most cloning tools can write to a blank SSD directly. If Windows does not detect the SSD, open Disk Management and initialize it. Do not initialize a disk that already contains files you need.

![How to Reinstall Windows 11 Without Losing Apps [2024]](../images/backup-recovery/how-to-reinstall-windows-11-without-losing-apps/how-to-reinstall-windows-11-without-losing-apps-s.webp)