Boost your laptop's performance by upgrading to a Solid-State Drive (SSD). Follow these steps to install an SSD in your aged laptop without reinstalling the Windows system.
Table of Contents
Before you begin, complete the following steps.
1. Backup Your Data.
Backup your important files and operating system to an external hard drive to prevent data loss.
2. Check Your Laptop's Manual.
Visit your laptop manufacturer's website, enter your service tag, or use the detect PC feature and click on Manuals & Documents. Look for information on compatible SSD types and sizes for your laptop model.
3. Use an ESD Wrist Strap.
Wear an ESD wrist strap to protect against static electricity damage during the installation. If you don't have one, touch a metal object to discharge static electricity before handling the SSD.
4. Gather Required Tools and Accessories.
You'll need an external USB drive enclosure, a USB cable, disk clone software, and a non-magnetic tip screwdriver.
5. Choose the Right Screwdriver.
Use a Phillips screwdriver (preferably #1) and a small Flat-head screwdriver to avoid damaging your laptop's screws.
To transfer your operating system to the SSD, you'll need to clone your existing hard drive. Use iSumsoft Cloner to achieve this in a few steps. It clones everything, including Windows, settings, apps, and files.
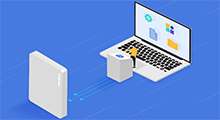
1. Connect the SSD to your laptop using a 2.5 inch USB-to-SATA cable or a 2.5 inch SSD enclosure.

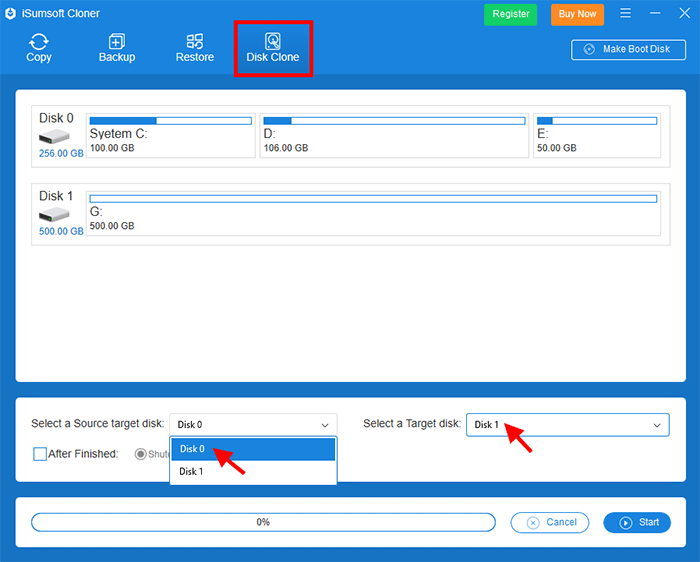
2. Download, install, and run iSumsoft Cloner on your laptop. Then, select the Clone Disk feature.
3. Choose your original disk and target disk. Ensure Disk 0 is the source drive and your SSD is the target drive.
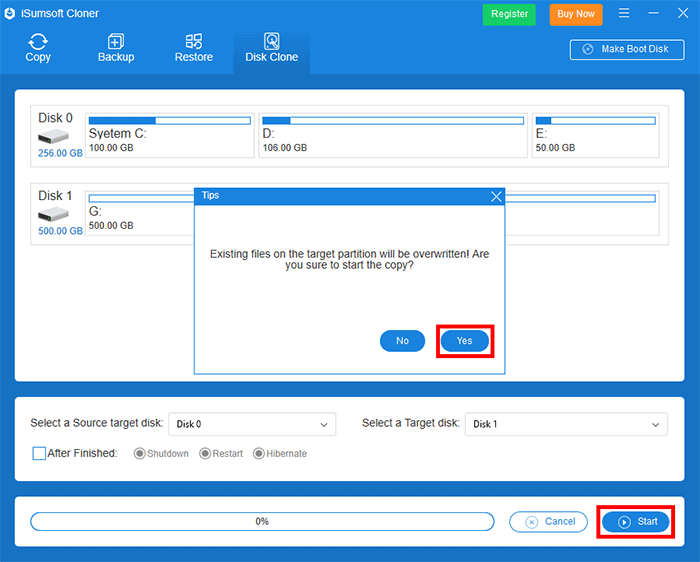
4. Click Start to begin the cloning process. Confirm by clicking Yes.
5. After cloning, you can install the SSD in your laptop.
Step 1: Unplug your laptop, remove the battery, and unscrew the body to access the internal hardware.
Step 2: Remove any screws securing the current drive and carefully lift it out.
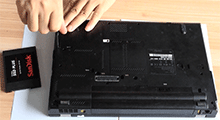
Step 3: Insert the SSD at the same angle and push it firmly into place.
Step 4: Reattach any screws to secure the SSD.
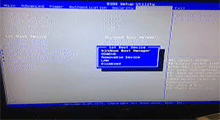
Step 5: Reinsert the battery, screw the back panel back on, and enter the BIOS to change the boot priority.
Step 6: For help with booting from the SSD, see: How to Boot from SSD after Cloning Windows 10.

If your laptop has a DVD drive bay, you can replace the optical drive with an SSD to expand storage. You'll need an optical bay caddy that matches your optical drive's specifications.
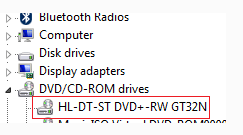
1. Open Device Manager by pressing Win+X, M.
2. Expand DVD/CD-ROM Drives to check your optical drive's specifications.
3. Search online to identify the caddy type based on the drive's height (9.5mm or 12.7mm) and connection type (SATA or PATA).
Then, purchase a compatible caddy and SSD.
Step 1: Install the SSD in the caddy.
Step 2: Remove the optical drive from your laptop.
Step 3: Transfer the faceplate from the optical drive to the SSD caddy.
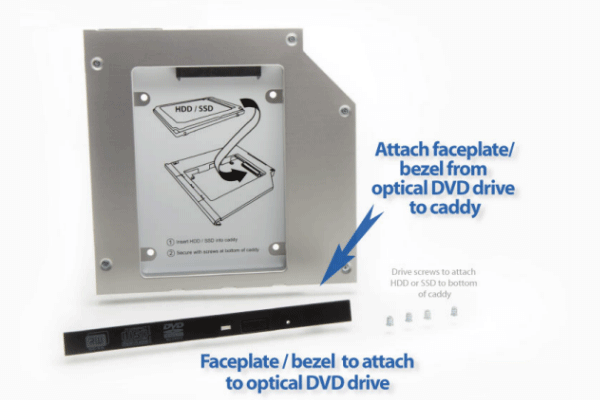
Step 4: Install the SSD caddy in place of the optical drive.
Step 5: Format and partition the new SSD.
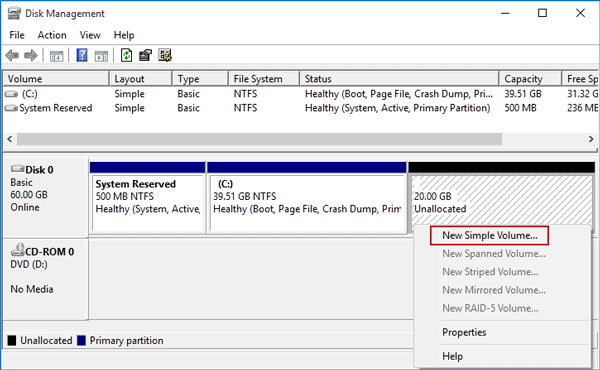
The new SSD may not be visible in File Explorer. To make it usable, open Disk Management (Win+X, K), right-click the drive, and select "New Simple Volume".