Need to share files and folders with other users and computers on the same network? Actually, file sharing is a very simple task, Windows 10 offers two methods to do to that, and which are quickly and easily accessible from the File Explorer panel. The first is to share with other members of your local network we assume that you've already set up a homegroup. Another method is to share a file or folder with other existeing user accounts on your Windows PC.
A Homegroup makes it easy to share pictures, music, documents, videos, and printers with other Windows computers on your local home network. When a PC creates a homegroup, the homegroup is protected with a password. To join a homegroup, you will need the homegroup password, which you can get from the PC that created the homegroup or any PC already joined to the homegroup. When a PC joins a homegroup, all user accounts on the PC become members of the homegroup. Each user on the PC will always be able to choose what libraries and devices to share with the homegroup.
To share files and folders with homegroup members of your local network, follow these steps:
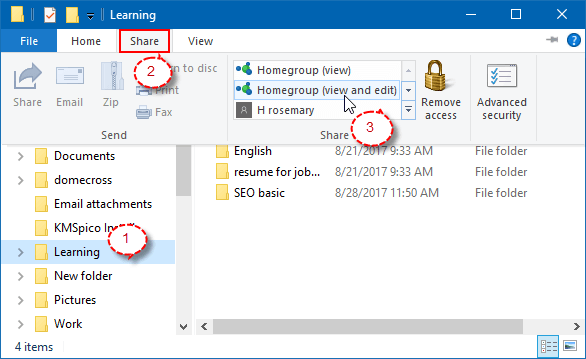
Step 1: Open File Explorer, select a folder or file and click Share tab, click Homegroup option.
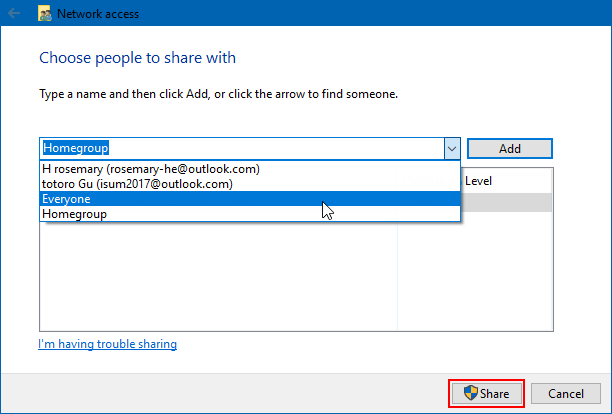
Step 2: Select the users or the groups that you want to share with.
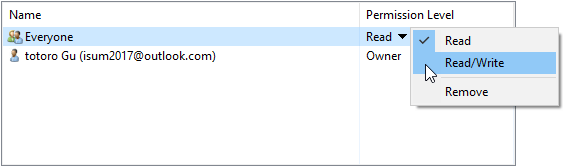
Once you have selected the users you want to share with, you can configure their permissions by clicking the arrow next to their name in the prompt.
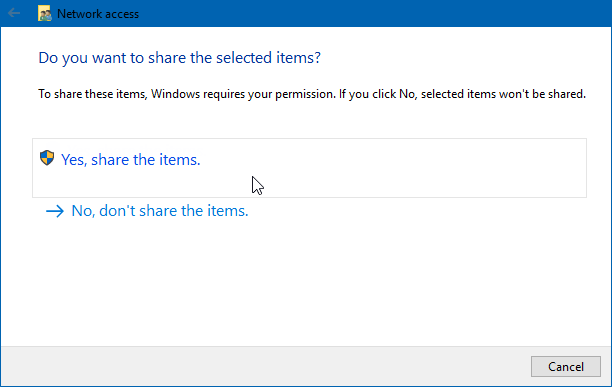
Step 3: When asked to confirm that you want to share the selected items, press Yes, share the items. If you are not asked anything, the item will be automatically shared the person you choose.
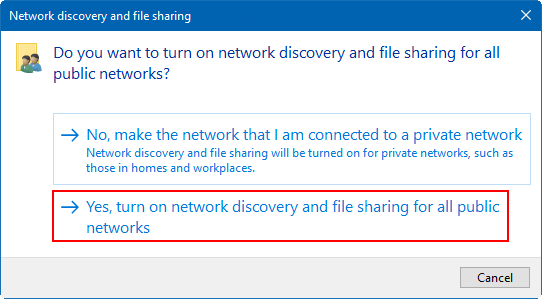
Step 4: When asked to turn on network discovery and file sharing for all public networks, click Yes to confirm.
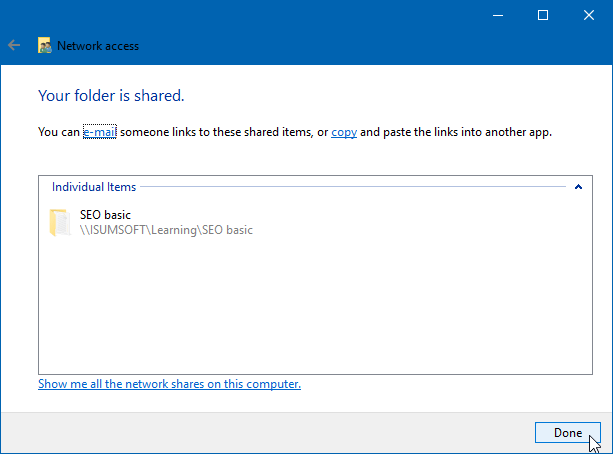
Your folder is shared.
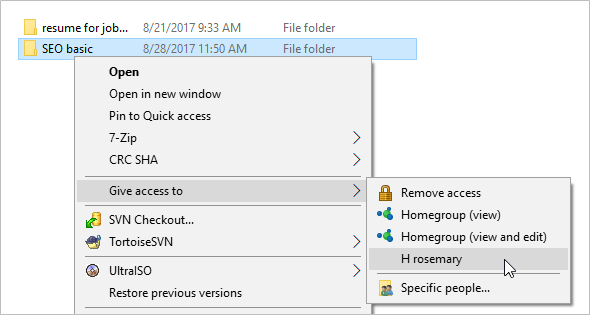
If there are other user accounts on your computer, you may see them listed as a sharing option in the right-click menu. If you see and select another user account, that user can view the items you are sharing. This user may exist on multiple computers or devices. The selected item is shared with the user account regardless of which computer is used. If you want to give this user more permissions instead of reading and viewing, it's best to choose the next sharing option on this list.
To do like this: Open File Explorer, then select the item that you want to share and right-click on it. In the contextl menu, click Give access to, and select the name of the user account you'd like to share with.
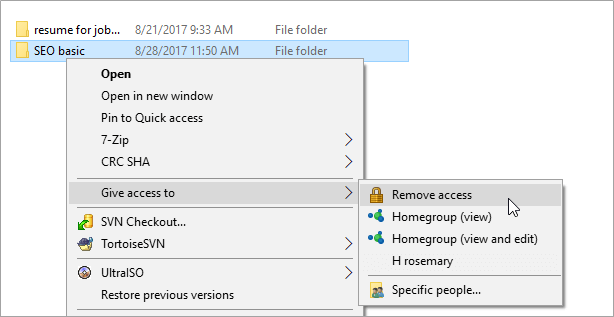
One way to stop sharing a folder is to right-click on it, click Give access to > Remove access.(Windows 10)
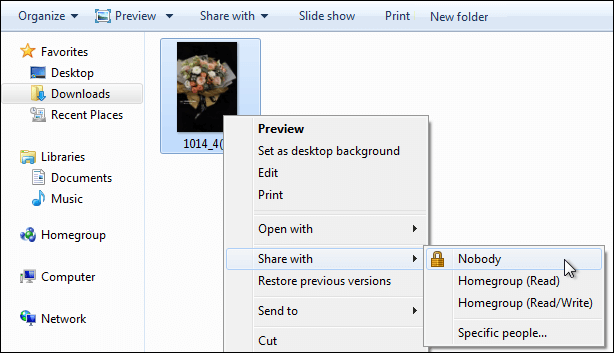
On Windows 8.1, right-click on the shared folder and choose Share with > Stop sharing. If you are using Windows 7, select Nobody to stop Windows files haring.