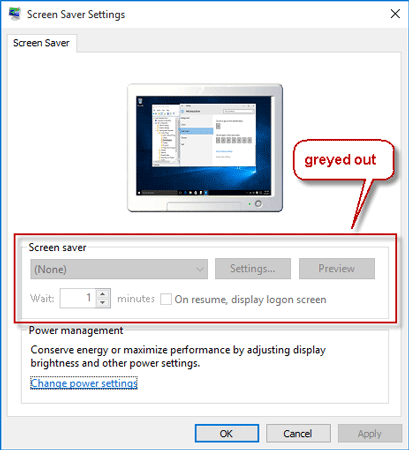
"I am trying to turn on Screensaver in my Windows 10, but when I open the Screen Saver Settings dialog, the Screen Saver drop-down menu, as well as other options, is greyed out. Nothing is clickable, except the OK and Cancel buttons, as shown in the screenshot below. How can I fix the problem?"
If the above situation happens, it is usually because a group policy setting or a registry value is disabling the Screen Saver settings. To fix the Screen Saver Settings greyed out, you just need to set the group policy setting or registry value.
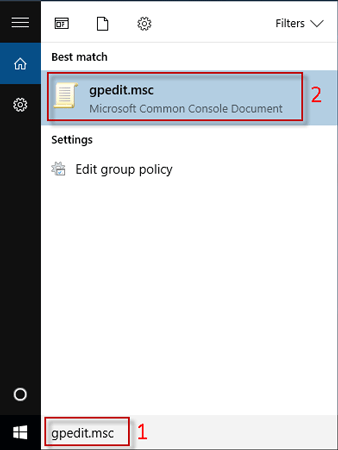
Step 1: Open Local Group Policy Editor in Windows 10 by typing gpedit.msc in the Start menu search box.
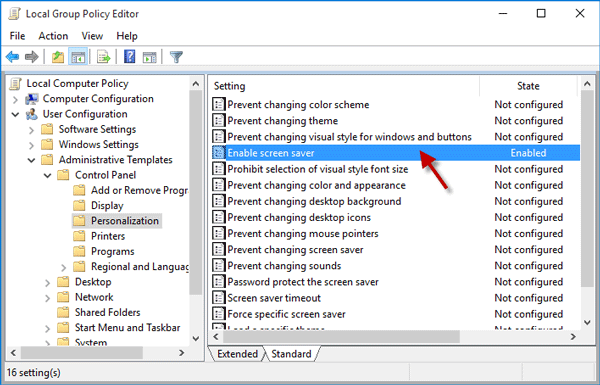
Step 2: On the left-side pane, expand User Configuration, expand Administrative Templates, expand Control Panel, and then click Personalization. Then on the right-side pane, locate the setting labeled "Enable screen saver", and double-click it to modify it.
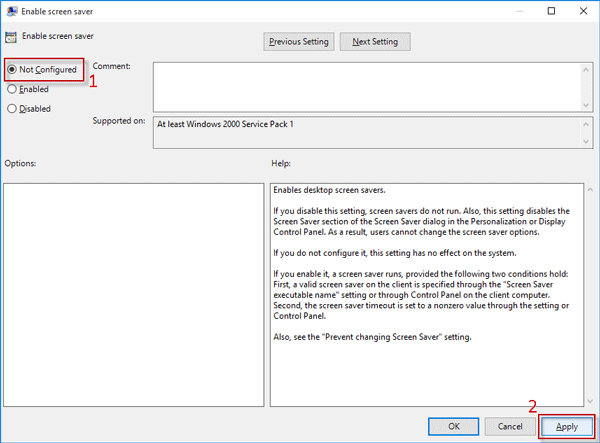
Step 3: Select Not Configured, and click Apply followed by OK.
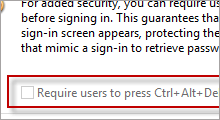
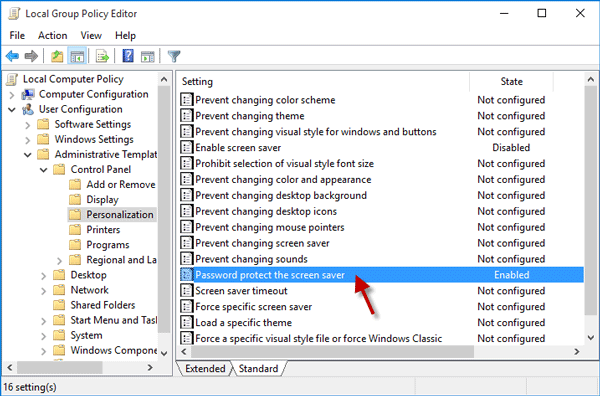
Step 4: If the setting labeled "Password protect the screen saver" is in the Enabled state, double-click it and also set it to "Not Configured". That's it. Changes will take effect without requiring you to restart Windows 10.
Step 5: Now open the Screen Saver Settings dialog, the Screen Saver drop-down menu, wait time, and other options are available.
If you use Windows 10 Home edition, the first option does not work for you, so you have to fix Screen Saver Settings greyed out by modifying the registry values. The registry is a very sensitive part of Windows. Mistakes may cause system failure, so you need to use Registry with care. If you follow the steps below carefully, you won't make any mistakes.
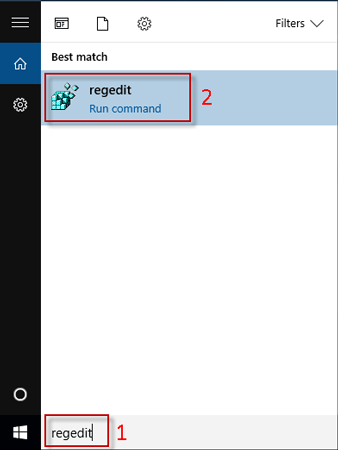
Step 1: Open the Registry Editor by typing regedit in the Start menu search.
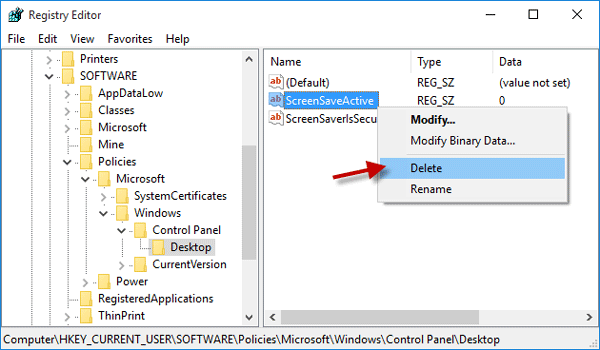
Step 2: Navigate to the location: Computer\HKEY_CURRENT_USER\SOFTWARE\Policies\Microsoft\Windows\Control Panel\Desktop. With the Desktop key selected, you will see ScreenSaveActive and ScreenSaveActive on the right-side pane. Delete both of them.
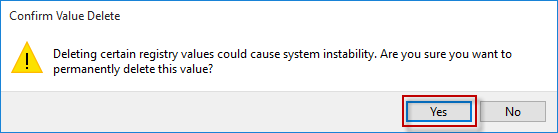
When deleting the values, you will be prompted with a Confirm Value Delete dialog. You just need to click Yes to confirm the deletion.
Step 3: Restart Windows 10 to apply the changes. When you are back to Windows 10, the Screen Saver Settings options are available.