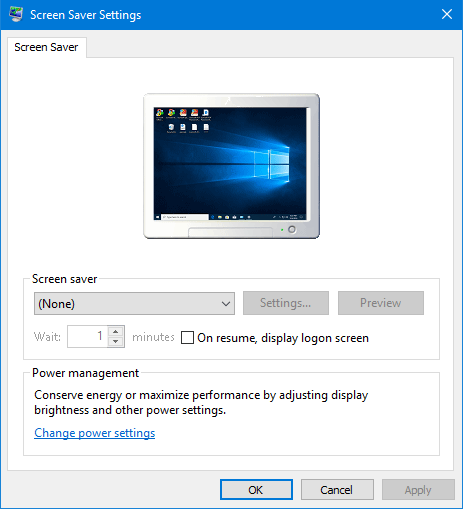
When you need to turn on or off Screen Saver or change Screen Saver settings in Windows 10, you have to open the Screen Saver Settings dialog. We should be delighted that we can do the same task in Windows 10 in multiple ways. Now in this page, I will show you five ways to open Screen Saver Settings dialog in Windows 10.
Five ways to open Screen Saver Settings in Windows 10
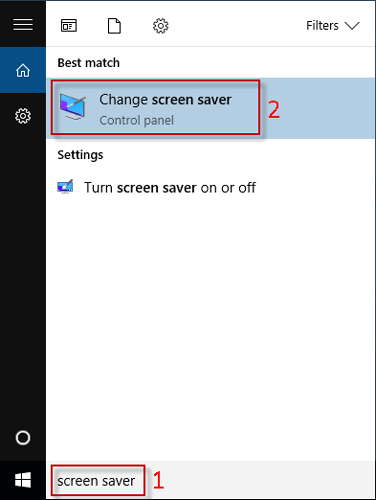
Way 1: by Start menu search
Bring up the Start menu, and start typing “screen saver” (without quotation marks) in the search box. Once the “Change Screen Saver” appears in the search result list, click it so that the Screen Saver Settings dialog will open.
Way 2: from the Settings app
Step 1: Right-click on the Windows 10 desktop and select Personalize from the context menu to go directly to the Personalization page of the Settings.
Step 2: Click Lock Screen on the left side, and then click Screen saver settings on the right side.

Way 3: from Control Panel
Step 1: Open Control Panel, and then click Appearance and Personalization.
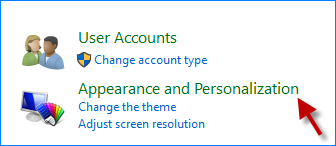
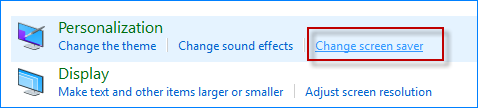
Step 2: Click the Change screen saver link under Personalization.
Way 4: from the Run dialog
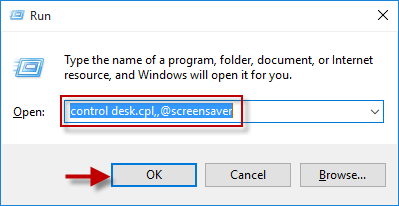
Bring up the Run dialog by using Win + R, type in control desk.cpl,,@screensaver, and click OK.
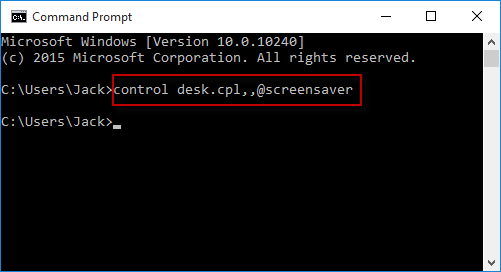
Way 5: from Command Prompt
Open a Command Prompt window by pressing Win + X and then select Command Prompt, type in control desk.cpl,,@screensaver, and then press Enter key.