Learn how to suspend BitLocker when you need to install new software that BitLocker may block. This guide will show you 3 simple ways to turn on or off temporarily suspend BitLocker and resume BitLocker protection for a drive in Windows 10.
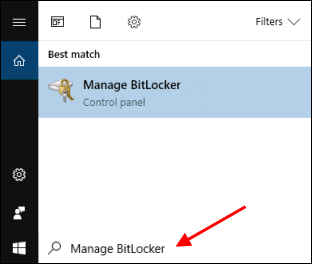
Step 1 Click on the Start Menu. In the search box, type "Manage BitLocker", then hit Enter to open the Manage BitLocker window.
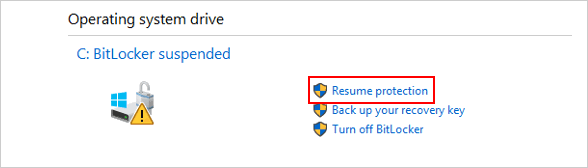
Step 2 Click Suspend protection for the desired drive.

Return to the Manage BitLocker window to Resume protection.
Step 1 Press Win + X, and A on the keyboard, it will open Command Prompt as an Administrator.
![]()
Step 2To enable suspend BitLocker protection for the drive, run the following command, then hit Enter. (Replace H with the drive letter that you want to suspend protection.)
manage-bde -protectors -disable H: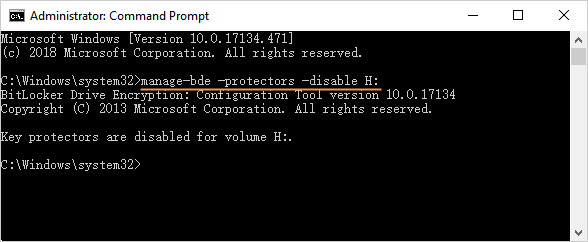
To resume BitLocker protection for the drive, run the following command:
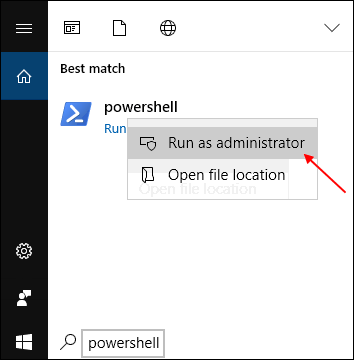
manage-bde -protectors -enable H:Click on the Start Menu. In the search box, type "PowerShell", and right-click it in the result list and select to run it as Administrator. Learn more ways to run PowerShell as administrator in Windows 10.
To suspend the drive's BitLocker Protection for the system and fixed data drives, run the following command and press Enter. Replace H with the drive letter that you want to suspend protection.
Suspend-BitLocker -MountPoint "H:"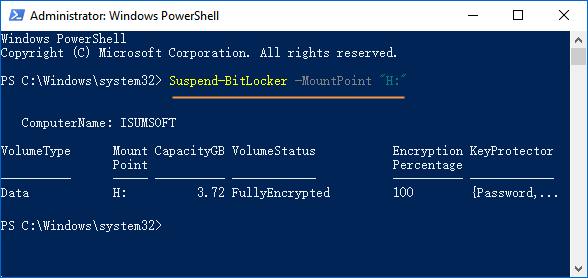
To resume BitLocker Protection, run the following command and press Enter.
Resume-BitLocker -MountPoint "F:"