
"How can I save jpeg files with a password? These are copies of family documents that were forwarded to me by email, and I don't want other computer users to have access to the information. However, I can't seem to find any way of password-protecting a JPEG."
JPEG files can be photographs and pictures recording your personal life, which may be easily spied on and stolen by others. If you want to keep your private images in JPEG format away from prying eyes, here this article will show you how to password protect a JPEG file in Windows 10/Mac.

To password protect a JPEG file, you can print it to a PDF file and then set a password for the PDF. Here come the steps.
Step 1: Choose the jpeg file in the folder. Then click Share tab and choose Print option.
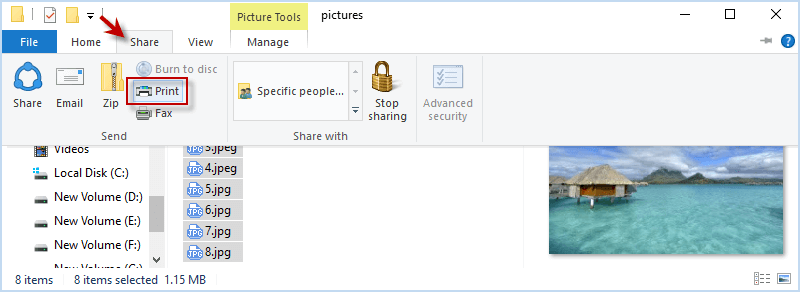
Step 2: Choose Microsoft Print to PDF and click Options… at the right bottom.

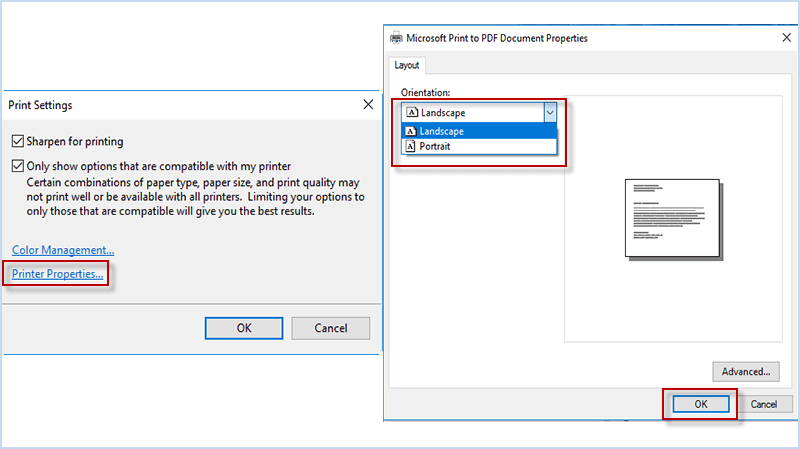
Step 3: In Print Settings, click Printer Properties. Then choose Landscape or Portrait as you want. Finally click OK button.
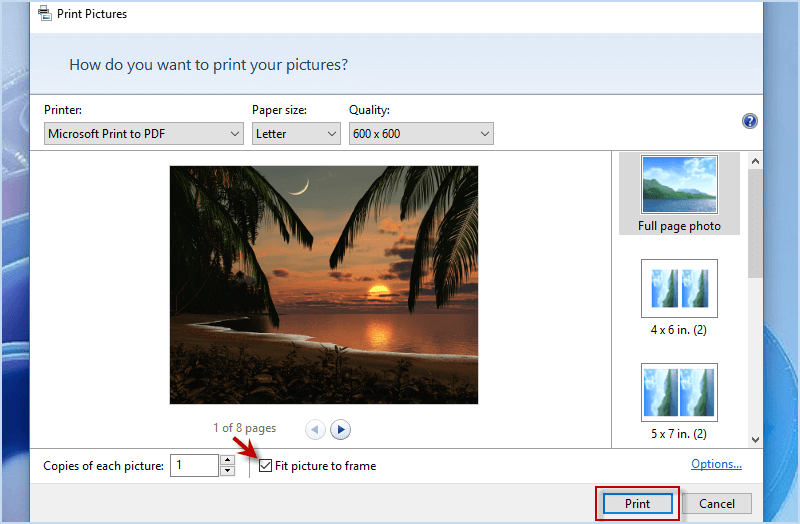
Step 4: Tick Fit picture to frame and hit Print button to convert your JPEG file into PDF file.
Step 5: Set the file name and click Save button to save your image file as PDF type.
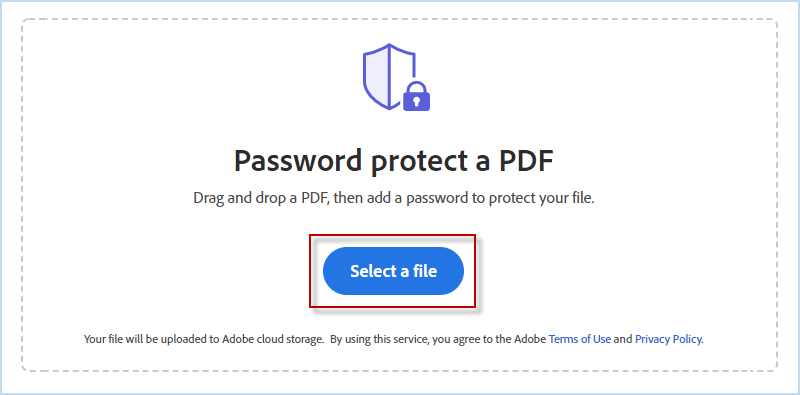
Step 6: Navigate to Adobe website. Then click Select a file to choose the PDF file converted from JPEG file.
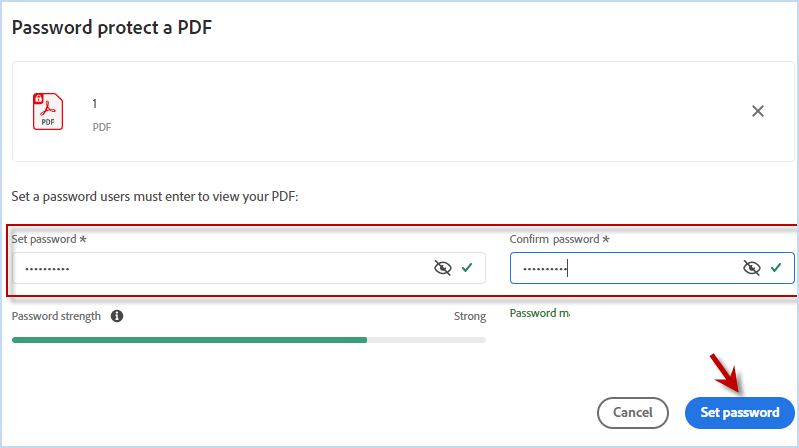
Step 7: After selection, enter a password and confirm it. Then click Set password to start protecting the PDF.
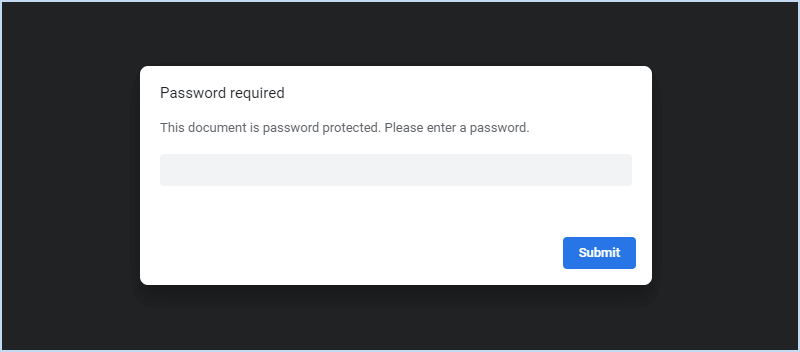
Step 8: In this way, you are able to password protect JPEG file as a PDF document file in Windows 10.
Another way to password protect a JPEG file in Windows10 is to put it into a Word document, so that you can easily protect the JPEG file stored in document with the built-in Word feature. Here are the steps.
Step 1: Copy and paste all your JPEG files into Word. Click File > Save and set a file name and location for your JPEG file.

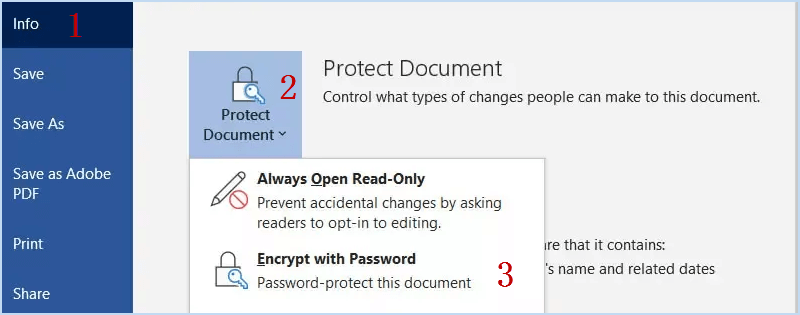
Step 2: In Word document, click File > Info. In the drop-down menu of Protect Document, choose Encrypt with Password.
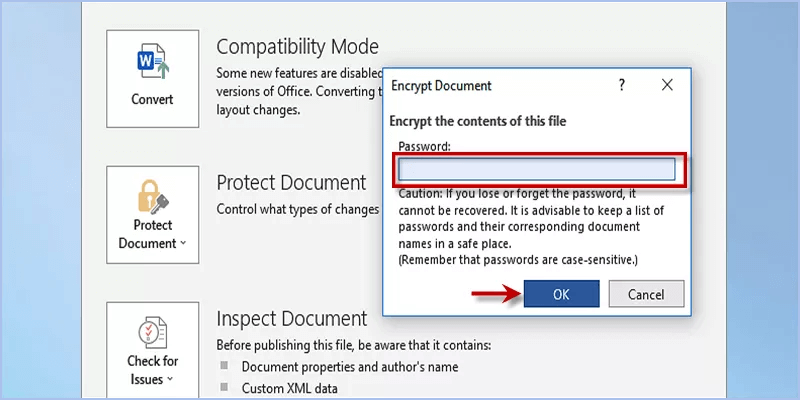
Step 3: When a password setting window pops up, enter a desired password and click OK. Microsoft Word will encrypt the contents, which restricts your JPEG files in document from being accessed by others without a correct password.
How to password protect a JPEG file without the help of PDF and Word? You can choose to compress the JPEG File and add a password on compressed JPEG file. Here let’s learn about how to password protect a JPEG in Windows 10 using WinRAR.
Step 1: Download and install WinRAR on your Computer.
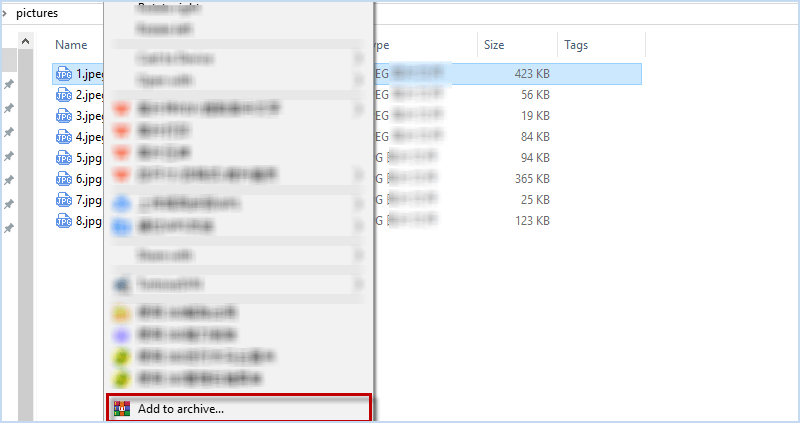
Step 2: Right-click the JPEG file and choose Add to archive.
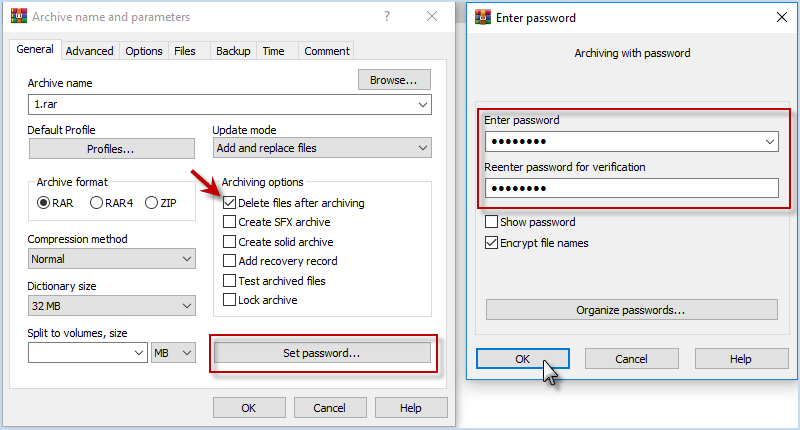
Step 3: Check Delete files after archiving and click Set password. Then enter a password twice and click OK.
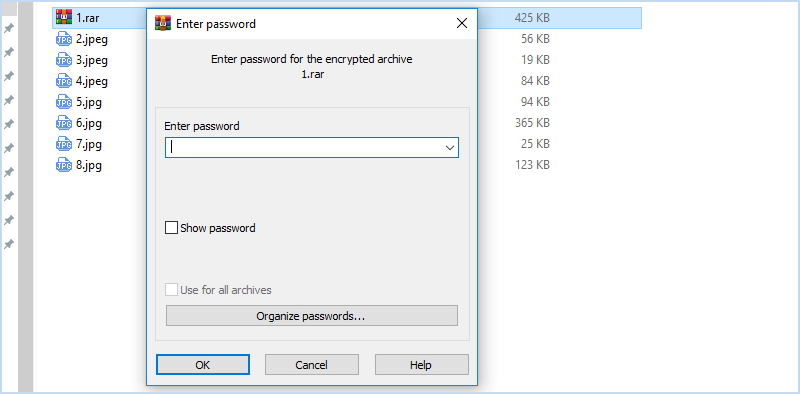
Step 4: WinRAR will compress the selected JPEG file and encrypt the zip file at the same time. When it is finished, you are required to enter a preset password to access the compress and protected JPEG file.
If you are looking for the easiest and safest way to password protect a JPEG file in Windows 10, iSumsoft FileCarer can be your best choice. In iSumsoft FileCarer, the Encrypt function enables you to add JPEG file to encryption directory by clicking the folder/file icon. Then you can set an exclusive password used to decrypt the file for access and click Encyrpt button to finish the protection. It is really an effective way that helps you directly password protect JPEG file without moving, converting or zipping it.
Here you can download iSumsoft FileCarer and use it to password protect JPEG files.
Download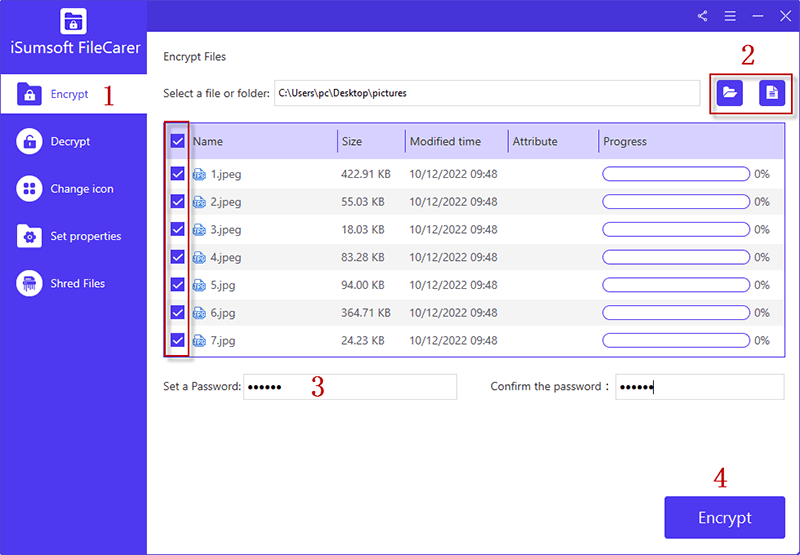
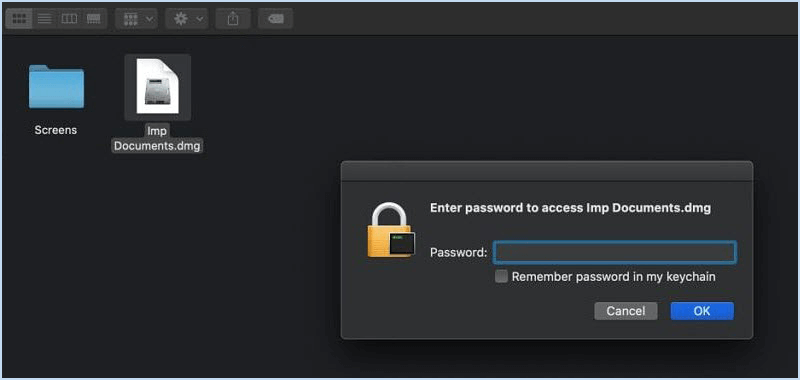
If you want to password protect some JPEG files on Mac, you can create a new folder and put your JPEG files in the folder, and then encrypt it using Disk Utility.
Step 1: Press Command + Space and type Disk Utility. Then hit Enter button.
Step 2: In Disk Utility, click File > New Image… > Image from Folder…

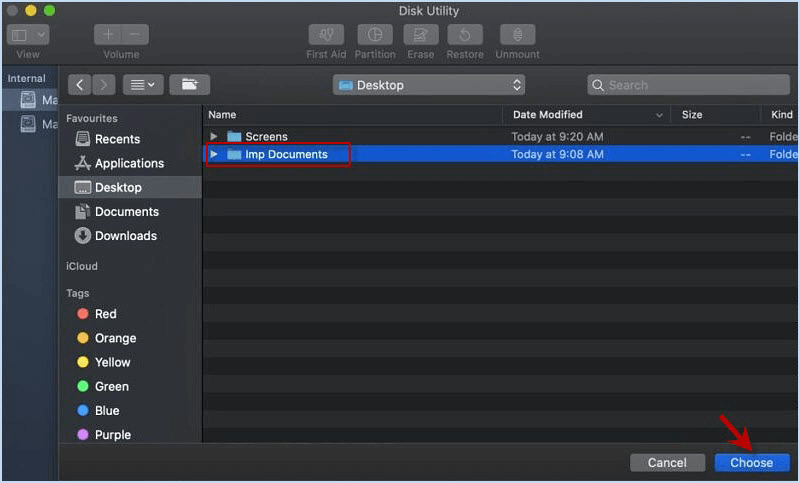
Step 3: Select the folder desired to password protect and click Choose button.
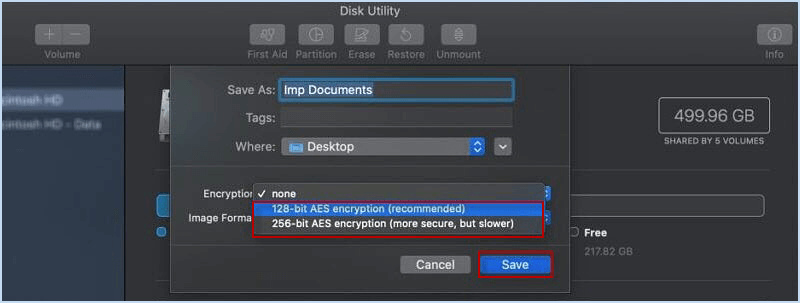
Step 4: Under Encryption option, select 128-bit AES encryption/ 256-bit AES encryption in the drop-down menu.
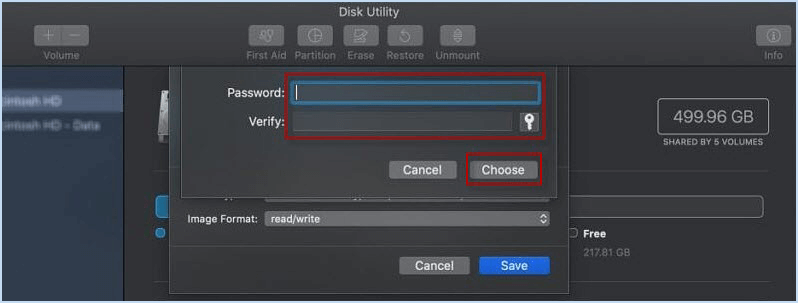
Step 5: Set a password and verify it. Then click Choose. Or you can just click the Key icon to get a strong password recommended by system. Finally choose read/write as image format and click Save button.
Step 6: Wait for MacOS encrypting the selected folder containing your JPEG files.
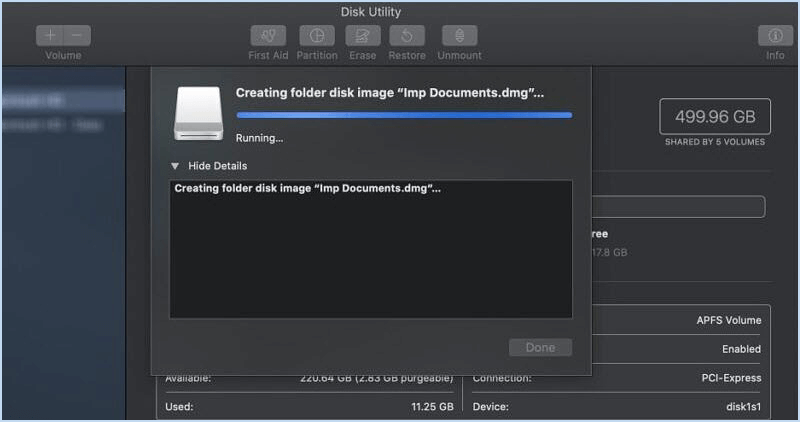
Step 7: Once encrypted, your JPEG files can be protected in an encrypted folder which requires a password to access.
 How to Put Password on Pictures/Photos on Windows 11/10/8/7 Computer
 2 Ways to Hide Files and Folders in Windows 10
 How to Password Protect an MP4 Video File in Windows 10 & Mac
  How to Password Protect a Folder on a Shared Hard Drive Windows 10
 PDF User and Owner Password - Secure PDF Document
 How to Encrypt Hard Drive in Windows 10 by Using BitLocker
 How to Encrypt USB Drive with or without BitLocker in Windows 10
 Turn on or off Device Encryption/BitLocker on Surface Pro/Laptop