
Are you ready to embark on a journey into the world of Linux Mint? Whether you're a seasoned Linux enthusiast or a curious newcomer seeking a reliable and user-friendly operating system, creating a bootable USB drive with Linux Mint is your first step towards a seamless and customizable computing experience. In this article, we will guide you through how to create a Linux Mint bootable USB drive.

Step 1: Download Linux Mint ISO.

Step 2: Download and install qBittorrent on your computer.

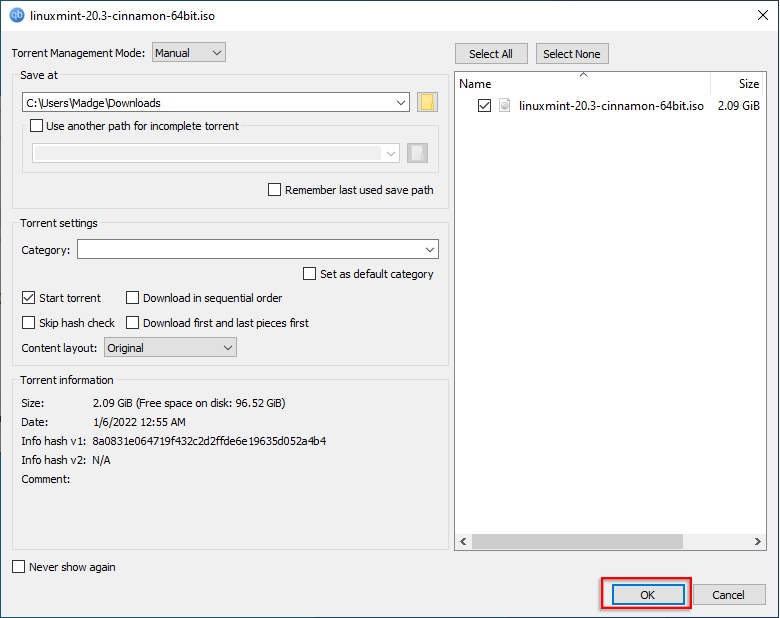
Step 3: Launch qBittorrent, then click on File and choose Add Torrent File. In the pop-up window, locate the downloaded Linux Mint ISO, then select it and click Open.

Step 5: Click on OK to begin downloading.
Step 6: The Linux Mint Image is being downloaded.
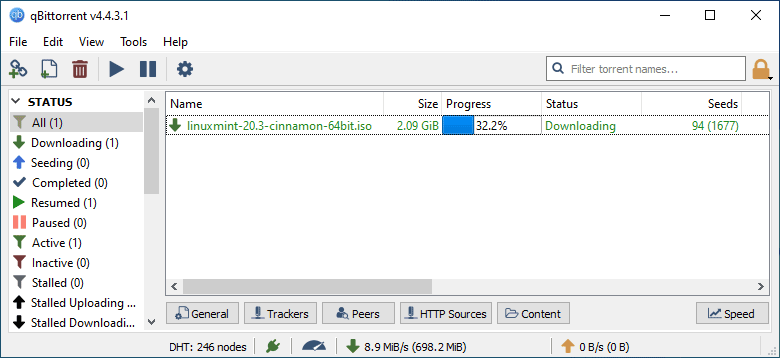
Step 7: Download successfully.

Step 1: Connect the USB device to the computer.
Step 2: Download and install iSumsoft ShapeISO in the computer.

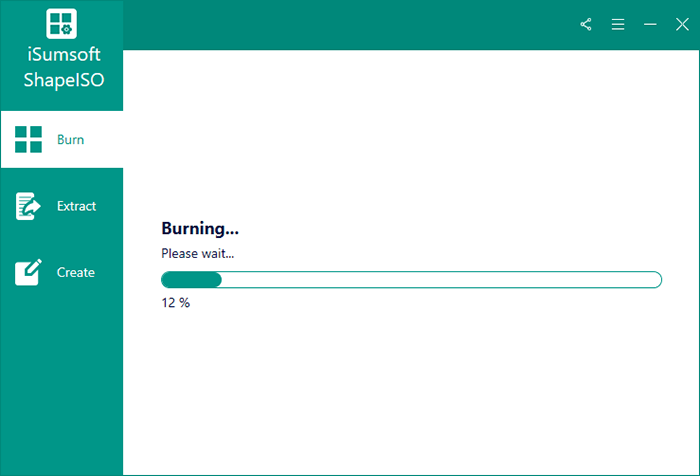
Step 3: Launch the software, then select Burn. Then select the downloaded ISO file and the connected USB driver. The partition style should be FAT32. Then you can click Start to create a Linux Mint bootable USB.

Step 4: Linux Mint is being burning to USB.
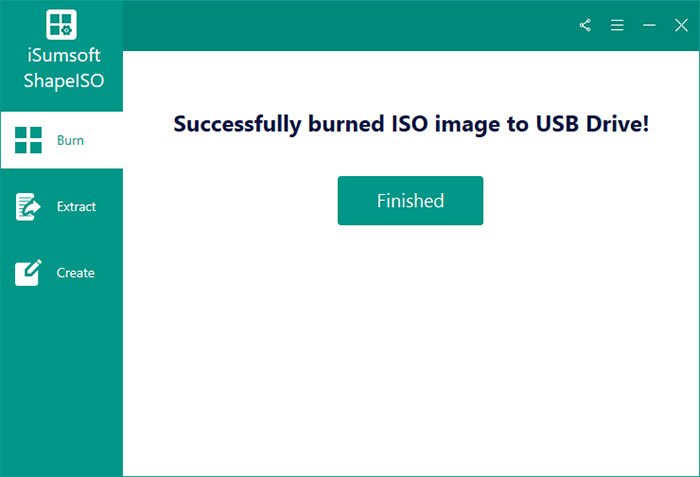
Step 5: When "Successfully burned ISO image to USB drive" appears on the software page, you have successfully burned a disk, and you can click on Finished to close the window.
Step 1: Connect the USB device to the computer.
Step 2: Download Rufus.

Step 3: Launch Rufus and click on SELECT on the interface. Then navigate and open the Linux Mint ISO.

Step 4: Choose the connected USB driver in the Device, and select FAT32 as the File system. It is recommended to select MRB and BIOS or UEFI.

Step 5: Check Write in ISO Image mode, then click on OK.

Step 6: Click Yes.

Step 7: Promoted all data on the USB device will be erased, click OK to proceed.

Step 8: Click CLOSE after successfully creating.

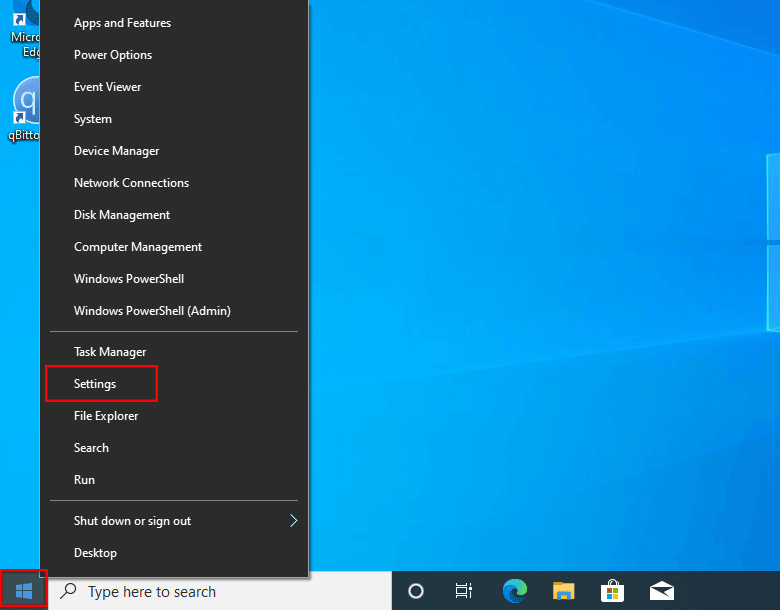
Step 1: Right-click on the Windows, then select Settings.
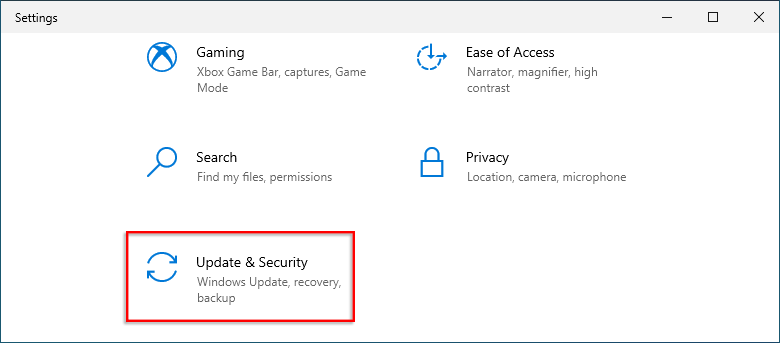
Step 2: Select Update & Security.
Step 3: Click on Recovery and then Restart now.

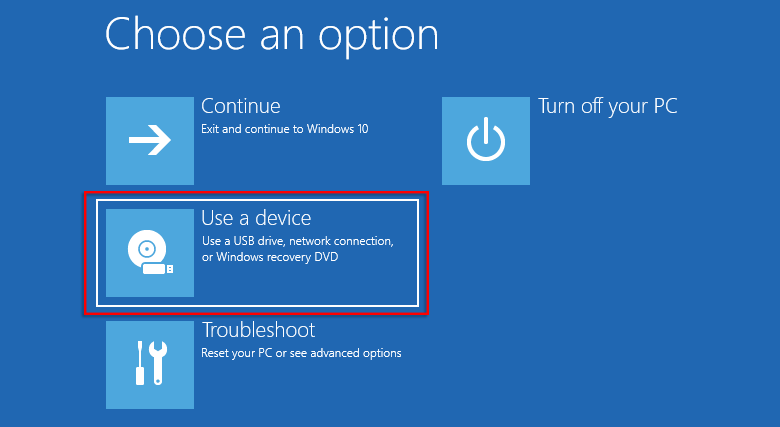
Step 4: Choose Use a device.
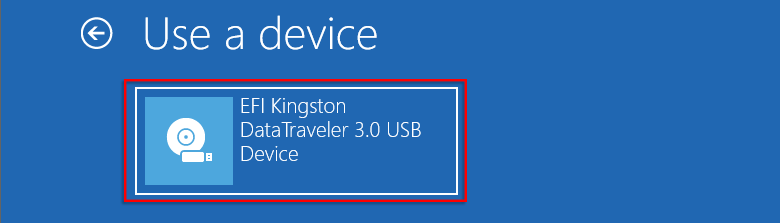
Step 5: Enter the USB device.
Step 6: After restarting, select the Linux Mint system.
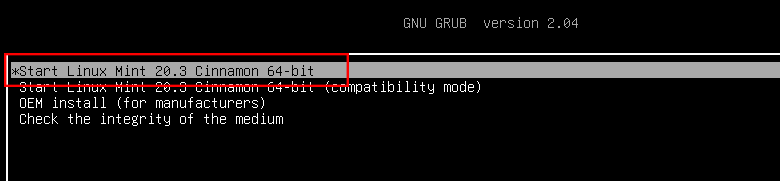
Step 7: Access the Linux Mint desktop successfully.

 5 Ways
to Check If A USB Drive is Bootable in Windows 10
5 Ways
to Check If A USB Drive is Bootable in Windows 10![[2 Ways] How to Create a Windows 11 Bootable USB Flash Drive](../images/windows-11/how-to-create-windows-11-bootable-usb-flash-drive/create-windows-11-bootable-usb-flash-drive.png) [2 Ways] How
to Create a Windows 11 Bootable USB Flash Drive
[2 Ways] How
to Create a Windows 11 Bootable USB Flash Drive How to
Clone a Bootable USB Flash Drive to Another USB Drive in Windows 10
How to
Clone a Bootable USB Flash Drive to Another USB Drive in Windows 10 2 Ways to
Copy Windows 10 to USB Drive and Make It Bootable
2 Ways to
Copy Windows 10 to USB Drive and Make It Bootable 2 Ways to Create a WinPE
Bootable USB Disk for Windows 10
2 Ways to Create a WinPE
Bootable USB Disk for Windows 10 3 Ways to Make
External Hard Drive Bootable for Windows 10
3 Ways to Make
External Hard Drive Bootable for Windows 10