This guide explains how to change account name displayed on the Windows 10 Sign-in Screen. You can also consider renaming your computer for added privacy.
Follow these steps to update your full name and email address as shown on the sign-in screen.
Step 1: Click the Start menu, select Account, then choose Change account settings.

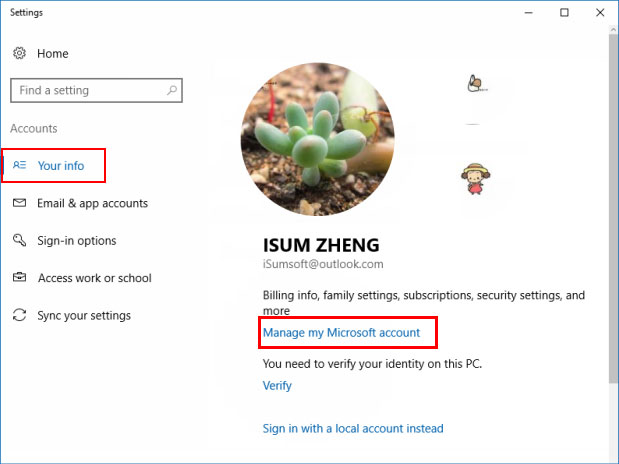
Step 2: Go to Your info, click Manage my Microsoft account to access your profile in a web browser.
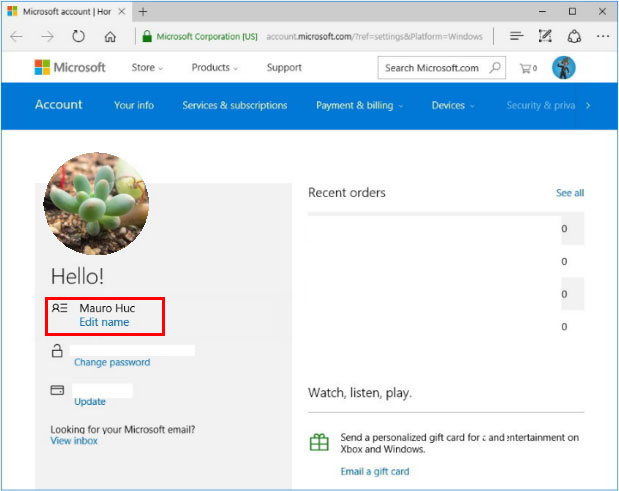
Step 3: On your profile page, click Edit name.
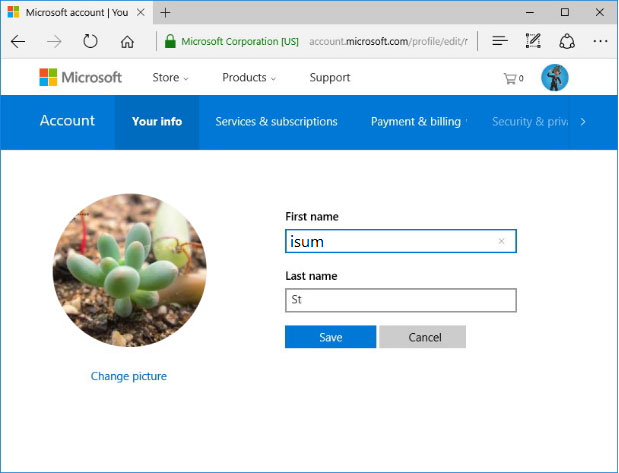
Step 4: Enter a new first and last name, then click Save.
Step 5: Restart your PC to apply the changes.
If you're using a local account, there are two methods to change the account name displayed on the sign-in screen.
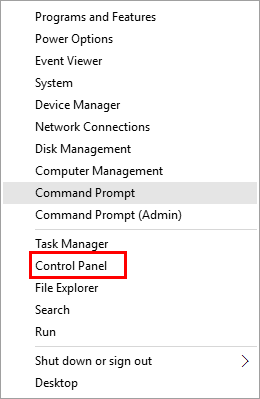
Step 1: Press Windows + X and select Control Panel from the menu.
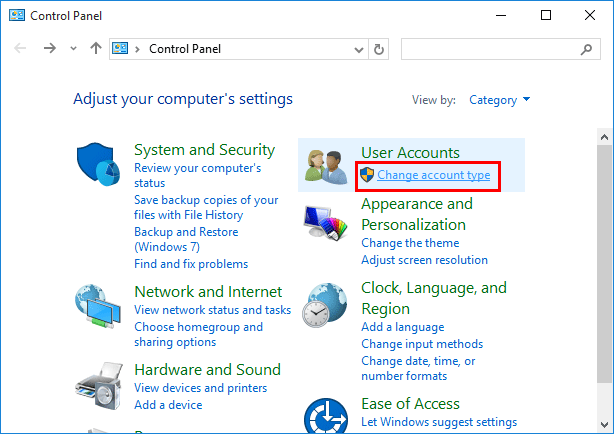
Step 2: Click Change account type under User Accounts.
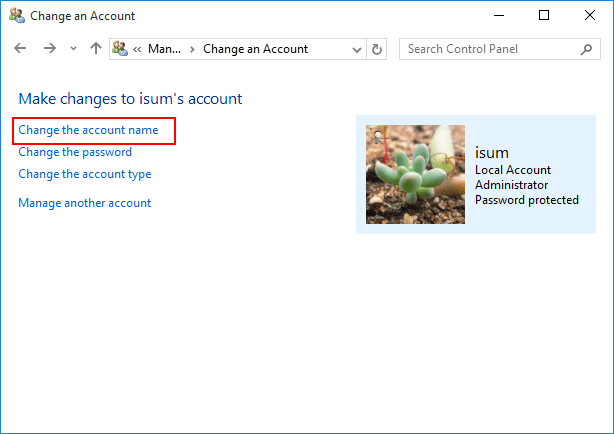
Step 3: Select your local account and click Change the account name.
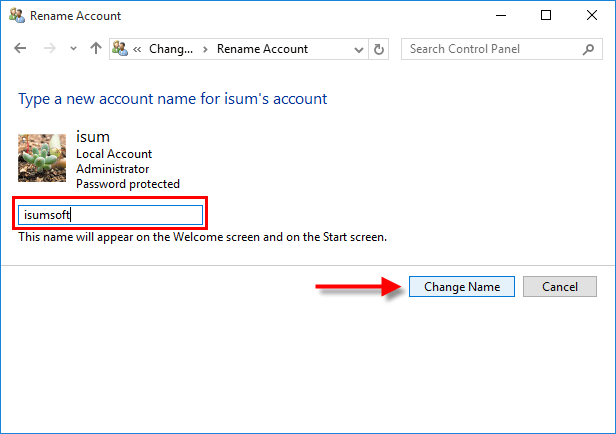
Step 4: Enter a new name and click Change Name.
You can also rename your local account using Local Users and Groups.
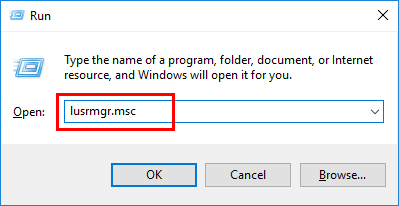
Step 1: Open Local Users and Groups. Press Win + R, type lusrmgr.msc, and click OK.
Step 2: Open the Users folder and double-click the user account you want to rename.

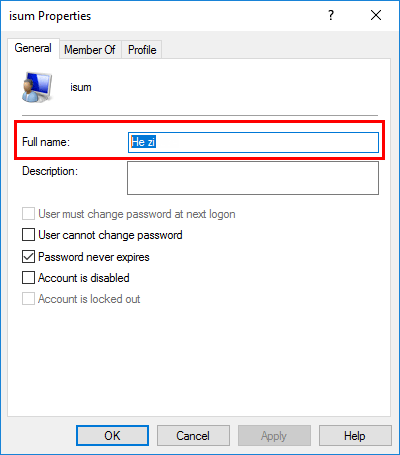
Step 3: Enter a new full name and click OK.
Step 4: Restart your PC to see the updated account name on the sign-in screen.