Fonts play a crucial role in enhancing the visual appeal of documents and user interfaces. Windows 10 provides multiple methods to view installed fonts, making it easier to manage and utilize them effectively.
Here are 5 simple ways to check the fonts installed on your Windows 10 computer.
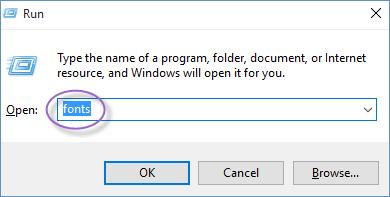
Press Win+R to open the Run dialog box, type fonts, and click OK to view the installed fonts.
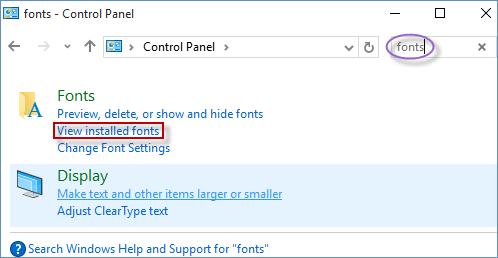
Step 1: Open Control Panel in Windows 10.
Step 2: In the Control Panel window, type fonts in the search bar and select View installed fonts to see all installed fonts.
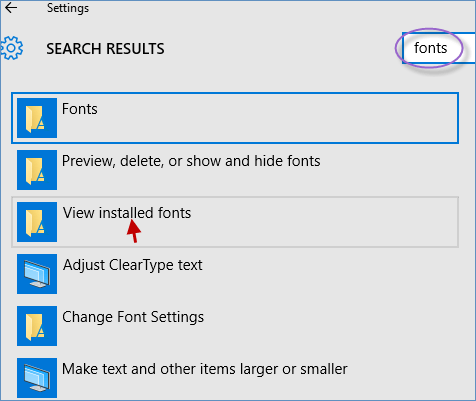
Step 1: Launch the Settings app in Windows 10.
Step 2: In the Settings window, type fonts and click on View installed fonts to display a list of all installed fonts.
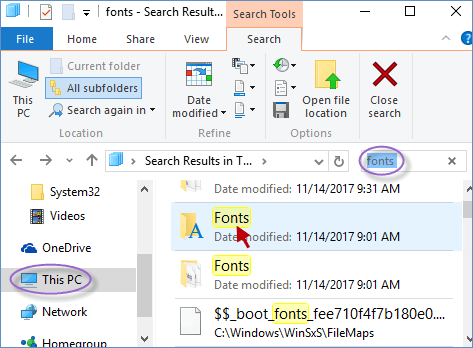
Step 1: Open File Explorer in Windows 10.
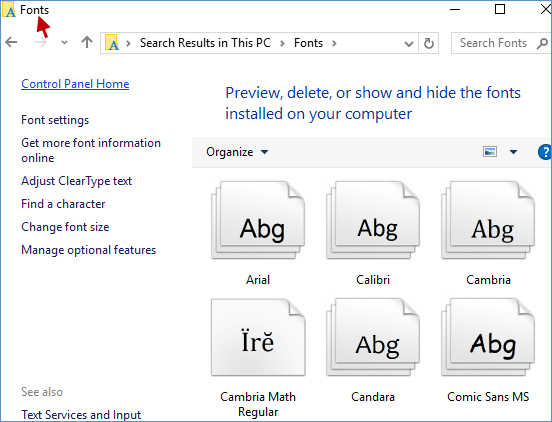
Step 2: In the File Explorer window, click on This PC, type fonts in the top-right search field, and double-click on Fonts to view the installed fonts.
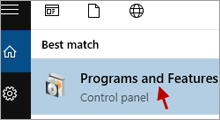
Step 1: Type fonts in the Windows Search box and click on Fonts.
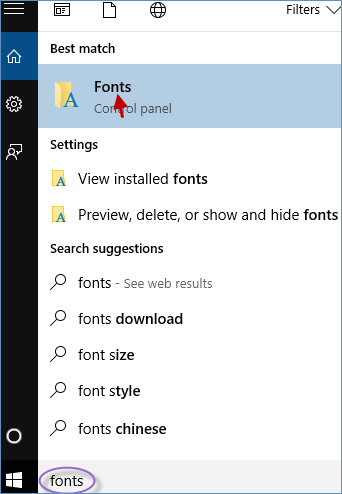
Step 2: The Fonts window will display all the fonts installed on your Windows 10 computer.