In order to share a printer in the network, connect the printer cable either to a computer that is connected to the network or to a network hub.
Then turn the printer on, go on the next steps below:
After you physically connect the printer to a computer on the network, you can share the printer so that other users can access it. To share the printer in Windows 10, use these steps.
Step 1: Open Settings app, click Devices.
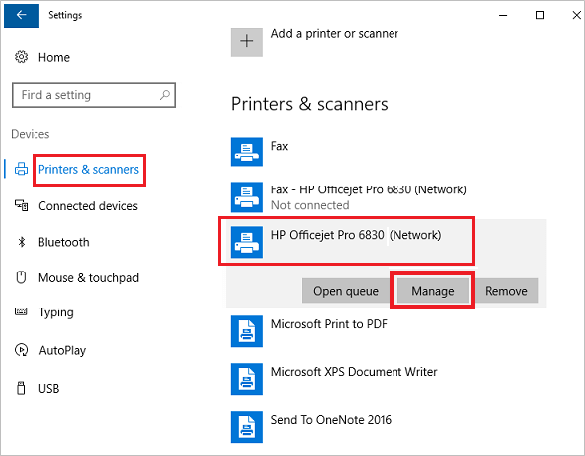
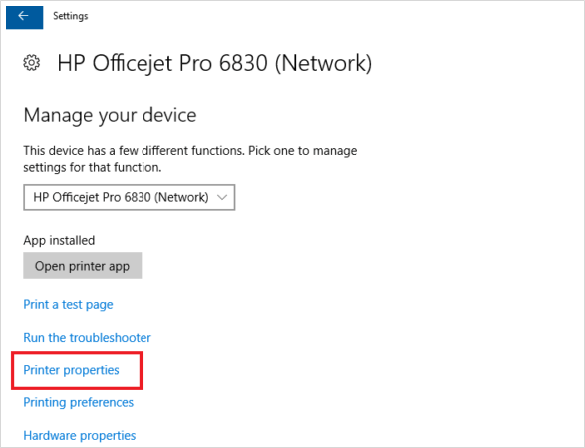
Step 2: On the right side of Printers and Scanners tab, click the printer that you want to share, click Manage.
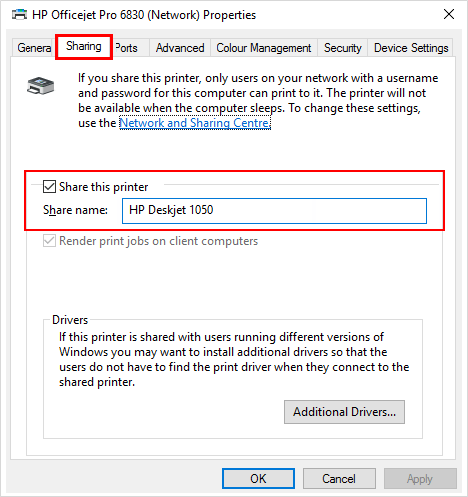
Step 3: Click on Printer Properties. On the Sharing tab, check Share this printer checkbox.
Step 4: Give the printer a Name, click Apply and OK.
You need to know the name of printer and IP address of computer that printer connected to. Or the printer IP Address, learn more about how to view IP address of Computer in Windows 10/8/7.
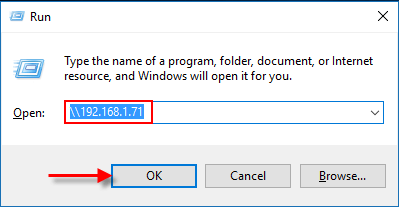
Step 1: Press shortcut keys: Win + R to open Run box, enter printers IP address.
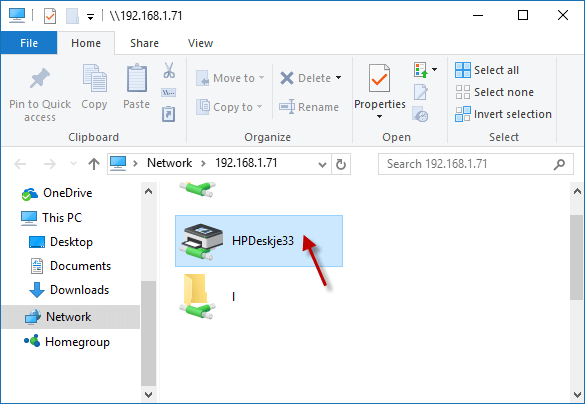
Step 2: Click on the shared printers from the result list. Connect to that printer.
Step 3: When it prompting a dialog "Do you trust this printer", click on install drivers.

Step 4: Complete the additional steps in the wizard, and then click Finish.
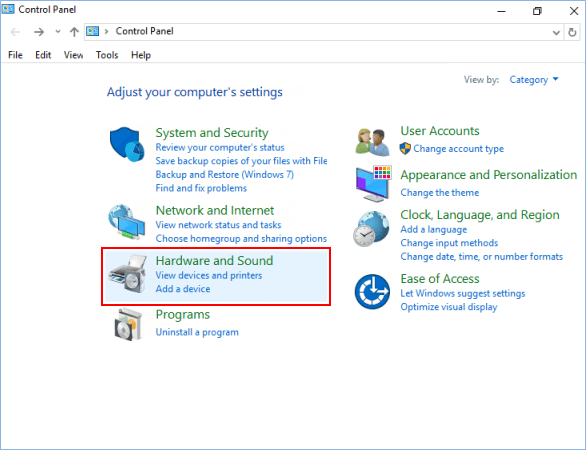
Step 1: Open Control Panel, click Hardware and Device and then click Devices and Printers.
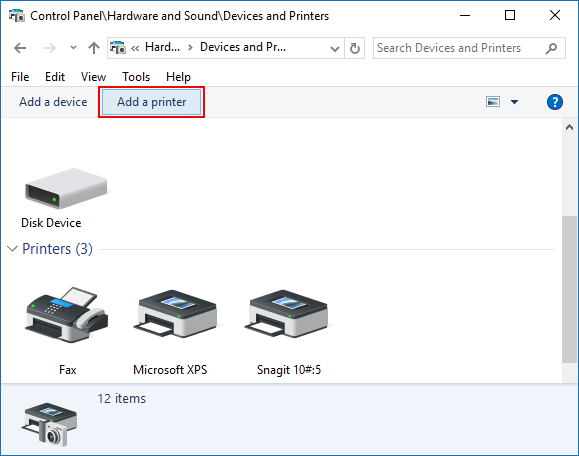
Step 2: Click on Add a printer in the toolbar of Devices and Printers.
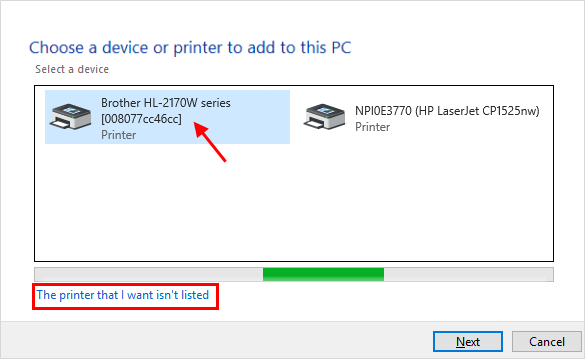
Step 3: If you see the printer you're looking for, click the printer you want to install. Windows will handle the installation, download drivers if needed.
Tips: If you don't see the printer you want to install, and you're sure you've got it properly connected to the network, click the The printer that I want isn't listed link. Go on Step 4.
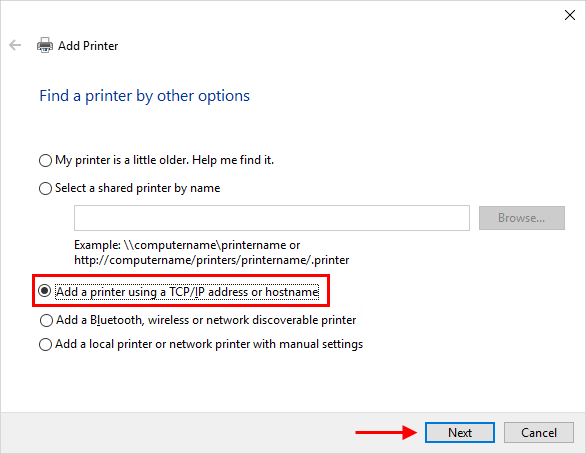
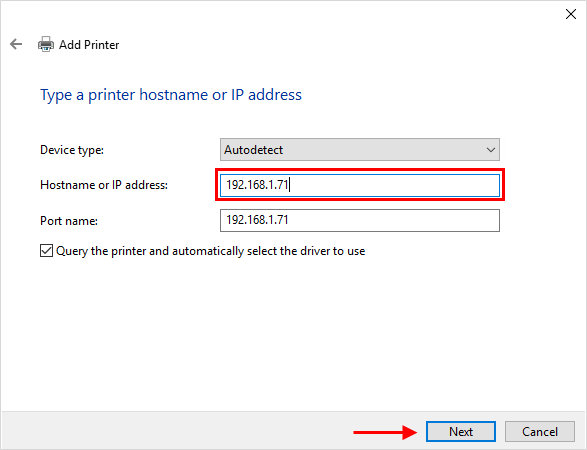
Step 4: Select Add a printer using a TCP/IP address or hostname and then click Next.
Step 5: Keep Device type to Autodetect and fill in the Hostname or IP address. Ensure that Query the printer and automatically select the driver to use is ticked, click Next.
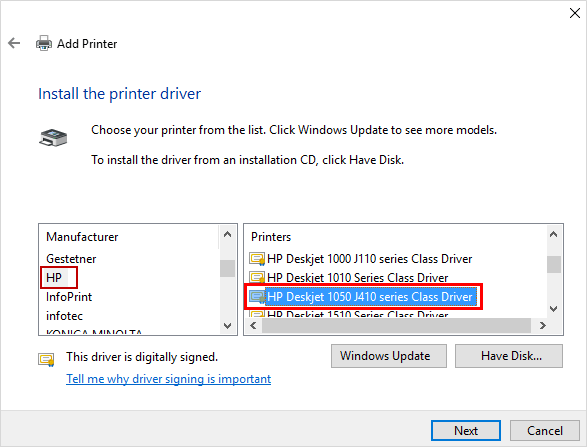
Step 6: Wait for detecting TCP/IP port. When it jumped to install the printer driver process, select the manufacturer of printer in the left pane, select shared printer in the right pane, and then click Next.
Step 7: Type a new name for printer if the default name doesn't suit you and then click Next.

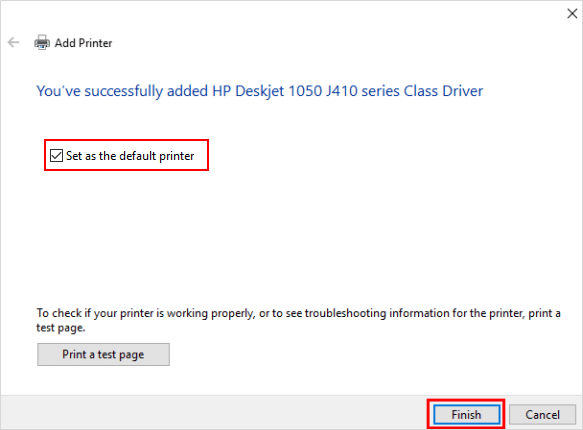
Step 8: Choose whether to set the new printer as the default and then click Finish button.