
Some people ask, "Will I lose my data if I replace my laptop's hard drive?" The answer is Yes. All data in your laptop, including the Windows operating system, programs, files, etc., is stored on its internal hard drive. If you take out the hard drive and put in another one, all data will remain on the removed hard drive. It will not automatically or magically transfer to the new hard drive.
So, is there any way to replace a laptop's hard drive without losing data? The answer is Yes. You need an efficient data transfer strategy, allowing you to transfer all data from the old hard drive to the new one. Now, this page will show you how to replace a laptop's hard drive without losing data.
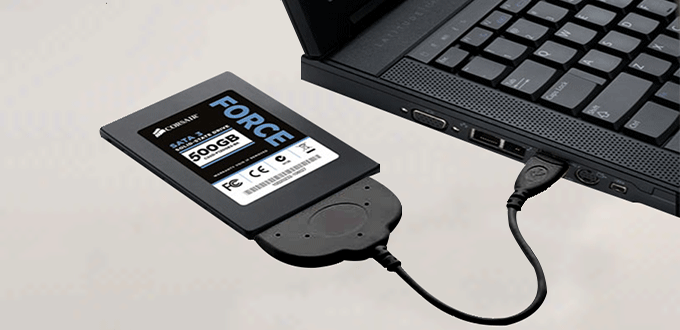
1. Place the new hard drive in an external enclosure or connect it to a SATA-to-USB adapter, and then plug the enclosure or adapter into a USB port on your laptop.
2. Go to This PC and see if the connected hard drive displays as a new volume. If yes, go straight to the next step. If it doesn't show up, continue to do the following.
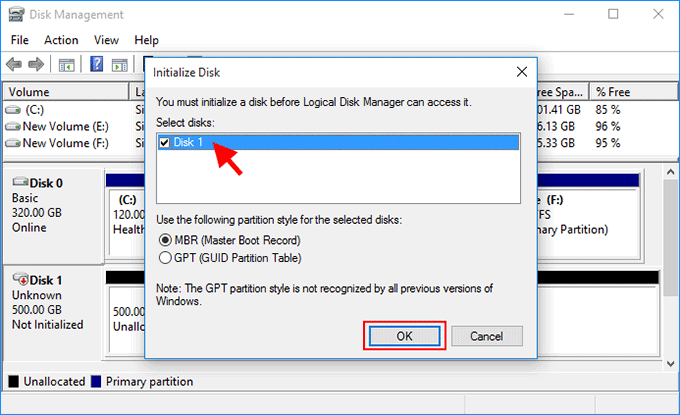
3. Open Disk Management. In general, a Initialize Disk dialog box will automatically open, and you only need to select the Disk 1 and click OK to initialize the new hard drive.
4. Right click on the unallocated space behind the new hard drive and select New Simple Volume. Then follow the on-screen wizard to create a partition and assign a drive letter for the new hard drive. After you're finished, you should see the new hard drive displayed as a new drive letter in This PC.

To replace a laptop's hard drive without losing any data, the most critical step is to copy/transfer all your important data to the new hard drive. Unless you already have an operating system on your new hard drive, or you plan to perform a clean Windows installation, you have to also transfer the Windows operating system from the old hard drive to the new hard drive, and most importantly, keep the new hard drive bootable. Manual copy-paste is not workable. The best way is to use disk cloning technology. Follow these procedures.
1. Download and install the disk cloning software iSumsoft Cloner on your laptop. After installation, start the software.
2. Select the Disk Clone option on the main interface.
3. Select Disk 0 (the laptop's internal hard drive) as the source disk, and then select Disk 1 (the hard drive connected to the laptop externally via USB) as the destination disk.
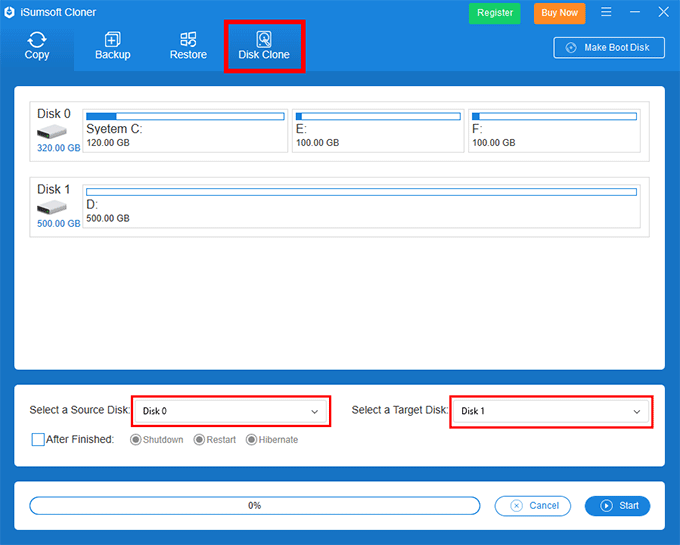
4. Click on Start in the lower right corner of the interface to start cloning the laptop's internal hard drive to the connected external hard drive. Then just wait for the cloning process to complete. This takes about 20 minutes, depending on the total capacity of the internal hard drive (source disk).
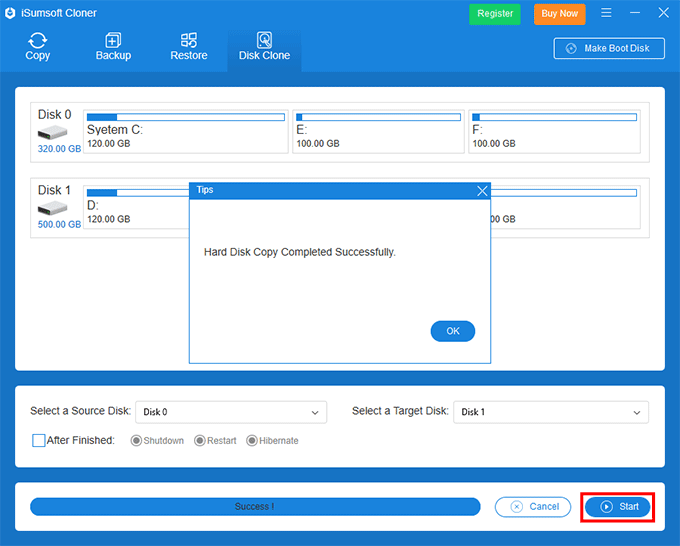
When the cloning is complete, you're done. All data on the laptop's internal hard drive, including the Windows operating system, all partitions, programs and data, has been successfully copied to the new hard drive.
Now that you have copied all data to the new hard drive, you can safely replace your hard drive without worrying about losing data. To remove your old hard drive and install a new one, it's best to refer to the laptop manual or related video tutorials. In general, the following steps are required.
1. Turn off your laptop and disconnect both the power cable and any other connected cables, including the new hard drive connected via the USB port.
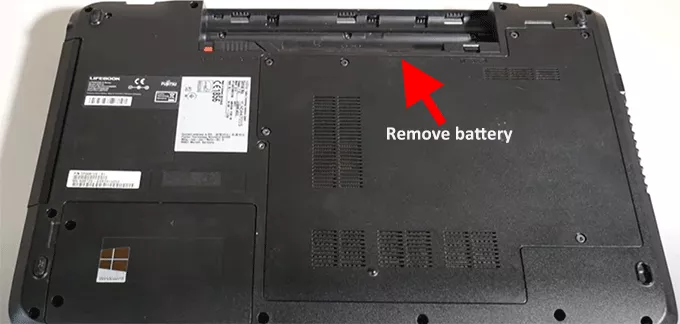
2. Flip over the laptop and remove its battery.
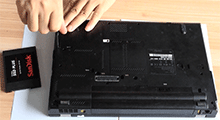
3. Unscrew the back panel to get physical access to the actual hard drive. Some laptops require you to pry off the front panel, remove the keyboard, and separate the base and front panel. This will vary by manufacturer.

4. Take out the hard drive caddy or bracket, unscrew the existing hard drive and remove it. Put the new hard drive in the caddy or bracket and secure it with the screws. After that, put the caddy/bracket with the new hard drive back to the laptop in the same way as you took it off.
5. Cover the back panel up and secure it with screws.
6. Put the battery back in the laptop and then turn on the laptop
That's it! Your laptop will automatically boot from the new hard drive. Your Windows operating system and all programs will run on the new hard drive normally without any problems, just like they did in the removed hard drive. All your data is intact without losing a single file. That's how you replace a laptop's hard drive without losing any data.
 How to Upgrade Hard Drive to SSD without Reinstalling Windows
 How to Transfer Windows 10 from HDD to SSD without Data Loss
 Merge C Drive and D Drive in Windows 10 without Losing Data
 How to Clone Windows 10 from HDD to M.2 SSD
 How to Clone Windows 10 System Boot Drive from HDD to SSD
 How to Clone An SSD to A Larger SSD in Windows 10
 How to Transfer Installed Programs to New Computer Windows 10/11

