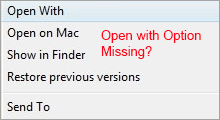
The Send to context menu makes it easy for you to quickly send a copy of items (ex: files, folders, libraries) to Bluetooth device, Compressed (zipped) folder, Desktop (create shortcut), Documents, Fax recipient, Mail recipient, and Quick Launch bar.
This article will show you how to remove the Send To menu from context menu, and restore Send To context menu back to the Windows File Explorer right-click menu.
To remove the "Send to" folder from the context menu by editing registry manually, here's how:
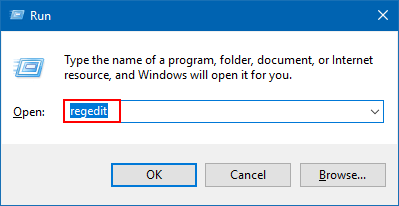
Step 1: Open Registry Editor.
Press Win+R keys to bring out Run dialog, then type in regedit, and hit Enter key.
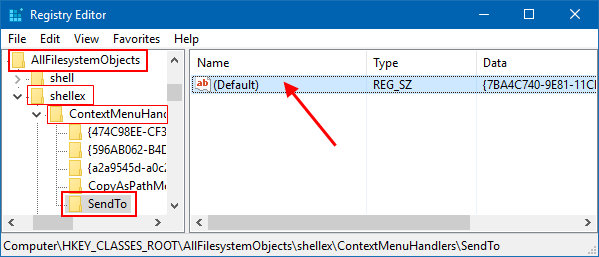
Step 2: In the left pane of Registry Editor, navigate to the following key:
HKEY_CLASSES_ROOT\AllFilesystemObjects\shellex\ContextMenuHandlers\Send To
On the right pane of Sent to the folder, double-click the (Default) value to open its properties window.
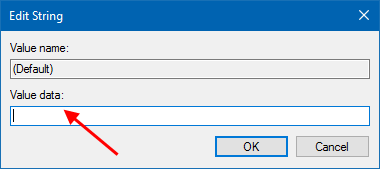
Step 3: To remove Sent To context menu, clear the Value data box to make it empty, click OK.
The changes should take place immediately.
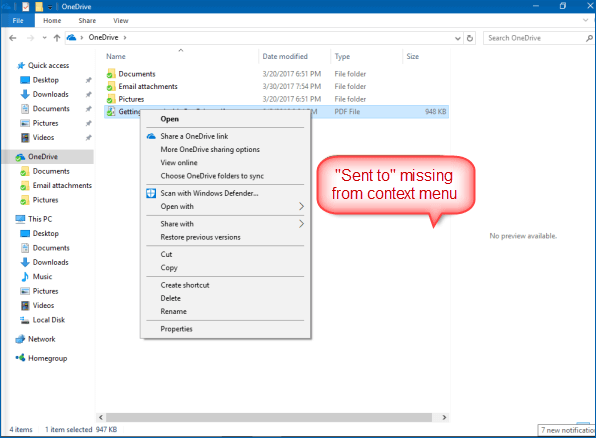
To test it out, right-click any file in File Explorer and you will find the "Send To" option is gone.
To restore Sent to context menu, copy and paste the following text to Value data box:
{7BA4C740-9E81-11CF-99D3-00AA004AE837}
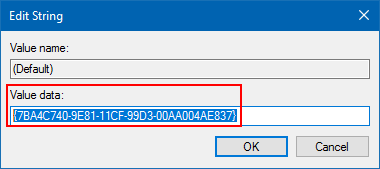
There will be a Sent to option present in the File Explorer context menu. The "Send to" menu comes back, and you will be able to send files via Bluetooth, Fax, or removable device.
 .
.