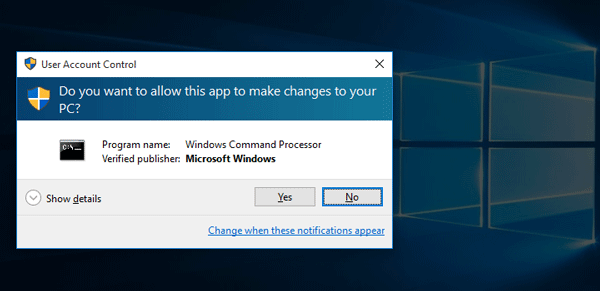
Windows 10 including the earlier Windows pops up a User Account Control confirmation dialog when you launch/install some programs or try to make some changes to your computer. Windows turns on User Account Control dialog in case apps make unwanted changes on your PC without your permission. However, some people would not like to see the UAC prompt and think it a bother. If so, just disable it. Following see how to disable User Account Control in Windows 10.
Step 1: Access Windows 10 Control Panel.
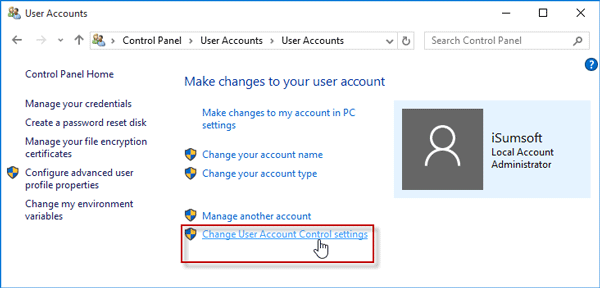
Step 2: Go to User Accounts > User Accounts. Then click on Change User Account Control settings link.
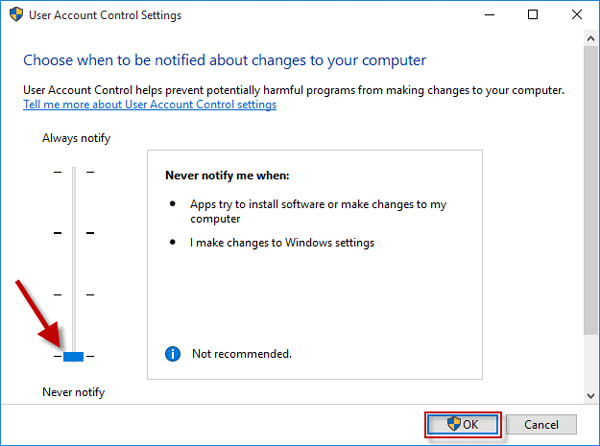
Step 3: Slide the marker to the bottom where it says Never notify, and then click OK.
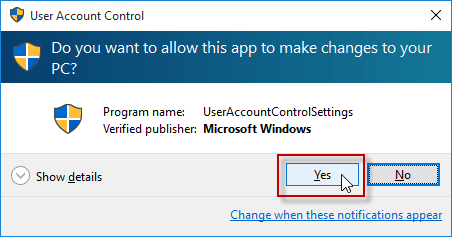
Step 4: Click Yes to confirm the User Account Control prompt.
Restart your computer to take effect the settings. When you are back to Windows 10, User Account Control should be disabled and won't pop up before you enable it again.
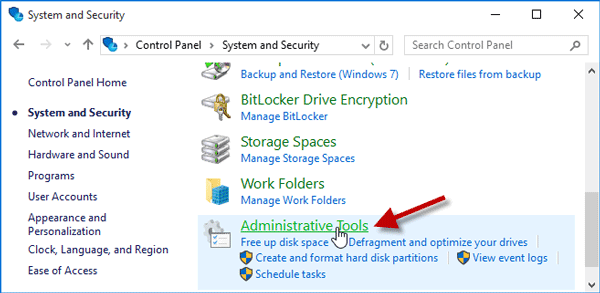
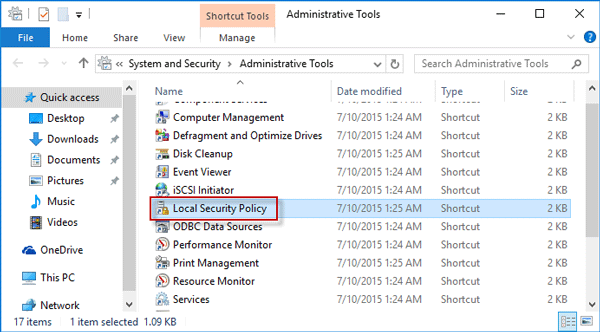
Alternative: You can also click System and Security > Administrative Tools on Control Panel.
In the Administrative Tools window, double-click the Local Security Policy to open Local Security Policy.
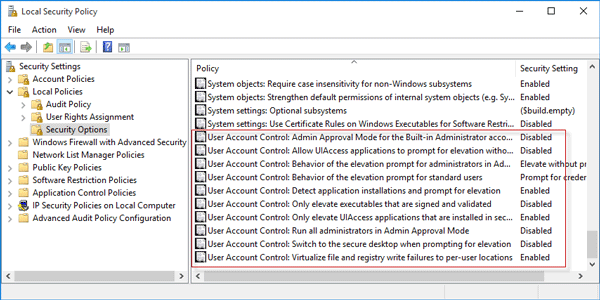
Expand the Local Policies folder and click on Security Options. In the right pane, you can see some settings about User Account Control. Double-click on the item and you can disable/enable UAC (configure when to pop up the User Account Control prompt ) in your Windows 10.
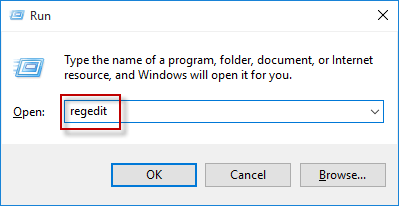
Step 1: Press Win + R keys to bring out the Run dialog. Then type regedit and press Enter to open Registry Editor.
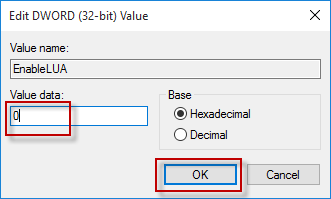
Step 2: Navigate to HKEY_LOCAL_MACHINE > SOFTWARE > Microsoft > Windows > CurrentVersion > Policies > System. On the right pane find the EnableLUA. Right-click on it and select Modify.
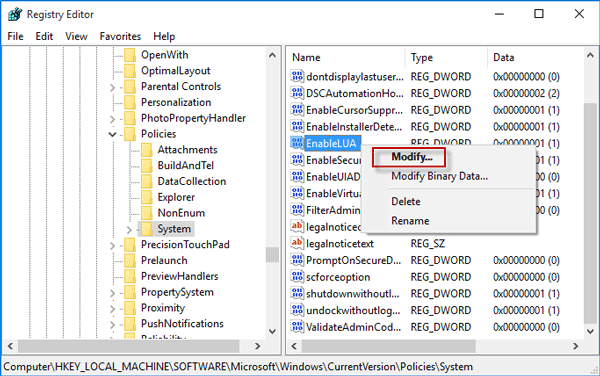
Set the DWORD value data to 0, and then click OK.
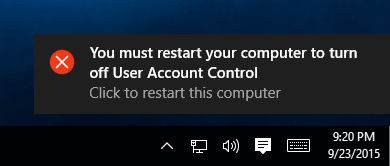
Step 3: Then you may notice a message appear on the lower right corner of your desktop asking you to restart your computer to turn off User Account Control. Just restart your computer. When you back to your Windows 10, the User Account Control should be disabled.
Note: Windows 7/8/8.1/10 always keep User Account Control turned on by default. Generally, you are not recommended to disable it. Because UAC prompt can help prevent some malicious software from making changes to your PC. You can enable User Account Control just like how you disable it.