The Run dialog box is a handy Windows feature that enables quick access to various programs, buried settings, and other functions. However, you might want to disable it to restrict access. Here are two methods to disable or enable the Run dialog box in Windows 10.
Step 1: Open the Local Group Policy Editor in Windows 10.
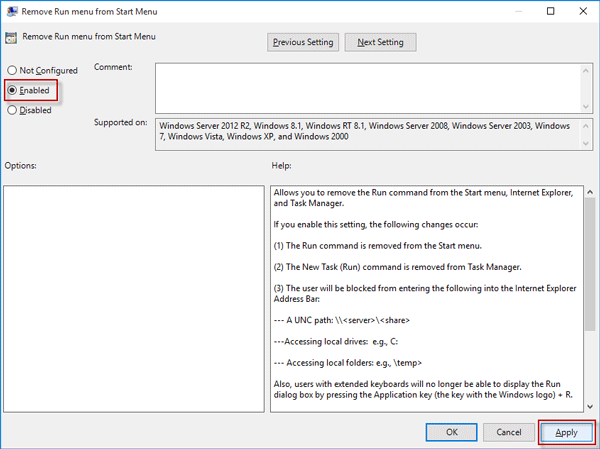
Step 2: Navigate to User Configuration > Administrative Templates > Start Menu and Taskbar. Find and double-click 'Remove Run menu from Start Menu'.

Step 3: Select 'Enabled', then click 'Apply' and 'OK'.
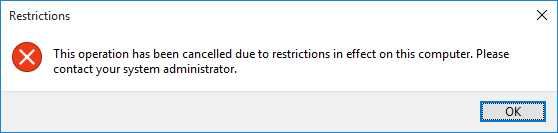
Enabling this policy disables the Run dialog box. Attempting to open it will display a restriction message: 'This operation has been cancelled due to restrictions in effect on this computer. Please contact your system administrator.'
To re-enable the Run dialog box, set the 'Remove Run menu from Start Menu' policy to 'Not Configured' or 'Disabled'.
For Windows 10 Home users, the Registry Editor is an alternative since it lacks the Group Policy Editor.
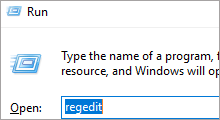
Step 1: Open the Registry Editor in Windows 10.
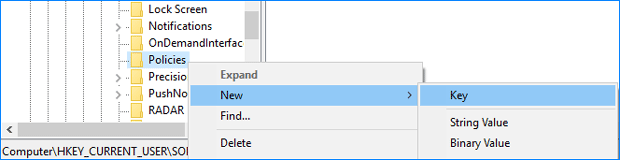
Step 2: Navigate to Computer\HKEY_CURRENT_USER\SOFTWARE\Microsoft\Windows\CurrentVersion\Policies. Create a new key named 'Explorer'.
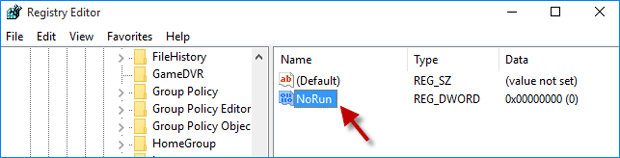
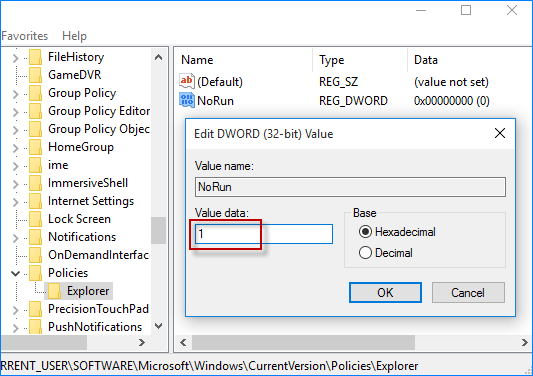
Step 3: Under the 'Explorer' key, create a new DWORD (32-bit) value named 'NoRun' and set its value data to '1'.
Step 4: Restart Windows 10 or sign out and sign in again for the changes to take effect. To re-enable the Run dialog box, change the 'NoRun' value data to '0' or delete the 'NoRun' entry.