To utilize the hard disk space on your Windows 10 PC more efficiently, you can create new partitions. If virus or malware has ruined your hard drive, you can format the entire partition. For whatever reason you need to create and format a hard disk partition in Windows 10, following let's see how to perform this task.
Tips: Make sure you've logged on your Windows 10 as administrator account because it requires administrative privileges to create and format hard disk partitions.
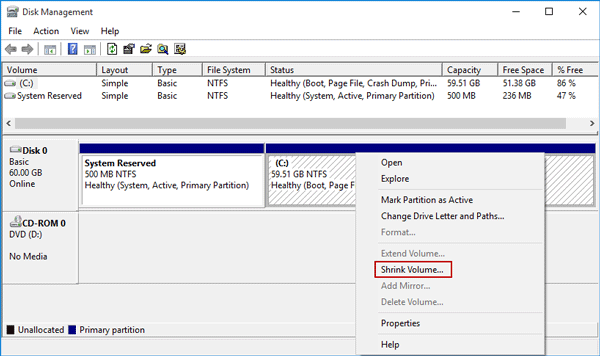
Disk Management is a handy utility built-in Microsoft Windows that helps manage your hard drive disk. If you use keyboard and mouse, it's the quickest way to open Disk Management in Windows 10 by pressing Win + X keys to bring out the Power User menu.
In Disk Management, it displays all drives connected to your Windows 10 PC. Now what you need to do is shrinking one disk partition.
1. Select one disk partition that has enough space, right-click on it and select Shrink Volume.
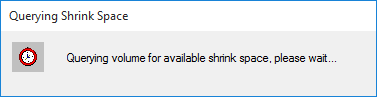
2. Just wait while querying shrink space. This will not take long.
3. Now in the Shrink dialog, it displays four amounts. If you want to create a new 20 GB hard disk partition in your Windows 10, just enter 2048 (1GB=1024MB) in the field after Enter the amount of space to shrink in MB. Then click on Shrink.
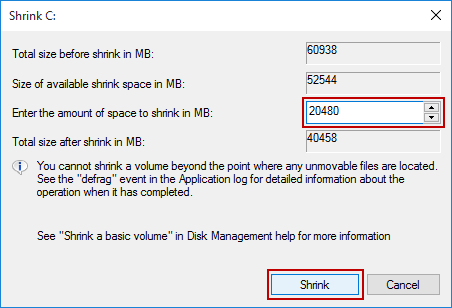
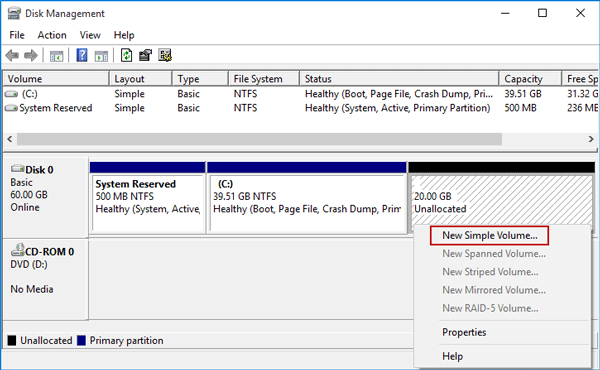
Once you finish step 2, you can see a new 20GB space that is unallocated.
1. Right-click on the new space and select New Simple Volume.
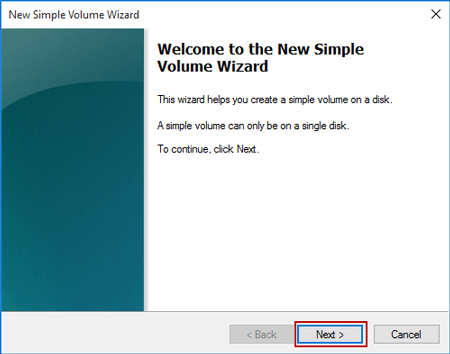
2. New Simple Volume Wizard opens. Click Next.
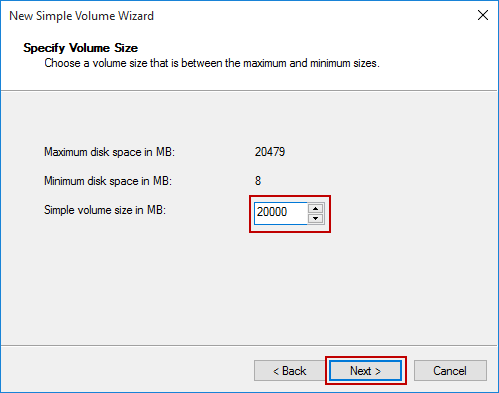
3. Specify size for the new volume and click Next. The volume size should be between the maximum and minimum sizes.
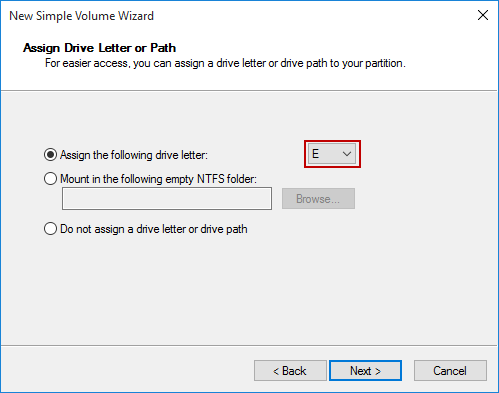
4. Assign a drive letter for the newly created hard disk partition and then click Next.
5. To store data on this partition, you must format it first. Just keep its default settings and enter the Volume label. Then click Next.
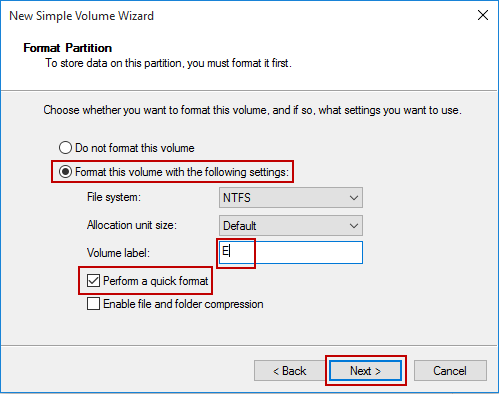
6. Click Finish to complete the New Simple Volume Wizard.
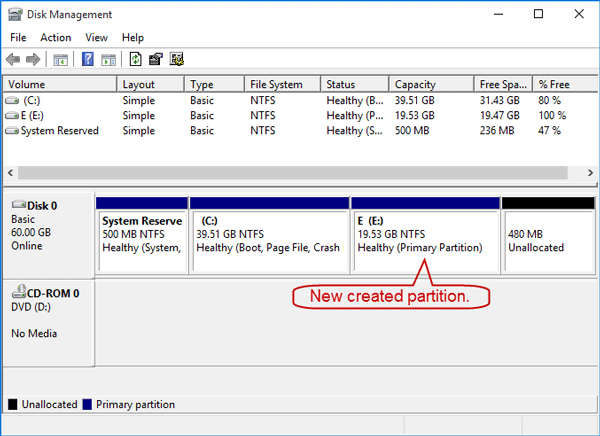
Then you've successfully created a new hard disk partition on your Windows 10 PC. If you specified the volume size less than the maximum disk space size, you can see an unallocated space on which you can create another disk partition.
Tips: Make sure you've backed up your personal data on another drive before you start a format on the disk partition.
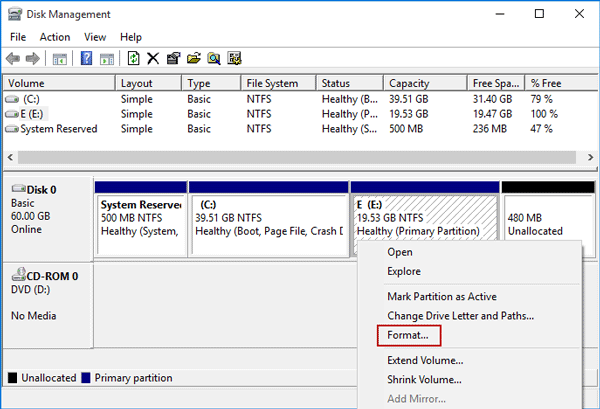
Method 1: Still in Disk Management, right-click on the partition and select Format.
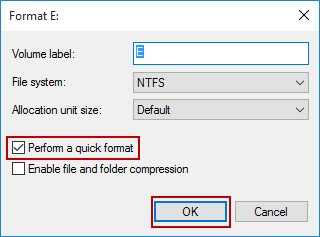
Tick Perform a quick format and click OK.
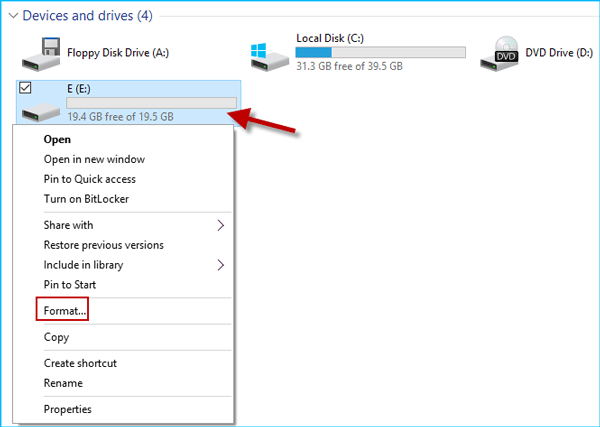
Method 2: Click File Explorer > This PC. Then right-click on the drive partition and select Format.
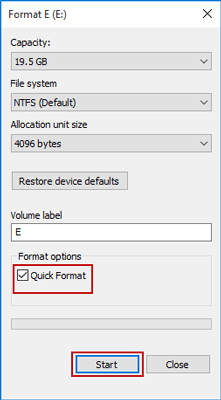
Just need to keep its default settings including tick the box next to Quick Format and click on Start.
Certainly, in addition to using Windows built-in Disk Management utility, you can also use some third-party software to create and format hard disk partition on your Windows 10 PC.