Learn how to wirelessly mirror your PC screen to a TV or projector and control a screen-broken computer using your keyboard and mouse. This guide provides step-by-step instructions on connecting your PC to a projector or another PC.
Use a cable or Miracast to connect your PC to an external display. Follow these methods for a seamless connection.
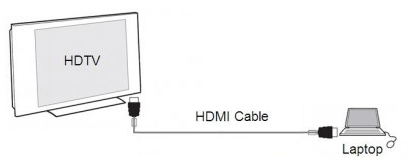
Step 1: Connect your computer to the TV or projector using the appropriate cables.
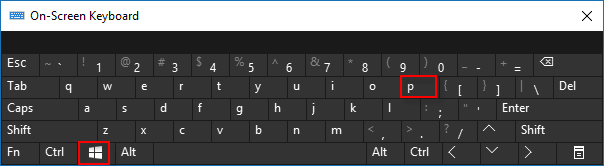
Step 2: Press the Windows logo key + P to access monitor options.
Step 3: Choose from four display options:
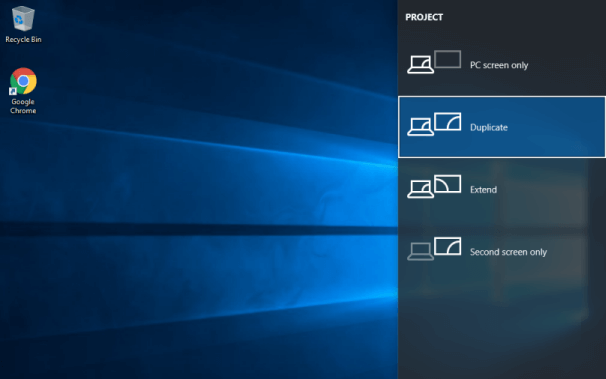
If your PC and projector support Miracast, you can connect wirelessly.
Press Windows logo key + P, select Connect to a wireless display, and choose your projector.
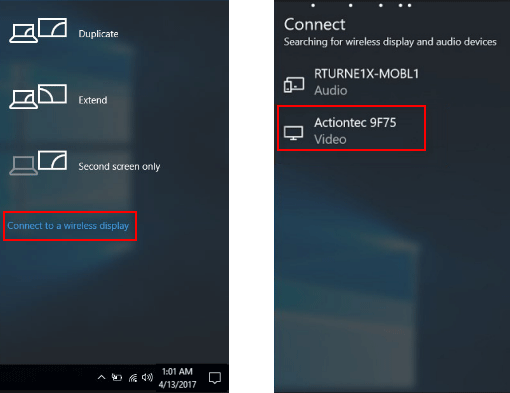
Check if your PC supports Miracast by opening Action Center and clicking Connect. For details, see 2 Ways to Check if Your Windows 10 Supports Miracast.
Use Miracast to project a Windows 10 Mobile phone or another PC to your computer screen and control it with your keyboard and mouse.
Follow two steps: customize settings and establish a connection using the Connect app.
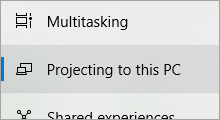
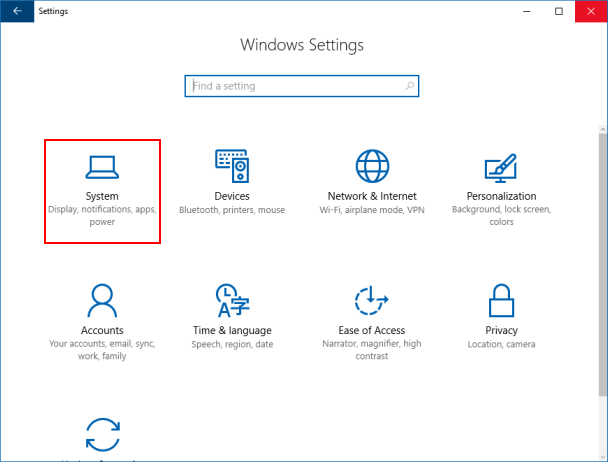
Step 1: Open the Settings app, then go to System.
Step 2: Select Project to this PC and customize the Windows PCs and phones can project to this PC when you say it's OK option. Enable This PC can be discovered for projection only when it is plugged in.
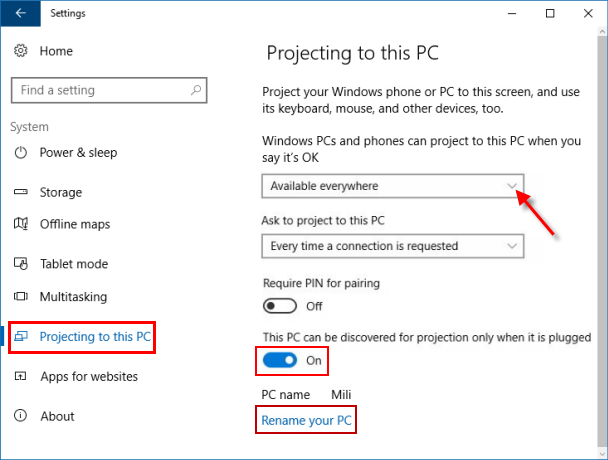
If this option is disabled, refer to this guide to enable it.
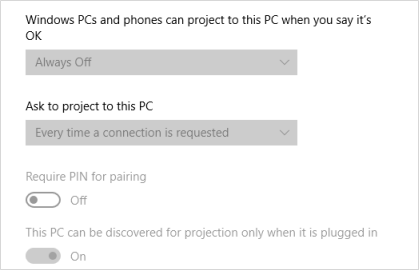
You can also rename your PC for easier discovery.
Follow these steps to mirror another computer's display to your Windows PC wirelessly.
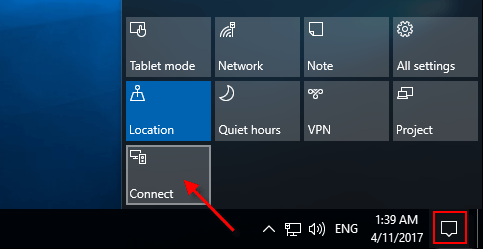
Step 1: Click the Action Center button and then click Connect.
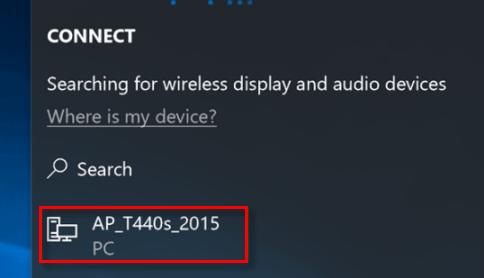
Step 2: Select the device you want to project and click Yes to allow the connection.
Step 3: Check Allow input from a keyboard or mouse connected to this display as needed.
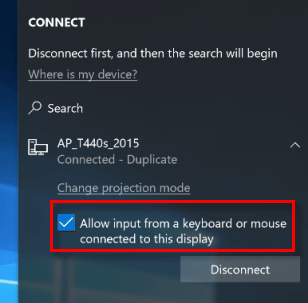
Once connected, you can control the remote screen with your keyboard and mouse.