In order to protect the private message from editing, stealing, phishing scams, and malware, it is necessary to encrypt the confidential e-mails before sending them out. Undoubtedly, you can also track the Encrypted E-mail you sent for safety. This post describes two options to send encrypted Outlook e-mail.
When you encrypt a message in Outlook 2013/2016, your system scrambles the contents of your outgoing message so that only your intended recipient can read your message. Before using Outlook's Encryption feature, you need to meet the following two requirements:
1. Make sure both the sender and the recipient need to have a digital certificate.
2. The intended recipient needs to have sent you at least one message with a digital signature. Then you add the contact's digital ID certificate to his/ her contact item in your Address Book, Right-click the sender's name in the From fields, and then click Add to Outlook Contacts.
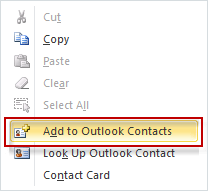
When the person is added to your Outlook contacts, their digital certificate will be stored in the contact's entry. You can share Digital IDs with a certain contact, then you can send encrypted messages to each other.
Tips: You can learn more about how to add contact in outlook.
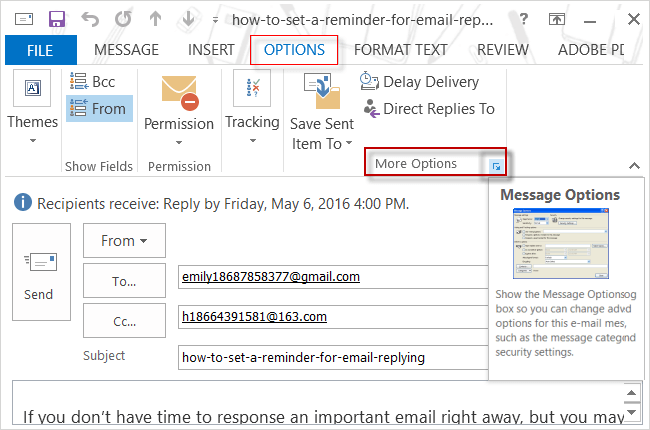
Step 1: Open Outlook 2016, click New Email to start composing your message. Click on the Option tab, go to More Options group, click Message Option to launch dialog box.
Step 2: In popup dialog, click Security Settings, and then check on the Encrypt message contents box.
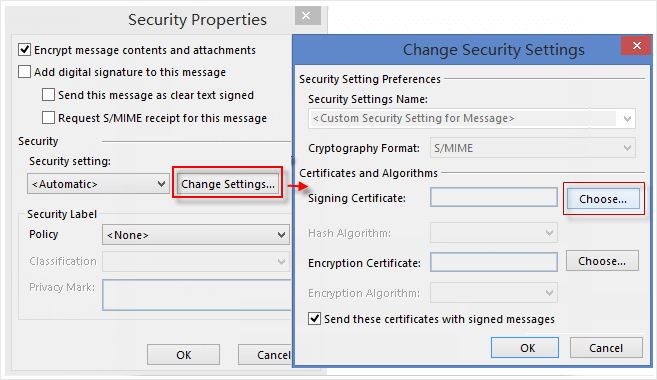
Step 3: Click the Change Settings button to specify security setting. Click Choose to select your certificate. Continue to compose your message, click Send after completing.
If you choose to encrypt all outgoing messages, you'd better give all potential recipients your digital ID to decrypt or read your message.
Step 1: In Outlook 2013, go to File > Option, click Trust Center > Trust Center Settings.
Step 2: On the E-mail Security tab, check on the Encrypt contents and attachments for outgoing messages box under Encrypted e-mail section.

If your information is not too sensitive, go to check on Encrypt contents and attachments box only.
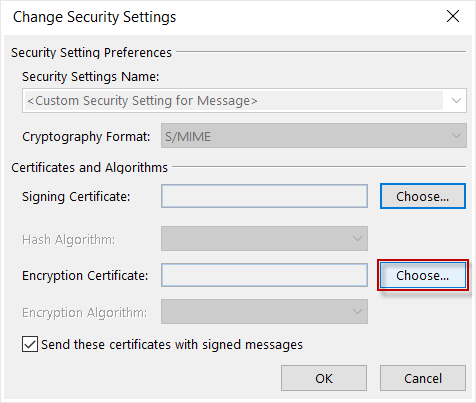
Step 3: If you want to change additional settings, such as choosing a specific certificate to use, click Settings. Then specify security settings, click Choose option to import certificates.
If you do not have digital certificate yet, go to create digital certificate for Outlook. After composing your message completely, send it as usual.