This article will present you with a detailed tutorial on how to create a UEFI bootable USB drive on Windows 10.

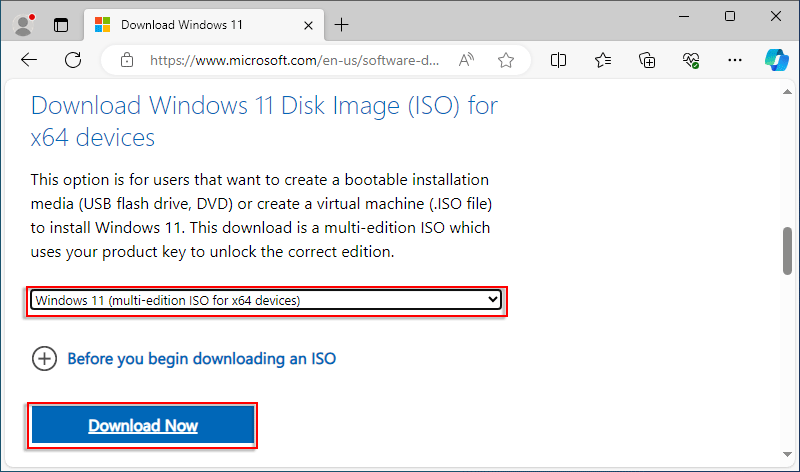
Step 1: Visit Windows 11 download page. From there, locate Download Windows 11 Disk Image (ISO) for x64 devices, then select a version and click Download Now.
Step 2: Select a language sand click Confirm, then click 64-bit Download.

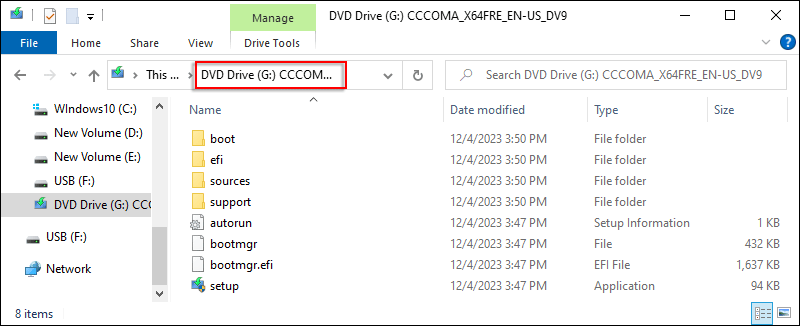
Step 3: After the successful download, locate the file and then double-click on it, mounting the ISO file.
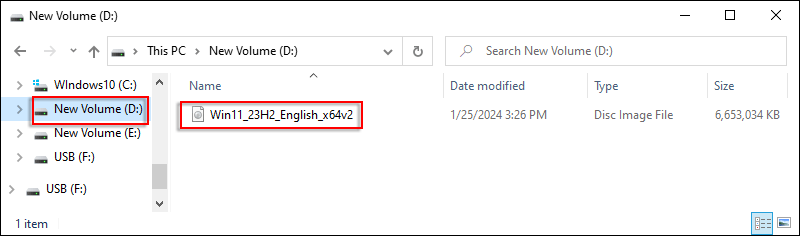
Step 4: Once mounted, it will be assigned a drive letter automatically. Here is the letter G.
Note:
Step 1: Connect your USB drive, upwards of 8GB, to the computer.
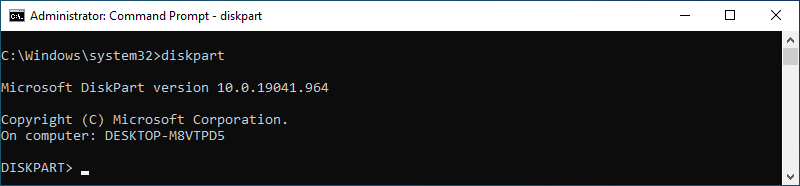
Step 2: Type "cmd" on the search bar, then select Run as administrator. If a UAC (User Account Control) pop-up appears, click Yes to proceed.

Step 3: Type diskpart.
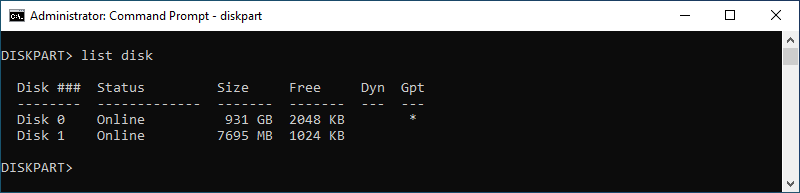
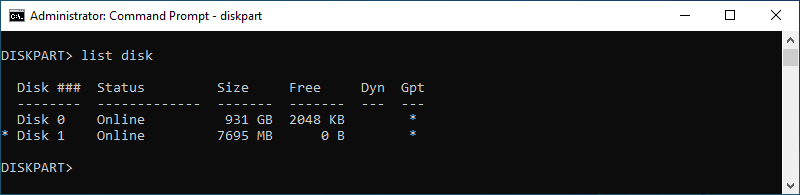
Step 4: Here, you've accessed DISKPART. Then type list disk and all available disks will be
displayed on the screen.
Step 5: Type select disk 1. It is
noted that here the USB driver is disk 1, which needs to be replaced with your own disk letter.

Step 6: Type clean to format the
USB driver.

Step 7: Type convert gpt to convert
the disk format.

Step 8: Type create partition primary
size=1000, which
creates a primary partition and its size is 1000MB.

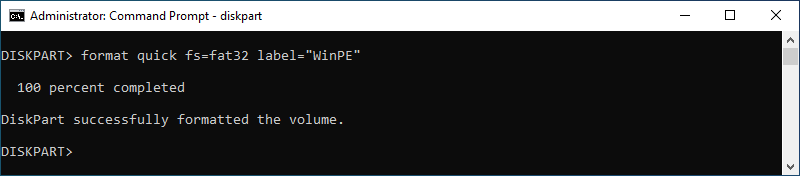
Step 9: Type format quick fs=fat32
label="WinPE".
Step 10: Type assign letter="S".

Step 11: Type create partition
primary.

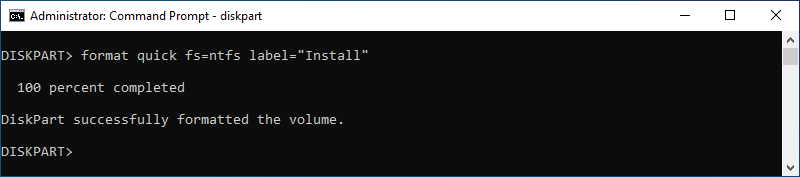
Step 12: Type format quick fs=ntfs
label="Install".
Step 13: Type assign letter="W".

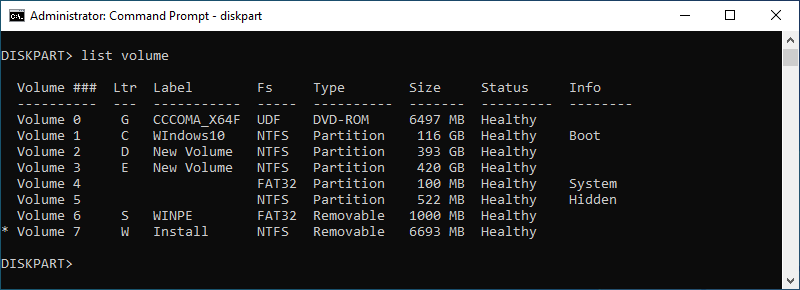
Step 14: Type list volume.
Step 15: Type list disk.
Step 16: Type exit to exit the
Diskpart tool.

Step 1: Type robocopy G: S: /e /zb /MT:16
/xf "G:\sources\install.wim" "G:\sources\boot.wim".

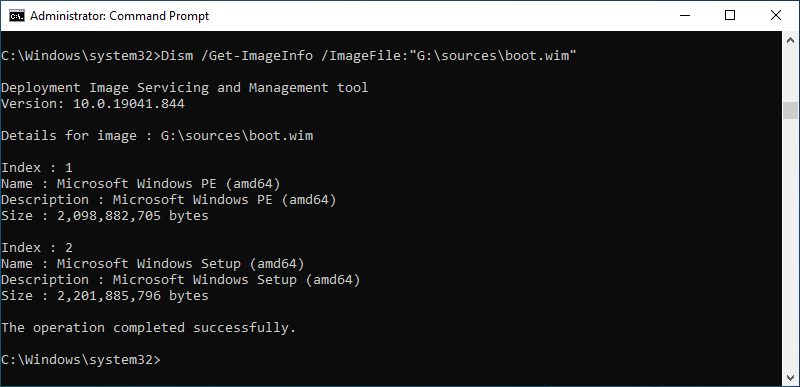
Step 2: Type Dism /Get-ImageInfo
/ImageFile:"G:\sources\boot.wim".
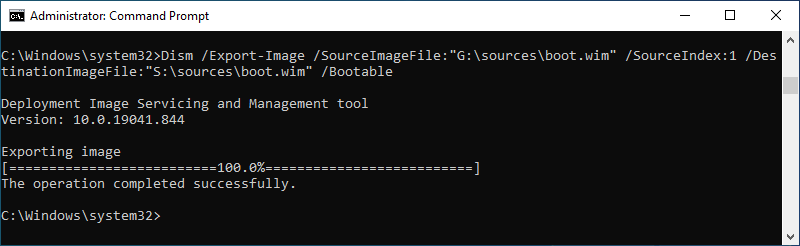
Step 3: Type Dism /Export-Image
/SourceImageFile:"G:\sources\boot.wim" /SourceIndex:1
/DestinationImageFile:"S:\sources\boot.wim" /Bootable.
Step 4: Type robocopy G: W: /e /zb /MT:16
/xf "G:\sources\boot.wim".

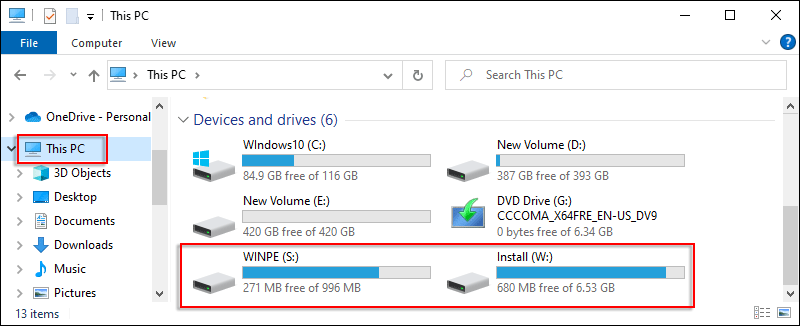
Step 5: After the successful copy, open File Explore and you will find that you have successfully created a UEFI bootable USB drive.
In short, UEFI bootable USB drive can be seen as an upgraded version of a BIOS bootable USB drive. Here are some differences between them: