USB Drive Shows RAW in Windows 11? Recover Files Before Formatting

You plug a USB flash drive into a Windows 11 PC and see a frightening message: "You need to format the disk in drive X: before you can use it." In Disk Management, the drive may show its file system as RAW instead of FAT32, exFAT, or NTFS.
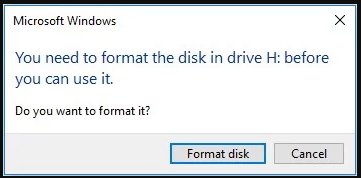
Example from an earlier Windows interface; the drive letter and visual layout can differ in Windows 11.
If the drive contains important files, do not click Format. Formatting can overwrite file-system information and reduce your recovery options.
Quick answer:
- Stop using the USB drive, check that Windows can detect the device, and attempt a read-only scan or professional data recovery before formatting. If the USB flash drive disconnects repeatedly or becomes unusually hot, avoid further DIY scans and consider a data recovery lab.
- What Does RAW Mean on a USB Drive?
- Before You Try Anything: Four Things Not to Do
- Part 1: Check the USB Drive in Disk Management
- Part 2: Rule Out a Connection Issue
- Part 3: Recover Files Before Formatting
- Part 4: What If Data Recovery Software Cannot Access the USB Drive?
- Part 5: Format the USB Drive Only After You Have Recovered the Files
- FAQ
- Conclusion
- Sources
What Does RAW Mean on a USB Drive?
RAW is how Windows describes a partition that does not have a file system it can currently recognize. This can happen when:
- File-system metadata is damaged after unsafe removal or a power interruption.
- The drive's partition information is corrupted.
- A flash controller or storage component is failing.
- The device uses a file system that Windows cannot natively interpret.
- The drive was never formatted, in which case it might be legitimately blank.
RAW does not automatically mean every original file has been erased. It means Windows cannot mount the volume as a normal usable file system at that moment.
Microsoft's Disk Management troubleshooting documentation explicitly warns that formatting deletes data and should not be done while attempting file recovery.
Before You Try Anything: Four Things Not to Do
- Do not format the USB drive when Windows offers to do so.
- Do not copy new files to it, initialize it, or recreate partitions.
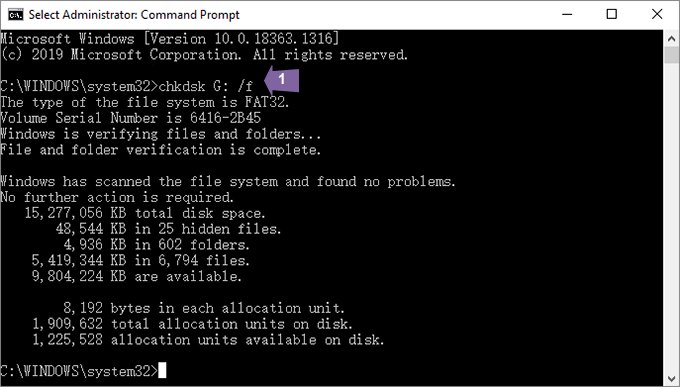
- Do not run
chkdsk /fblindly on a RAW device. You may see "CHKDSK is not available for RAW drives," and repair writes can complicate recovery on damaged media. - Do not save recovered files back onto the same USB drive. Choose a separate healthy disk.
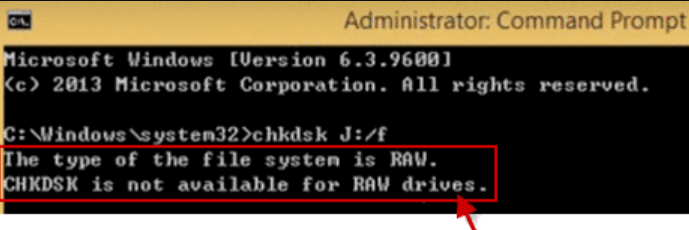
This older Windows Command Prompt example shows the same CHKDSK limitation that can occur with a RAW drive in Windows 11.
If the data is especially valuable, minimize repeated power cycles and consider professional recovery immediately.
Part 1: Check the USB Drive in Disk Management
Step 1 Connect the device directly to a USB port on the computer.
Step 2 Press Windows + X > Disk Management or run diskmgmt.msc.
Step 3 Identify the USB disk by size, not only by drive letter.
Step 4 Check whether the disk is Online, whether a partition is present, and whether the File System column says RAW.
Step 5 Note the capacity. A drive reporting zero bytes, wildly incorrect capacity, or frequent disconnection may have a hardware problem.
A RAW partition is different from an Unallocated disk area or an Offline disk. Those states have different causes and should not be treated as interchangeable.
Part 2: Rule Out a Connection Issue
Without modifying the data on the device:
Step 1 Try another USB port on the same PC.
Step 2 Avoid low-power USB hubs.
Step 3 If possible, check whether the drive appears in Disk Management on another trusted computer.
Step 4 Stop testing if the device becomes unusually hot, intermittently disappears, or repeatedly reconnects.
This check will not repair corrupted metadata, but it can help rule out a port or power issue.
Part 3: Recover Files Before Formatting
A recovery tool may be able to locate data on a damaged or unmountable partition. Success depends on the hardware condition, how much metadata remains, the file system, and whether file contents have been overwritten.
iSumsoft Data Refixer advertises recovery from damaged or formatted storage and support for USB flash drives. Compatibility with a particular RAW volume must be confirmed with a non-destructive test; the product does not guarantee recovery of every RAW device.
How to perform a cautious recovery attempt
Step 1 Connect a second healthy drive with enough free space for recovered files.
Step 2 Install iSumsoft Data Refixer on your Windows system drive, not on the affected USB disk.
Step 3 Open the program and check whether the affected USB drive appears as a scan destination.
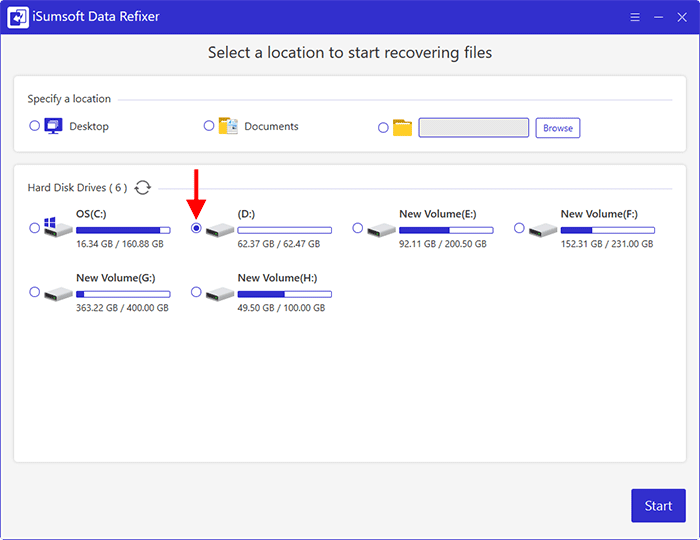
Existing product guide example, not evidence of RAW-device detection.
Step 4 Select that drive and begin a scan only if the device is stable and healthy enough for one.
Step 5 Review the discovered files and previews, if available.
Step 6 Select important files and choose Recover.
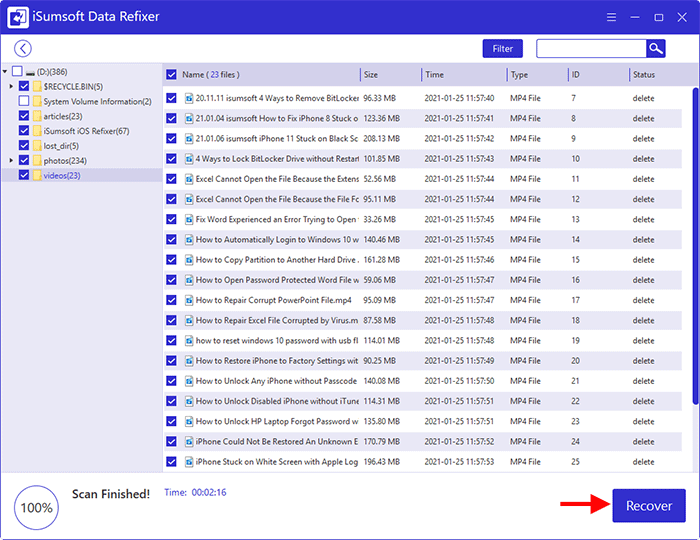
Existing product guide example, not a RAW-drive recovery result.
Step 7 Save them to the healthy destination drive, not to the original USB flash drive.
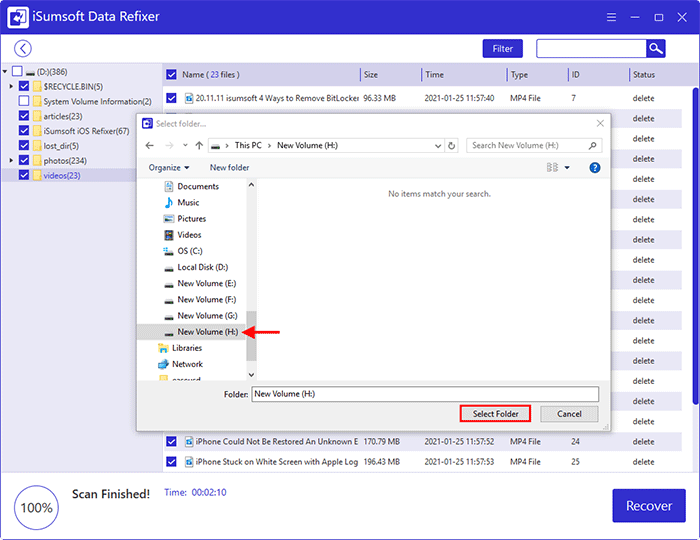
Step 8 Open several recovered files to verify they are usable before attempting further repair.
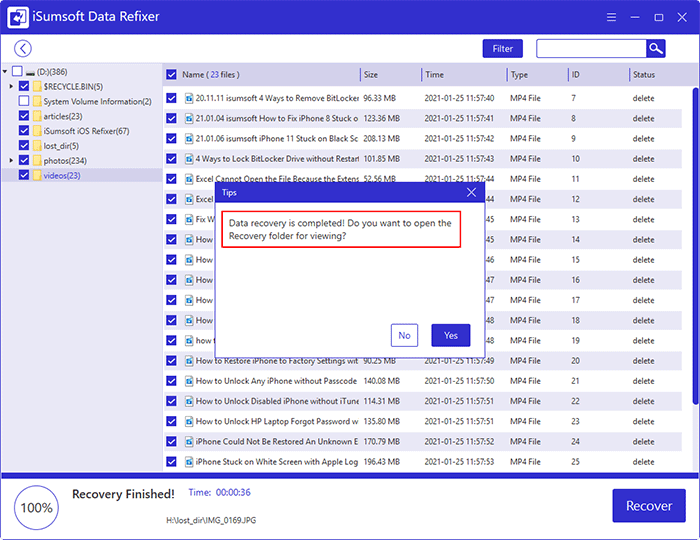
Illustrative completion screen from the product guide; recovery is not guaranteed for a RAW USB device.
For the current interface and detailed steps, consult the official Data Refixer User Guide.
Part 4: What If Data Recovery Software Cannot Access the USB Drive?
If the scan tool cannot detect a stable device, do not keep retrying indefinitely. Repeated reads on physically failing media can worsen the situation.
Consider a reputable data recovery specialist when:
- The USB drive is disconnected or reconnected continuously.
- It reports 0 bytes or an implausible capacity.
- The computer freezes whenever the drive is connected.
- The contents are irreplaceable or needed for legal or business reasons.
Do not attempt controller firmware fixes, flash-memory chip removal, or electrical repairs without specialist experience.
Part 5: Format the USB Drive Only After You Have Recovered the Files
After saving and verifying all recoverable data, you can decide whether to repair or replace the USB drive.
For a stable drive you no longer need to preserve in its original state:
Step 1 Open Disk Management.
Step 2 Identify the USB drive carefully by capacity and location.
Step 3 If an existing volume can be formatted, right-click it and choose Format.
Step 4 Select exFAT for broad large-file compatibility, or NTFS for Windows-focused usage, as appropriate.
Step 5 Follow the confirmation prompts. Formatting permanently removes the existing volume's logical contents.
Step 6 After formatting, test the drive with nonessential files and verify they remain readable after safe removal and reconnection.
If problems return, replace the flash drive rather than entrusting it with important files.
FAQ
Can I recover a RAW USB drive without formatting it?
Possibly. File recovery software or a specialist may be able to extract data before any format operation. Success is not guaranteed.
Why does CHKDSK say it is unavailable for RAW drives?
CHKDSK expects a recognized file system for normal file-system repair operations. A RAW volume does not currently present one Windows can process in that way.
Does RAW mean my USB drive is physically broken?
Not always. Metadata corruption can cause RAW status, but hardware failure is also possible. Watch for disconnection, extreme slowness, or incorrect reported capacity.
Should I use quick format or full format before data recovery?
Neither. If you need the files, attempt appropriate recovery first. Formatting is for a later stage, after the necessary data is already safely copied elsewhere.
Can iSumsoft Data Refixer repair the RAW file system itself?
Data Refixer is described as a file recovery tool, not as a guaranteed RAW file-system repair utility. Use it to attempt file extraction and save data to another device.
Conclusion
When Windows 11 labels a USB drive RAW, preserving the original data matters more than making the drive usable immediately. Do not format first. Inspect the device, attempt a cautious recovery to a separate disk, and only then decide whether to reformat or replace the USB drive.