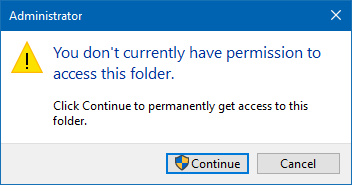
Cannot access, change, save, or delete file and folder? This guide describes how to assign ownership of a file, folder or drive and grant full permissions to your account in Windows 10. This can help you fix "Access denied to files and folders problem.
You must sign-in as an administrator to take ownership and change permission on file, folder or drive.
Step 1: Right-click the file, folder or drive, that you want to take ownership of, then click Properties.
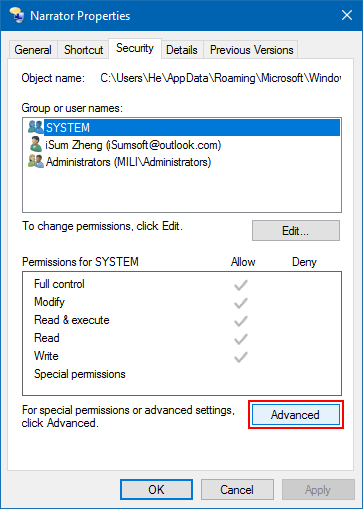
Step 2: Select the Security tab. Click the Advanced button.
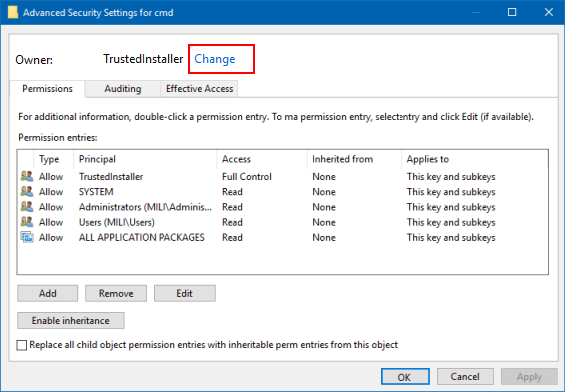
Step 3: In the Advanced Security Settings dialog, click Change link.
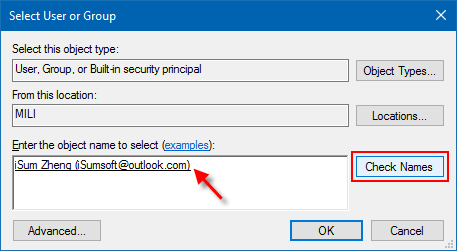
Step 4: Type in your account name and then click Check Names button. Click OK.
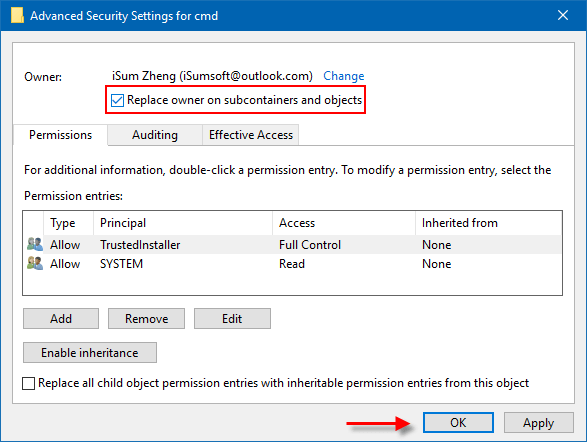
Step 5: Select Replace owner on sub containers and objects check box. Click OK.
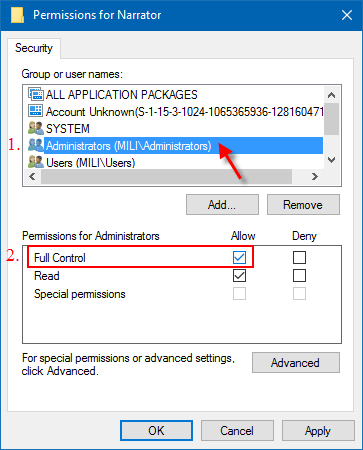
Step 6: When back to the Permissions window, under Group or user names, click your name. Under Permissions for Administrators, select Allow checkbox in the Full Control row, and click OK.