The password expiration is one of the properties for user accounts on Windows. This property is disabled by default on Windows 10/8/7. But occasionally, this property might be changed by somebody else without knowing. If the password expiration is enabled, once the deadline is up, Windows will alert that your password has expired and must be changed. However, constantly changing password may be annoying and make it easy to forget your password. Now in this post, we will show you how to disable password expiration in Windows 10. Two ways are as follows.
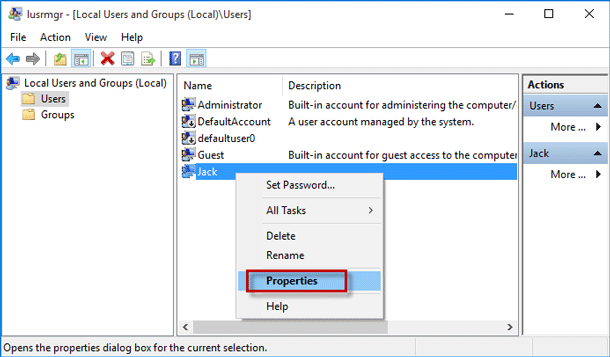
Step 1: Open the Local Users and Groups window.
Step 2: Click on the Users folder on the left-side panel to show all user accounts on the right-side pane. Select the user whose password expiration you want to disable, right-click on it, and select Properties.
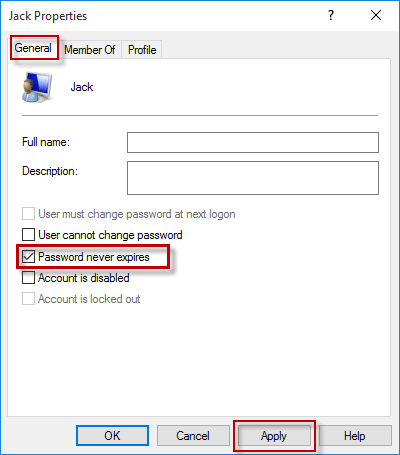
Step 3: After the user's Properties dialog opens, select the General tab, check the "Password never expires" checkbox, and click Apply followed by OK.
Step 1: Run a Command Prompt as administrator.
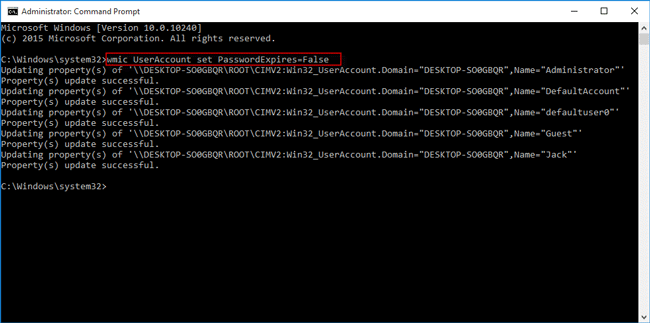
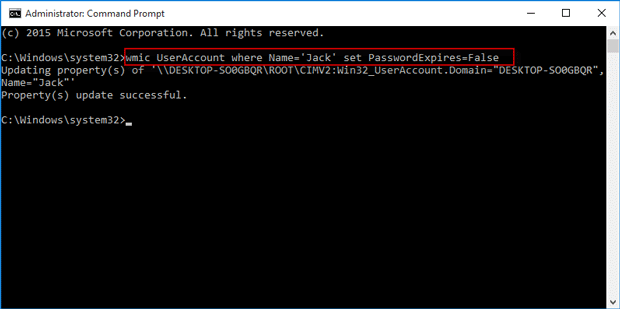
Step 2: Type wmic UserAccount where Name='username' set PasswordExpires=False, and press Enter key. Replace the username with your user name. When it shows "Property(s) update successful", the user's password expiration is disabled.
False = Disabled
True = Enabled
If you want to disable password expiration for all user accounts at once, type wmic UserAccount set PasswordExpires=False, and press the Enter key.