If system protection is enabled on the operating system drive, Windows will automatically create a system restore point each time a major system change is made. A system restore point allows you to revert your system to an earlier point in time without losing your personal files.
However, if you have several system restore points, you might not need the old ones. You can save disk space by deleting them. In this article, we will show you how to delete system restore points in Windows 10. There are three ways for you to choose.
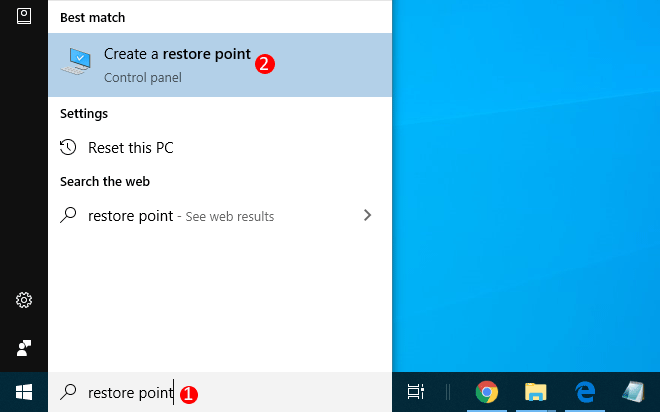
1. Type restore point in the search box next to the Start button, and then hit Enter or click Create a restore point in the search results.
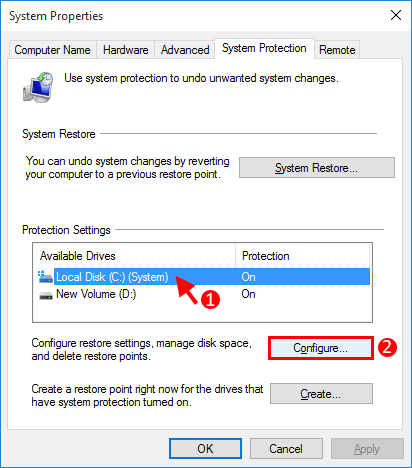
2. You will enter the System Protection tab in the System Properties dialog. Select the Local Disk (C:) under Protection Settings, and then click Configure.
3. When the System Protection dialog opens, click the Delete button to delete all restore points for the system drive.

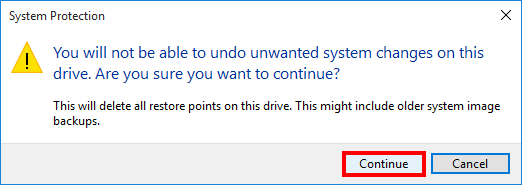
4. Before actual deletion, a warning dialog opens asking if you are sure you want to delete all restore points on this drive. Click Continue and the restore points will be deleted successfully.
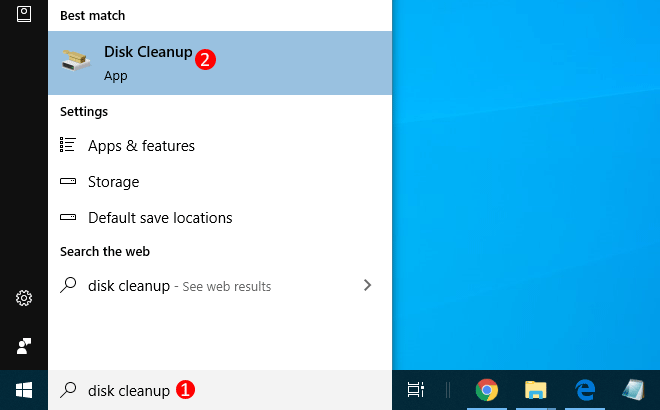
1. Type disk cleanup in the search box next to the Start button, and then hit Enter or click Disk Cleanup in the search results.
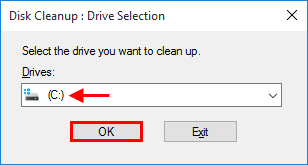
2. When the Drive Selection dialog of the Disk Cleanup app opens, select the system drive (C:) and click OK.
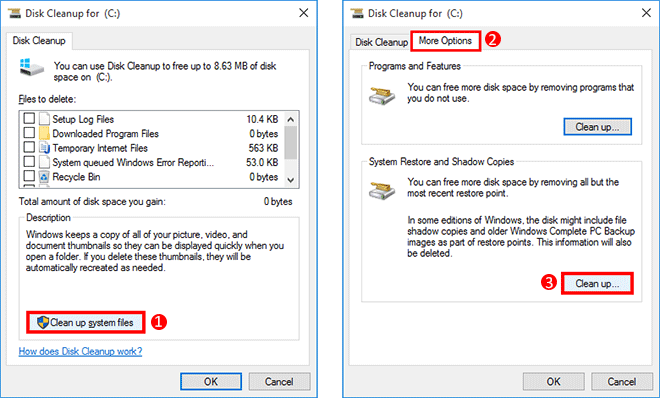
3. Click "Clean up system files". Next, select the More Options tab, and then click the "Clean up" button under System Restore and Shadow Copies.
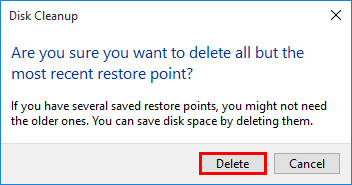
4. Click Delete and Windows 10 will delete all old system restore points except the most recent one.
If you want to selectively delete one of the many system restore points, you need to use the Command Prompt.
Step 1: Check the system restore point you want to delete.
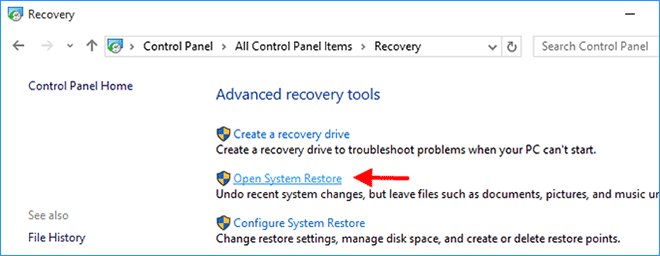
1. Open Control Panel and select to view by Large icons. Then go to Recovery > Open System Restore.
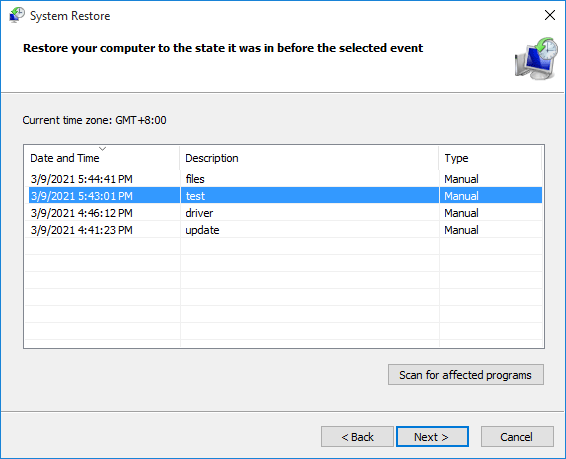
2. When the System Restore window opens, click Next and you can see a list of all existing restore points on your computer. Note down the restore point you want to delete by its creation time and description.
Step 2: Delete the system restore point with Command Prompt.
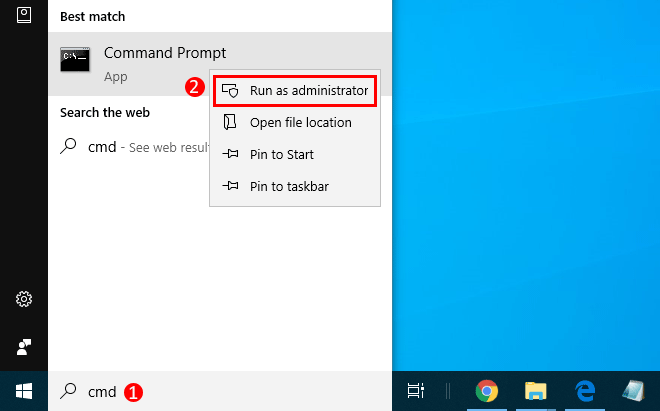
1. Type cmd in the search box next to the Start button. When Command Prompt appears in the search results, right-click it and select Run as administrator. This will open an elevated Command Prompt.
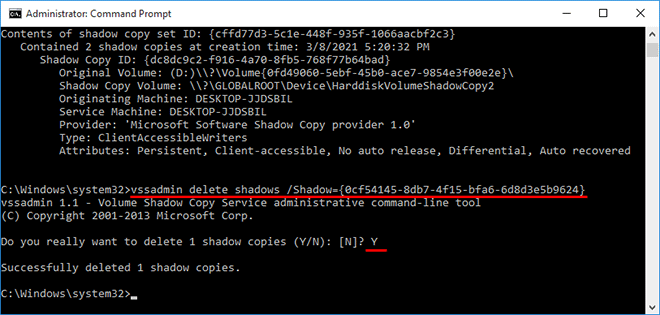
2. Type vssadmin list shadows, and press Enter. This will display a list of all existing restore points on your computer, as shown in the figure below. You can identify each restore point by the creation time. Locate the restore point you want to delete and copy its Shadow Copy ID.

3. To delete the system restore point, type the following command and press Enter. Replace {shadow copy ID} with the actual shadow copy ID you just have copied. You'll be asked if you really want to delete the shadow copy, type Y and hit Enter. The restore point will be deleted successfully.
vssadmin delete shadows /Shadow={shadow copy ID}