"The disk is write-protected message popped up when I attempted to copy a Word document into my USB drive. Besides, when I tried to delete some files and folders in the USB drive, the warning came up again. How do I adjust my USB drive for normal use? Please help me. Thanks a million."
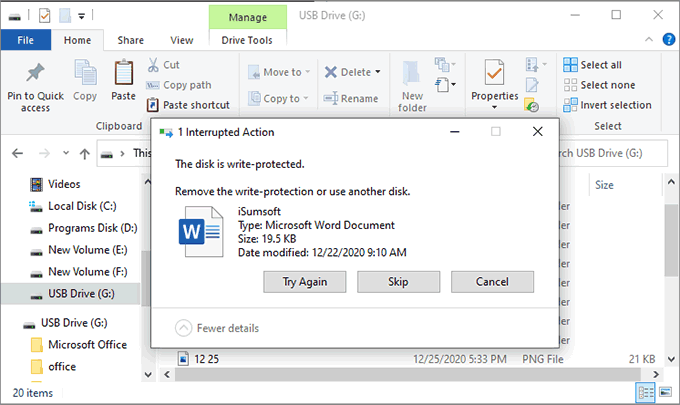
"The disk is write protected USB" means that the USB flash drive is set to be read-only. Commonly, write protection can protect data against accidental or intentional deletion and modification. However, "The disk is write protected" sometimes can be an error message. It can arise due to various mistakes or even virus attack. Users can only read the contents of a USB flash drive because of the write protection, without permissions to modify, delete or copy anything into the USB drive. If you want to remove the write protection of a USB drive, try the methods below.
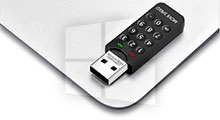
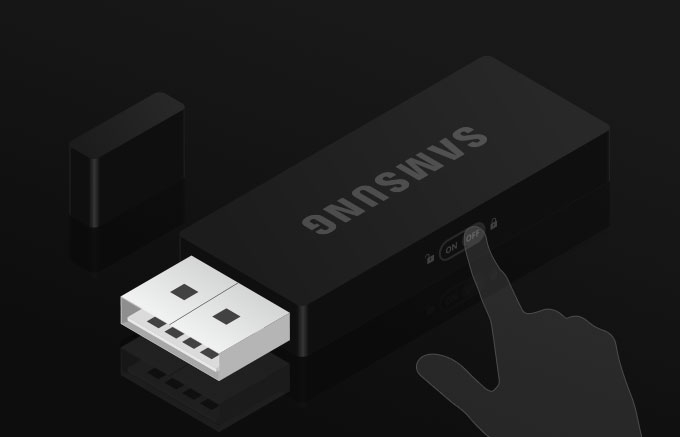
For some USB flash drives, there is a switch to turn on and off the write protection function generally on the side of it. Check whether your USB drive has such a switch, and turn it off if it is enabled.
In case that your USB flash disk does not have this write protection switch, take the following steps.
Viruses might be the potential threat that disturbs the USB flash drive. Have you ever connected the USB flash drive to a public computer or lend it to other people before?
You can choose to use anti-virus software to detect the virus. Besides, the Windows build-in feature also enables you to scan the virus.
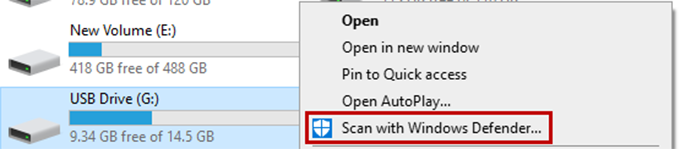
Press Win + E hotkeys to open Windows Explorer, right-click the write-protected USB disk, and select Scan with Windows Defender from the context menu. Then, the system will start the detection.
Once the virus is detected, you should use anti-virus software to get rid of the virus.
Command Prompt can effectively help you remove the write protection. It is a relatively easy way to fix the write-protected USB disk issue.
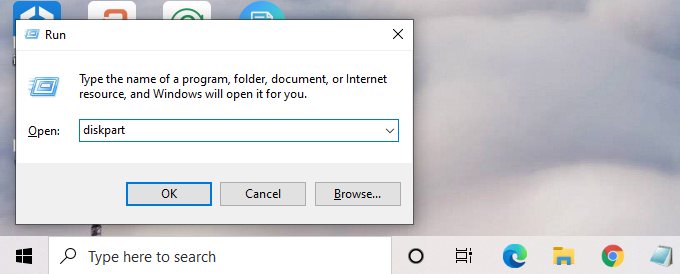
Step 1: Open Run dialog with the Win + R shortcuts, type in diskpart, and hit the Enter key.
Step 2: In the following window, input the command below one by one and remember to press Enter to perform each command.
1. list disk
2. select disk # ("#" represents the number of the write-protected USB disk)
3. attributes disk (check the current read-only state)
4. attributes disk clear readonly
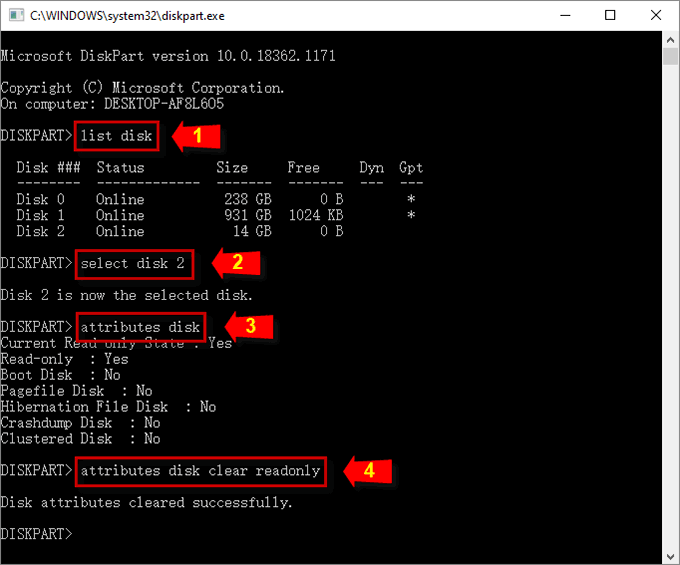
When you see the prompt "Disk attributes cleared successfully", the write-protected USB disk will restore to a writable state.
If you are acquainted with the computer, you can also use Windows Registry to remove the write protection.
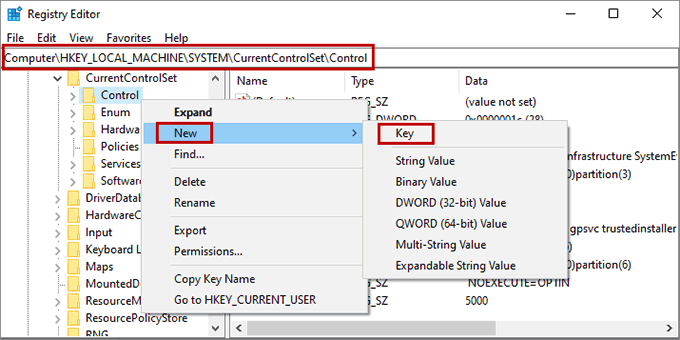
Step 1: Open Windows Registry through Windows Search, and follow the path HKEY_LOCAL_MACHINE\SYSTEM\CurrentControlSet\Control\StorageDevicePolicies.
If you cannot find the StorageDevicePolicies in your Registry, you need to create the key by yourself. Here is the detail:
Right-click the Control option, select New and then Key. Name the new key as StorageDevicePolicies.
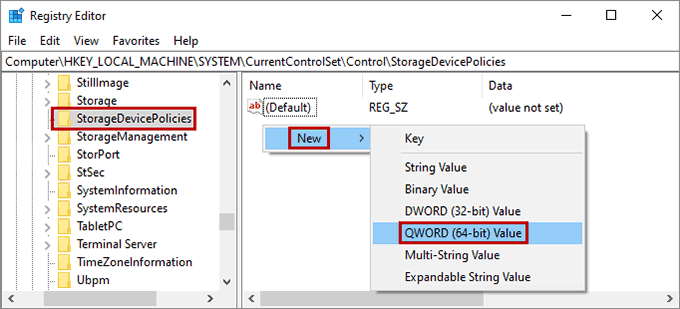
Step 2: Locate StorageDevicePolicies and right-click the blank space at the right pane. Click on New. If you are using the 64-bit operating system, click on QWORD (64-bit) Value. Supposing that your computer is 32-bit, select DWORD (32-bit) Value.
Step 3: Then, name the new value WriteProtect.
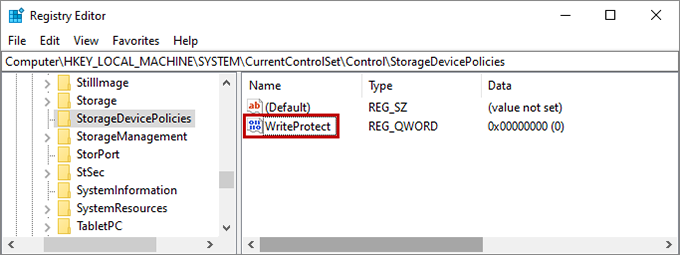
Step 4: Double-click WriteProtect, and set the value data as 0. Click OK to save the setting. Reboot and plug the write-protected USB disk into your computer. Check whether the write protection has been removed.