Encountering the "No device drivers were found during Windows 7 installation" error is common due to the lack of USB 3.0 drivers in the original Windows 7 version, which is incompatible with modern motherboards that use the XHCI controller. To fix this, you need to integrate the necessary drivers into your Windows 7 installation media. This guide will walk you through the steps to successfully add drivers to Windows 7 installation media.

Step 1: Create a bootable Windows 7 USB drive.
For a step-by-step guide, refer to How to Clean Install Windows 7.
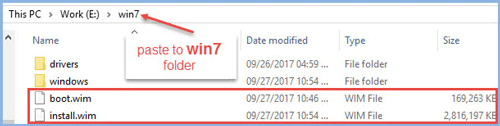
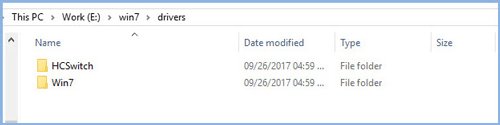
Step 2: Create a folder named win7 on your E: drive, and within it, create two subfolders: windows and drivers.
Open the sources folder on your USB drive.
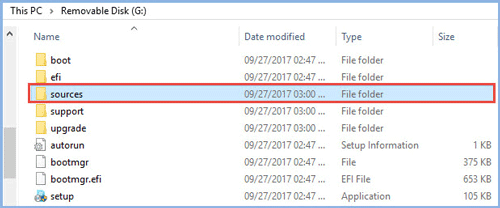
Copy the boot.wim and install.wim files to the E:\win7 folder.
Download the Intel USB 3.0 drivers, extract them, and copy the contents to E:\win7\drivers.
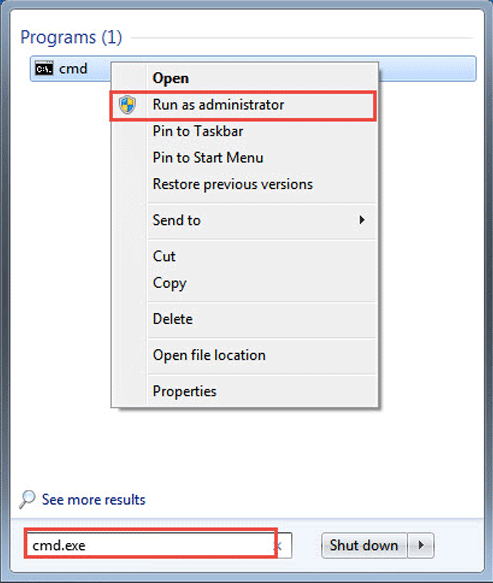
Step 3: Run Command Prompt as administrator.
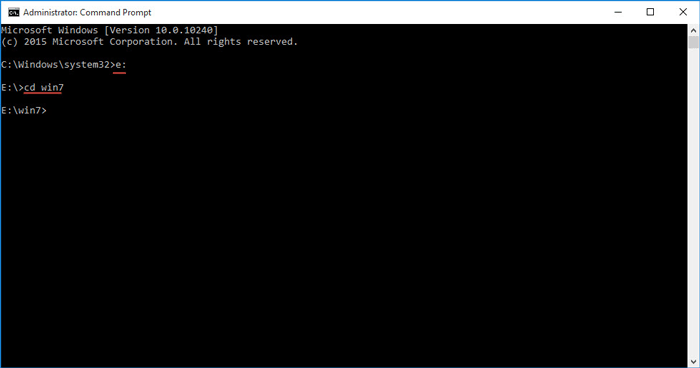
Navigate to E:\win7.
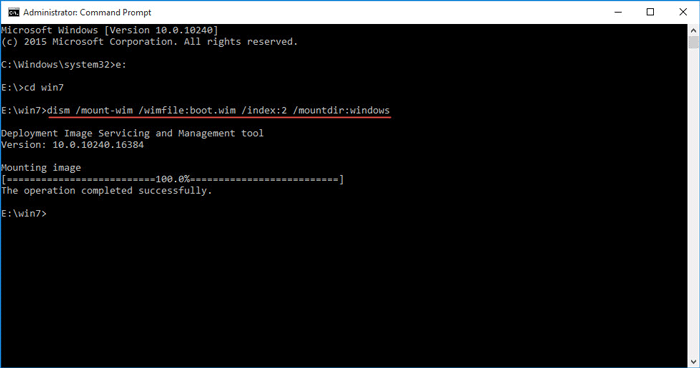
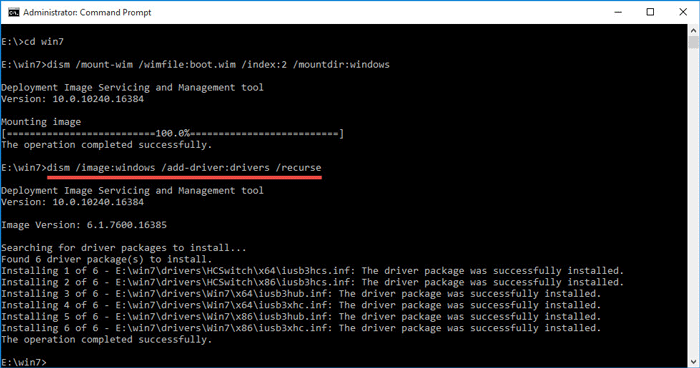
Step 4: Mount the boot.wim file to E:\win7\windows using the command:
dism /mount-wim /wimfile:boot.wim /index:2 /mountdir:windows
Add drivers to the mounted image with the command: dism /image:windows /add-driver:drivers /recurse.
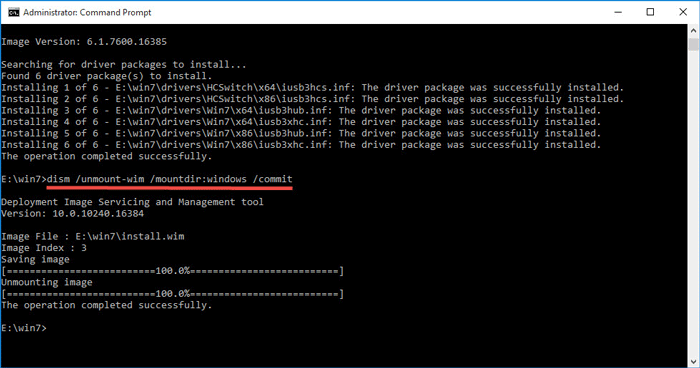
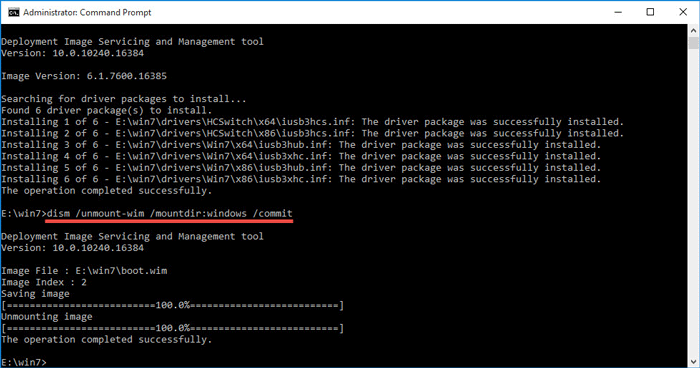
After adding drivers, save and unmount the image using: dism /unmount-wim /mountdir:windows /commit.
Step 5: Mount install.wim to E:\win7\windows by running:
dism /mount-wim /wimfile:install.wim /index:3 /mountdir:windows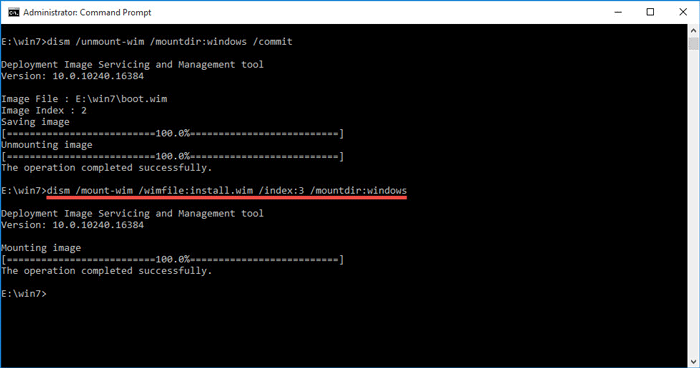
Note: The /index:3 parameter is for Windows 7 Professional. Verify the index for your Windows 7 edition on Microsoft's official website.
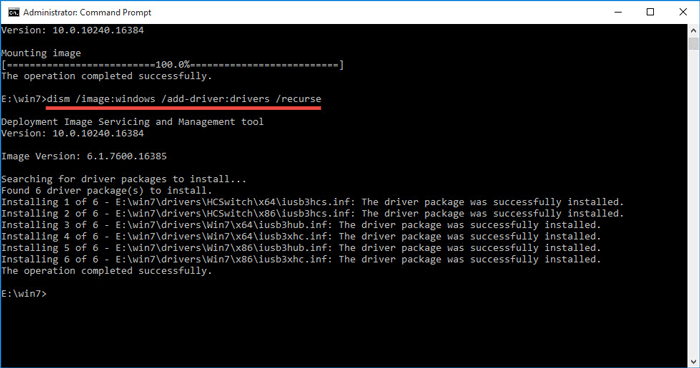
Then, add drivers using: dism /image:windows /add-driver:drivers /recurse.
Save and unmount using: dism /unmount-wim /mountdir:windows /commit.
Tip: If you encounter issues, run Dism /Cleanup-Wim before retrying.
Step 6: Copy the modified boot.wim and install.wim from E:\win7 to your USB drive, replacing the original files.