This guide shows you how to use iSumsoft Cloner to copy, backup, and restore the Windows operating system, partitions, and an entire hard drive. I will divide this guide into four parts, separately introducing the Copy, Backup & Restore, Disk Clone, and Make Boot Disk function. They all have the same goal: to clone your Windows OS and partitions, though the process is different. Now install and launch this cloning software on your computer and then let's begin.
This part illustrates the Copy function of iSumsoft Cloner, with which you can copy your Windows system or partition onto another hard drive, like external hard drive, HDD or SSD. The duplicated system or partition can be used directly on the target drive. Before starting the following steps, make sure you have connected or installed another hard drive on your computer.
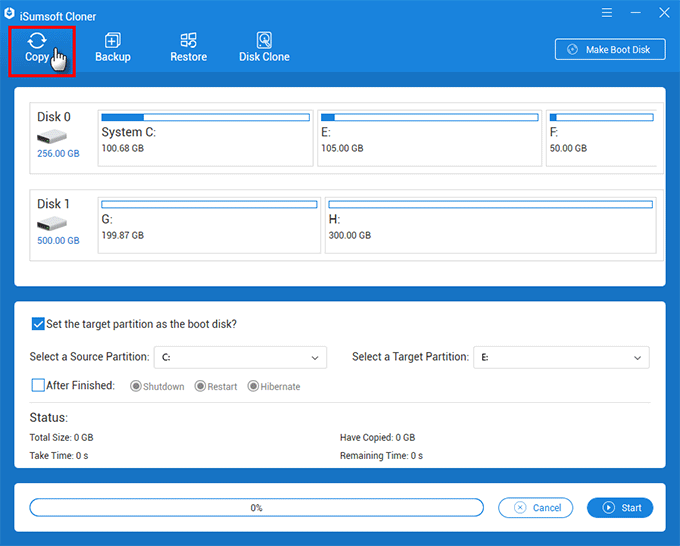
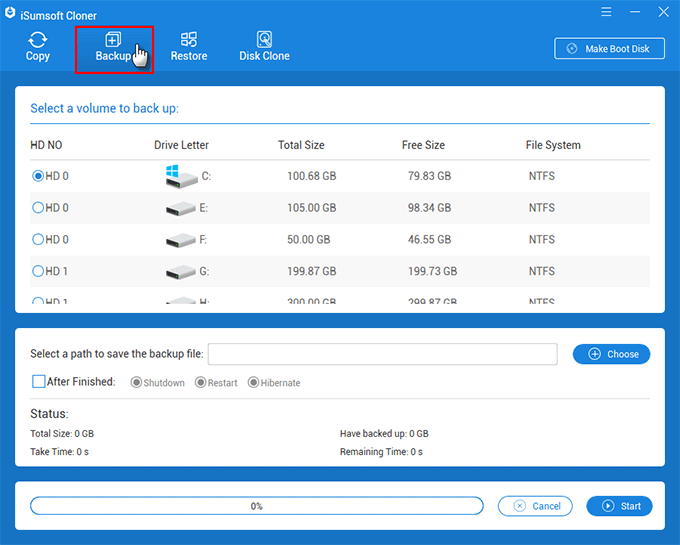
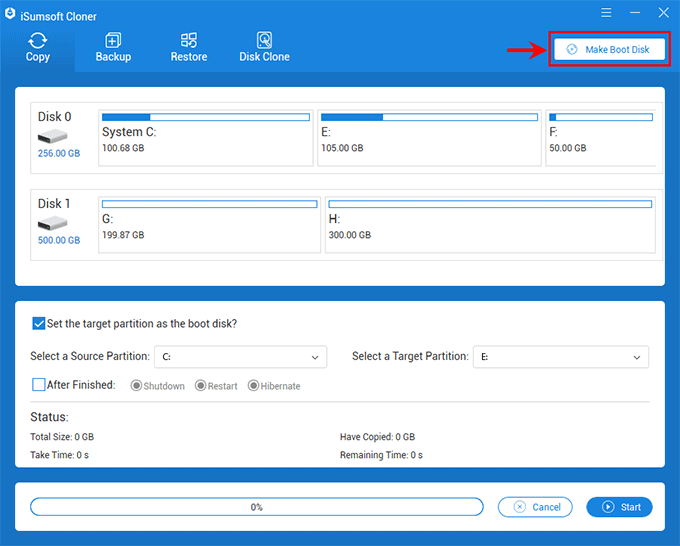
Step 1: Select the Copy option on the upper left corner of the interface.
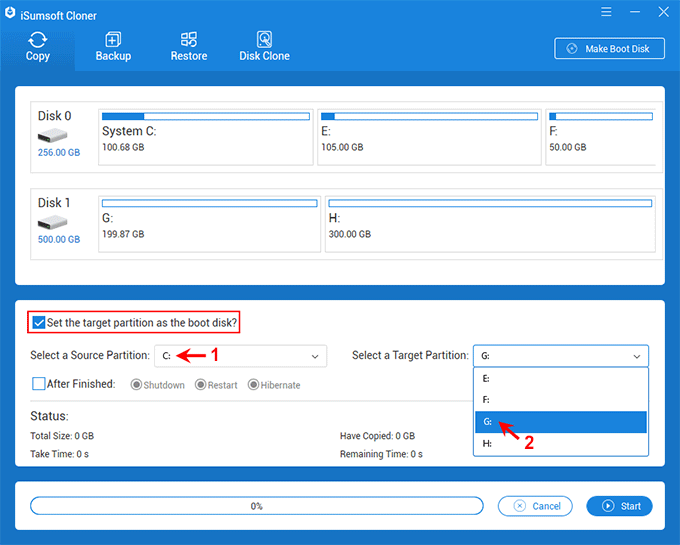
Step 2: Now shift your gaze to the middle of the interface. Select the source partition you want to copy and the target partition to which you want to copy the source partition from the drop-down menus.
Note: If you want to copy the OS partition that contains your current Windows operating system, the destination partition must be a partition of a different hard drive (HDD or SSD). In addition, make sure your destination partition has enough space to store the replica of your source partition. If you want to make your computer boot from the destination disk after copying, make sure to check the option "Whether to modify the current copy disk as the boot disk".
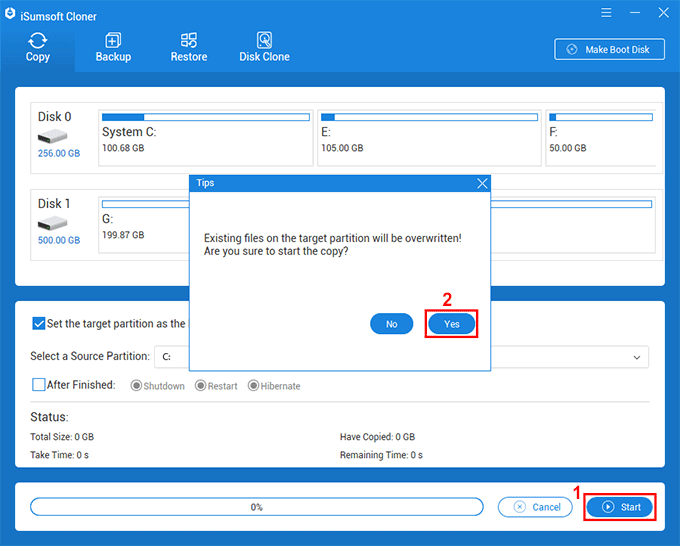
Step 3: Now click the Start button in the lower right corner of the interface. When a dialog box pops up asking if you are sure to start copying, click Yes to start copying.
Note: Once the copy starts, the target partition (disk) will be formatted, so make sure to back up important data stored on the target partition in advance.
Step 4: Wait for the copying process to complete. This takes around 15 minutes, depending on the size of the partition to be copied. When the copying is complete, you will receive a success prompt on the interface, as shown in the figure below.

This part describes the Backup and Restore function of iSumsoft Cloner, with which you can back up your Windows system or partition to an archive file and restore the backup to a target disk when needed. The restored system or partition can work perfectly on the target disk without any problem.
Step 1: Click the Backup option.
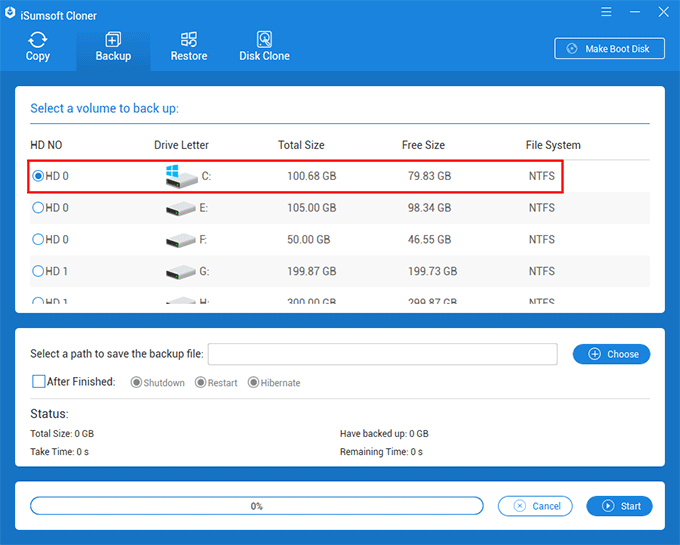
Step 2: Select a volume you want to back up. You can select the system partition that contains your Windows operating system or select any other data partition. Here I selected the system partition.
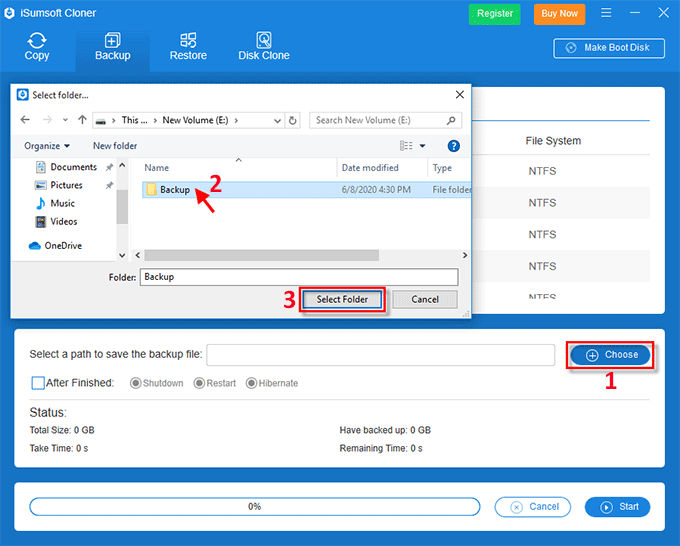
Step 3: Now you need to select a path to save the backup file. Click the Choose button and when the Select folder dialog pops up, choose a drive to save the backup. You can choose the root directory of this drive or a specific subfolder. After selecting the path, click the Select Folder button to confirm.
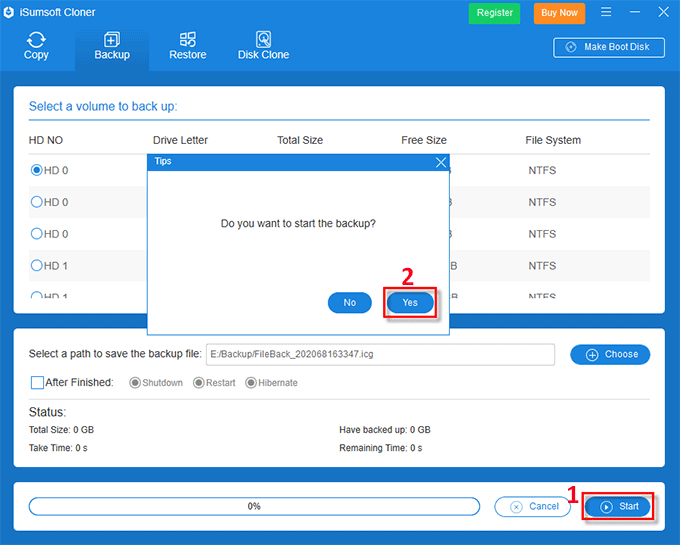
Step 4: Everything is ready. Now click the Start button in the lower right corner and then click Yes to start backing up.
Step 5: Wait for the backup process to complete. This usually takes about 15 minutes, depending on the size of the data you are backing up. When the backup is complete, you will receive a success prompt on the interface, as shown in the figure below. You can then open the destination folder to view the backup file (a file with the file name extension ICG) and restore it to any disk as needed.
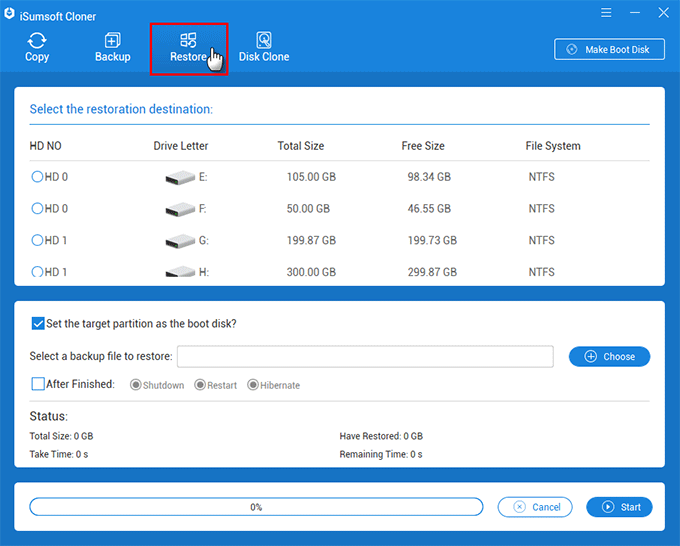
Step 1: Choose the Restore option.
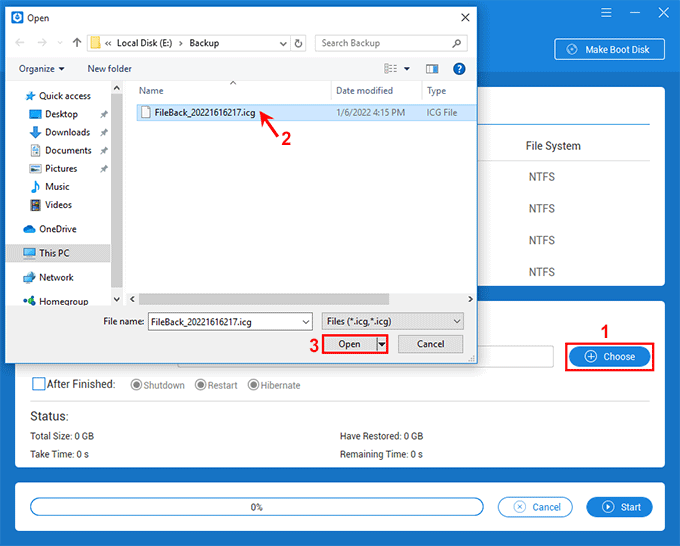
Step 2: Click the Choose button and then choose the backup file you need to restore.
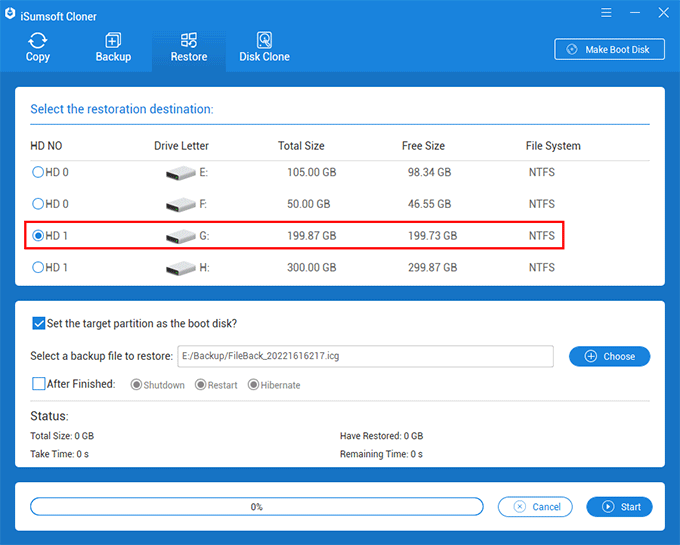
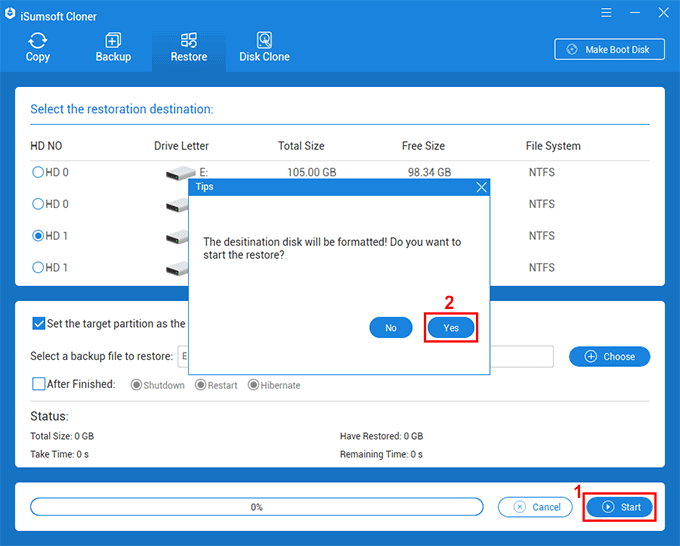
Step 3: Select the destination partition to which you will restore the backup from the volume list.
Step 4: Click Start to start restoring the backup file. When a dialog pops up asking if you are sure to start the restore, click Yes to continue. Note that this operation will format the destination partition.
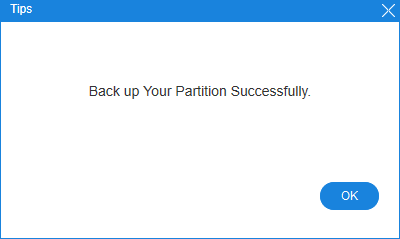
Step 5: When you receive a success prompt on the interface, as shown in the following figure, it means the backup of the Windows OS or partition is restored successfully and you can directly access the data from the destination drive.

This section introduces the Disk Clone feature of iSumsoft Cloner, which enables you to copy/clone an entire hard drive to another. All the partitions and data on the source hard drive, including the Windows OS partition and other data partitions, will be completely cloned to the target hard drive in one go. If the cloned hard drive contains the Windows OS, it will remain bootable.
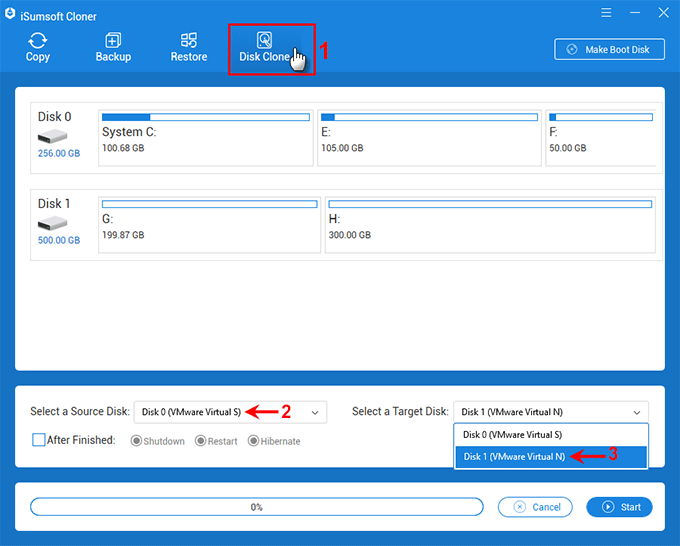
1. Select the Disk Clone option.
2. Select the source hard drive and the target hard drive from the drop-down menus.
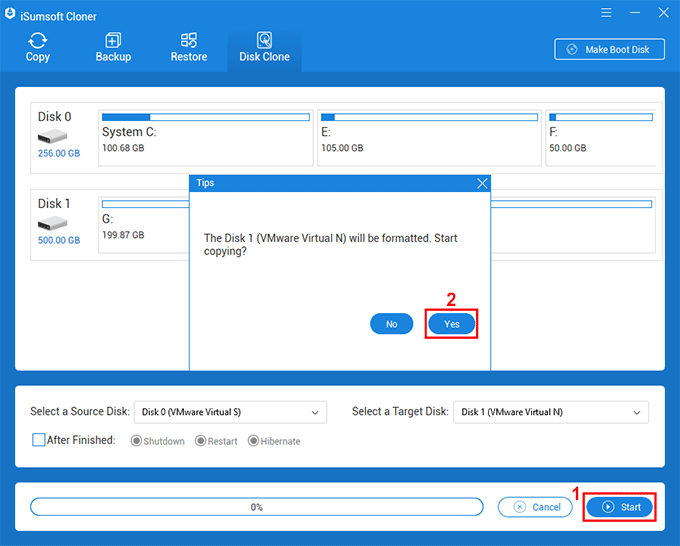
3. Click on the Start button in the lower right corner to start cloning. A Tips dialog pops up prompting you that the target hard drive will be overwritten, and asking if you are sure to start cloning. Click Yes to start cloning.
4. Wait for the cloning process to complete. This takes around 15 minutes, depending on the size of the content to be cloned. When the cloning is complete, you will receive a success prompt on the interface, as shown in the figure below.
This part introduces the Make Boot Disk function of iSumsoft Cloner, which allows you to clone your Windows OS, partition, or hard drive from a boot disk without logging in to the Windows desktop. Here are the steps.
1) Launch iSumsoft Cloner, connect a USB flash drive to the computer, and then click the Make Boot Disk button near the upper-right corner of the interface.
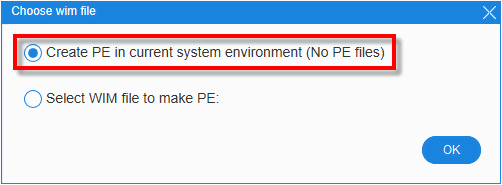
2) When the "Choose vim file" dialog opens, select the Create PE in current system environment option and click OK.
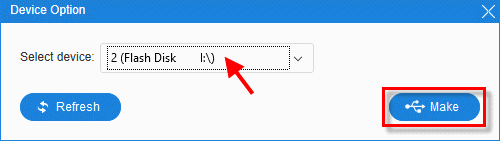
3) In the Device Option dialog, select your USB flash drive and then click on Make. A small dialog pops up, prompting you that the USB will be formatted and asking if you are sure you want to proceed. Click Yes and it will start making a WinPE boot disk.
4) Wait for the PE creation to complete. This takes only a few minutes. When the PE disk is created successfully, you will receive a success prompt on the interface, as shown in the figure below.
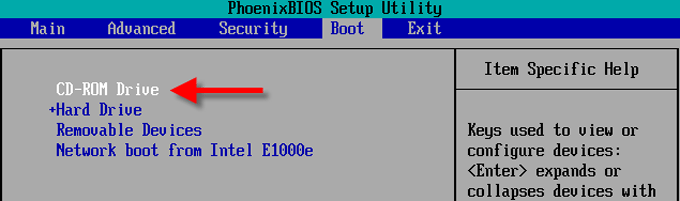
Shut down your computer, then turn it on again and enter the Boot Menu or BIOS/UEFI Setup to change the boot order to make your computer boot from the USB drive (WinPE boot disk).
After your computer successfully starts up from the boot disk, iSumsoft Cloner will display on your computer screen. You can then clone your hard drive, copy, backup and restore your Windows OS or data partition.
Tips: The above are three ways to clone Windows system or partition using iSumsoft Cloner. The cloned copy of the Windows OS or partition can work perfectly on the destination hard drive without any problem. Occasionally, but not necessarily, genuine Windows 10 becomes not activated after cloning it to a different hard drive. If that's the case, don't worry, just need to reactivate Windows 10.