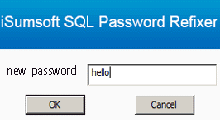
Windows Server 2008 R2 has a strict password policy that may not allow you to change your password as desired. However, you can modify the default password policy on Windows Server 2008 R2 to suit your needs. Here's a step-by-step guide.
To modify the local password policy, log on as an administrator and follow these steps:
Step 1: Click Start and select Run to open the Run dialog box. Type gpedit.msc and click OK to open the Local Group Policy Editor.
Step 2: Navigate to Computer Configuration -> Windows Settings -> Security Settings -> Account Policies -> Password Policy.
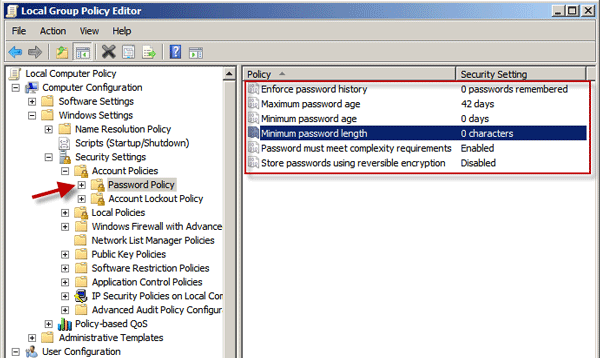
Step 3: Double-click the desired policy item and modify its settings. Click Apply to save the changes.
If your computer is part of a domain, you'll need to modify the password policy on the Domain Controller.
Step 1: Press Win + R to open the Run dialog box. Type gpmc.msc and press Enter to open the Group Policy Management Console.
Step 2: Expand the Domains folder to display your domain.
Step 3: Expand your domain, then expand the Group Policy Objects folder and select Default Domain Policy.
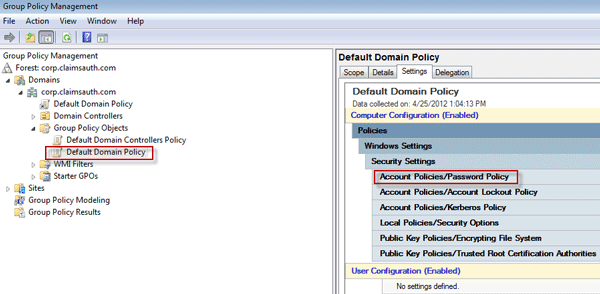
Step 4: Click the Settings tab in the right pane.
Step 5: Navigate to Windows Settings -> Security Settings -> Account Policies -> Password Policy.
Step 6: Right-click Password Policy and select Edit.
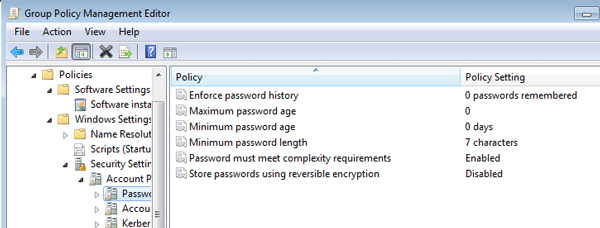
Step 7: In the Group Policy Management Editor, navigate to Computer Configuration -> Policies -> Windows Settings -> Security Settings -> Account Policies -> Password Policy.
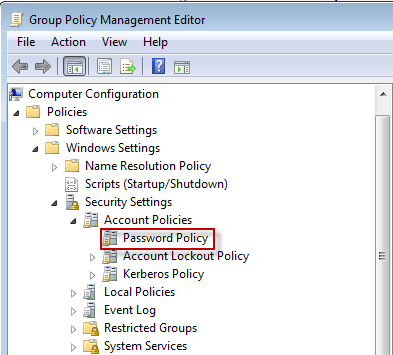
Step 8: Modify the password policy settings as needed in the right pane.
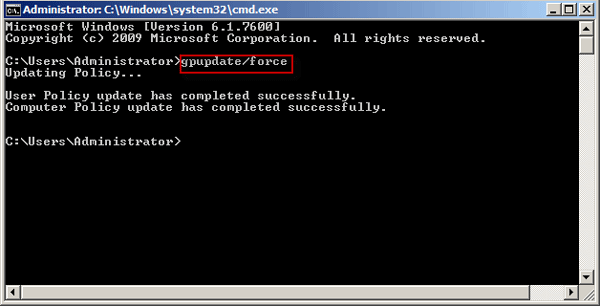
Step 9: After modifying the password policy, open the Run dialog box, type cmd, and press Enter to open Command Prompt. Run the command gpupdate /force to update the policy.