Learn how to change file name extensions in Windows 10 for one or multiple files with this comprehensive guide. Follow these simple steps to modify file extensions efficiently.
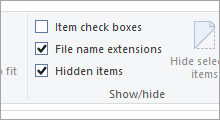
Step 1: Show file name extensions if they are not already visible.
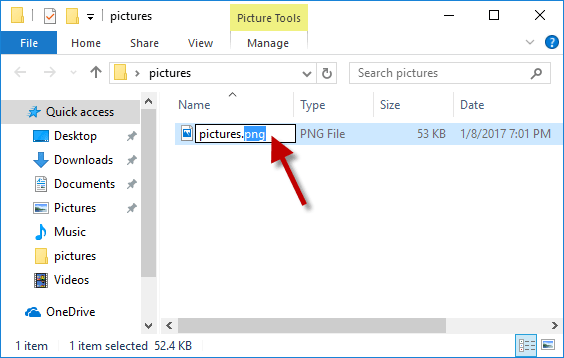
Step 2: Select the file you want to modify, and press F2 to make the filename and extension editable.
Step 3: Highlight the extension, type a new one, and press Enter to save the changes.
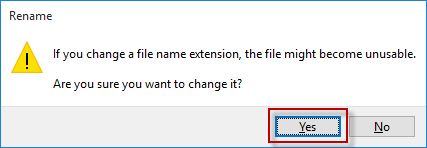
Step 4: When prompted with a warning about potentially making the file unusable, click Yes to confirm.
Changing file extensions one by one can be tedious. Use the Command Prompt to change multiple file extensions simultaneously.
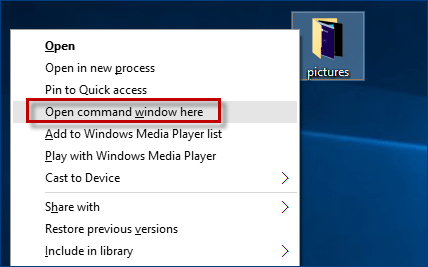
Step 1: Navigate to the folder containing your files. Right-click while holding the Shift key, and select Open command window here.
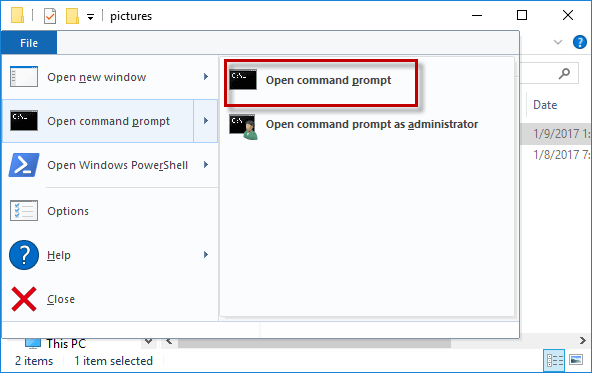
Alternatively, open the folder in File Explorer, click the File tab, and select Open command prompt.
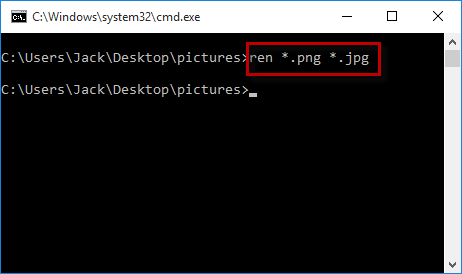
Step 2: In the Command Prompt, type: ren *.(current extension) *.(new extension), and press Enter.
For example, to change all .png files to .jpg, use: ren *.png *.jpg