Renaming files in Windows 10 is a straightforward task, but there are multiple methods to achieve this. While the conventional method involves right-clicking on a file and selecting 'Rename', there are alternative approaches. This guide explores three ways to rename a single file in Windows 10.
Renaming a file or folder in File Explorer is the most common approach. There are three methods to do this within File Explorer.
This method is less commonly used but is effective for renaming files.
Step 1: Open the folder containing the file you want to rename.
Step 2: Select the file, click on the File tab, hover over Open Command Prompt, and then click on it to open.

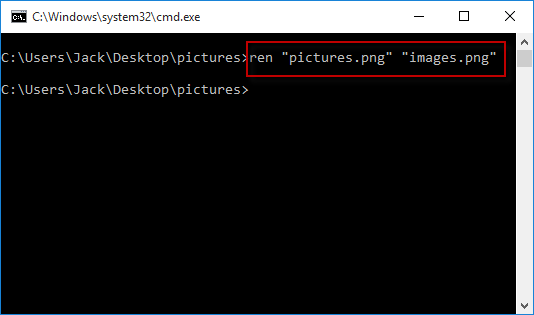
Step 3: In the Command Prompt window, type ren "current_filename.ext" "new_filename.ext" and press Enter. The .ext represents the file extension.
Step 1: Open the folder that contains the file you wish to rename.
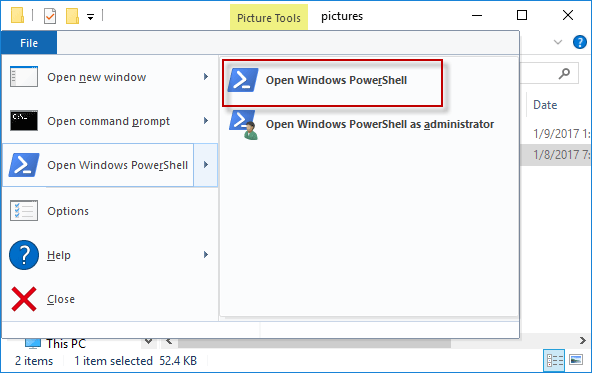
Step 2: Select the file, click on the File tab, hover over Open Windows PowerShell, and then click on it.
Step 3: In the Windows PowerShell window, type rename-item "current_filename.ext" "new_filename.ext" and press Enter.