Certain apps require camera access to function properly. These apps will request your permission before accessing your webcam and microphone. You can manage which apps have camera access and which are restricted in Windows 10. Here's a step-by-step guide on how to allow or block app access to the camera in Windows 10.
You can decide which apps and services can use your camera by adjusting the settings.
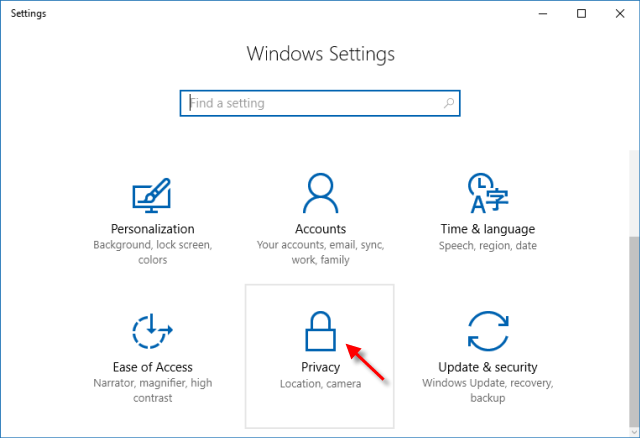
Step 1: Open the Start menu and navigate to Settings > Privacy.
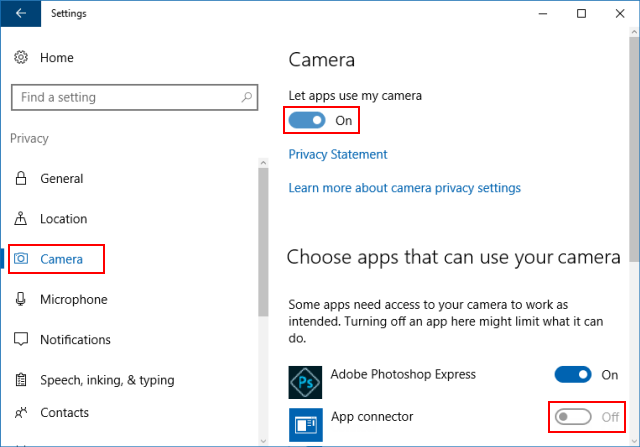
Step 2: Select the Camera tab and toggle Let apps use my camera at the top of the right pane. Under Choose apps that can use your camera, you can control individual app access to the camera.
You can control whether Windows apps can access the camera through the Group Policy Editor.
Step 1: Open the Local Group Policy Editor.
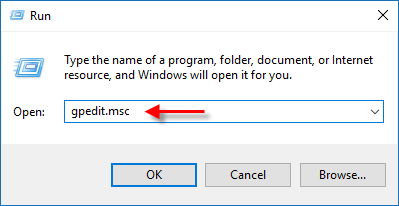
Press Win + R to open the Run dialog, type gpedit.msc, and press Enter.
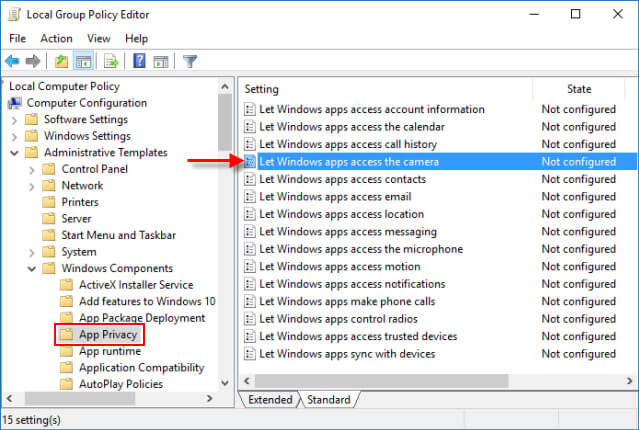
Step 2: Navigate to the following path in the Group Policy Editor:
Computer Configuration > Administrative Templates > Windows Components > App Privacy
Step 3: Double-click Let Windows apps access the camera in the right pane of App Privacy to edit the policy.
Step 4: To allow Windows apps to access the camera, select Enabled and then choose User is in control.
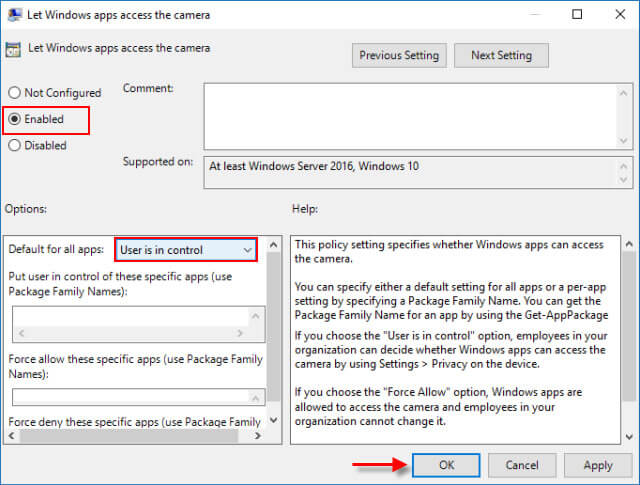
To block Windows apps from accessing the camera, select Disabled. This will prevent you from enabling Let apps use my camera in Settings.
In Windows 10, the camera is an integral part of your device, enabling features like Skype video calls, photography, and Windows Hello sign-in. Disabling Let apps use my camera is not recommended.