This guide will show you how to use iSumsoft BackupTo to back up your iPhone to your Windows computer. You need to first download and install the software on your computer and connect your iPhone you want to back up to your computer via a USB or USB-C cable. Then, launch the software, and it will detect your connected iPhone automatically, after which you can adhere to the instructions below.
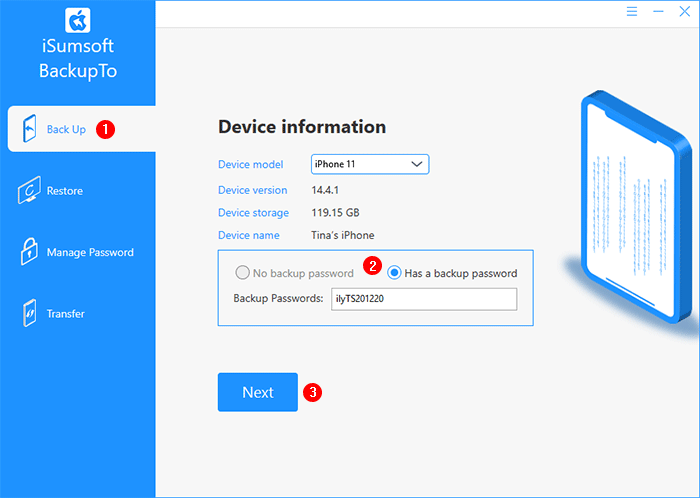
Step 1: Select the Back Up option on the left. For security reasons, the software will detect whether the iPhone has a backup with a password on this computer.
If the iPhone has no backup with a password, click Next. Otherwise, if the iPhone has a backup with a password, you need to enter your correct password before continuing.
Step 2: Now you can choose to back up the entire iPhone or only specific files, and choose where to save the backup.
If you want to back up your entire iPhone, select the "All Backups" tab. This will back up all user data on the iPhone, including apps, photos, messages, call records, system settings, etc.
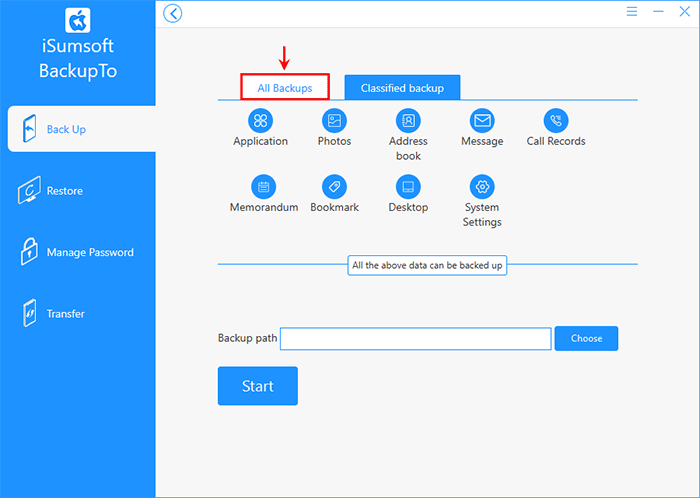
If you want to back up only the specific files, select the "Classified backup" tab, and then check the file types you want to back up.
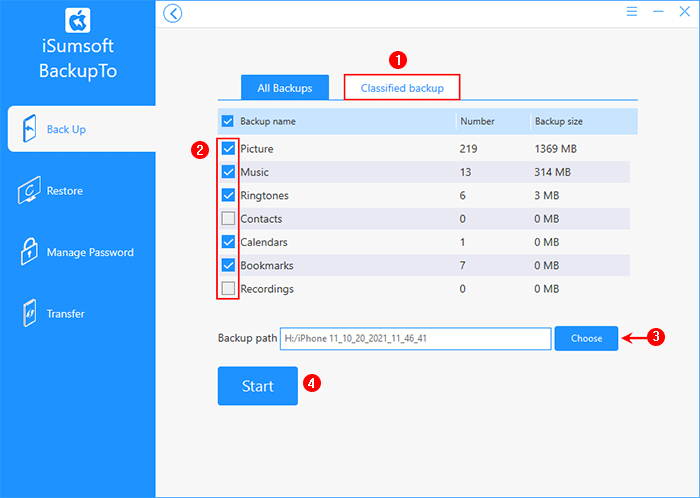
After selecting the backup method, click the Choose button to choose the location where you want to save the backup, and then click the Start button to start the backup.
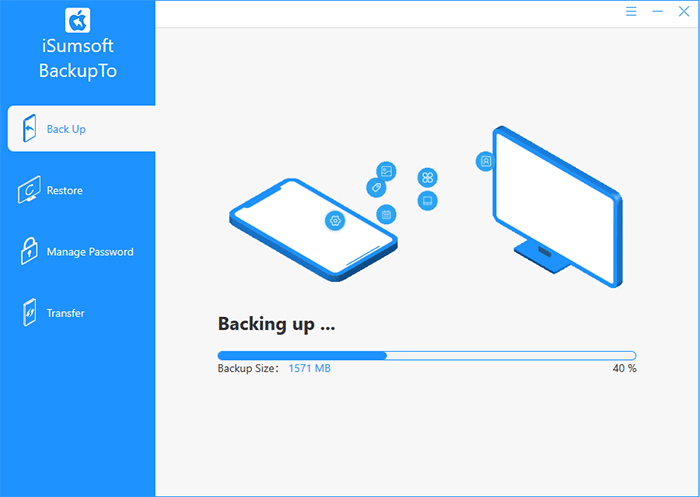
Step 3: The rest is to wait for the backup to complete. This will take a few minutes, depending on the amount of data to back up.
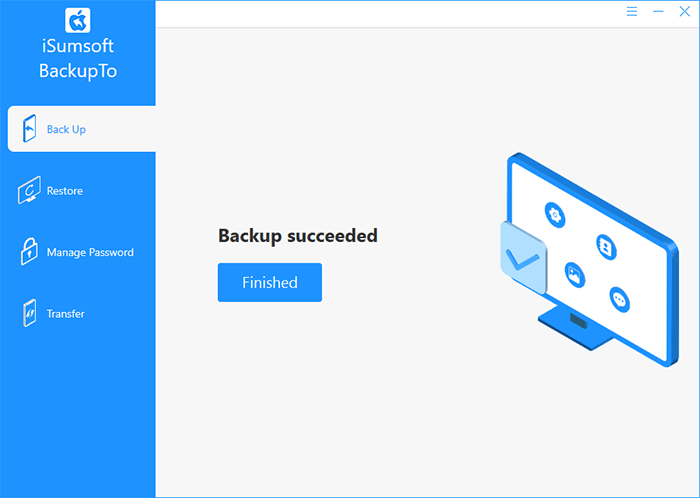
Step 4: When the backup is successful, click Finished, and then you can go to the destination location to view the backup files.
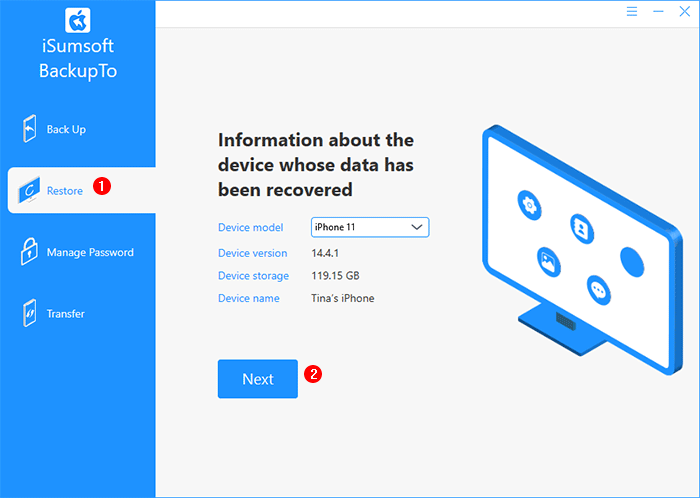
Step 1: Make sure your iPhone is connected to the computer. Select the Restore option on the left of the software interface, and then click Next.
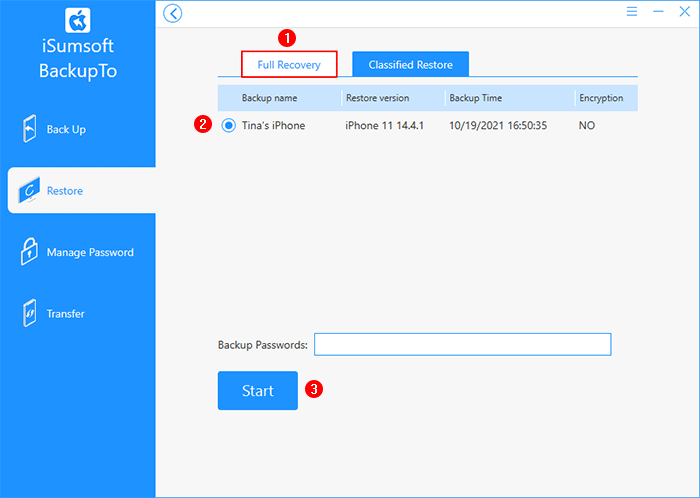
Step 2: Select Full Recovery or Classified Restore, depending on which backup you want to restore your iPhone from. Check the backup name, and then click Start to start restoring the backup data to your iPhone.
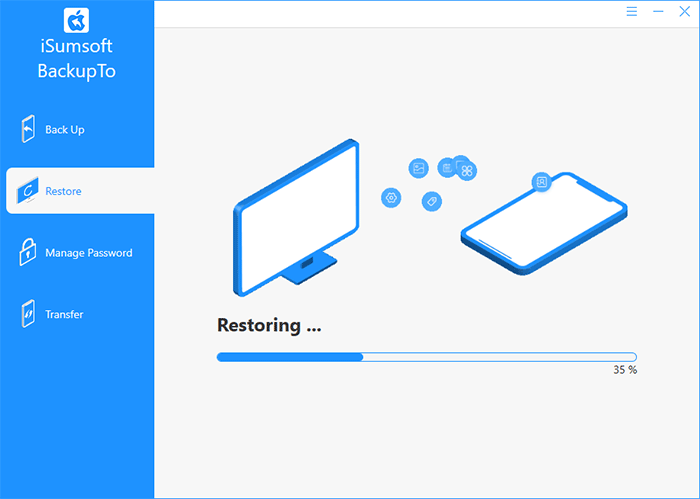
Step 3: Wait for the backup restore to complete. If you selected Full Recovery, it will restart iPhone to restore the backup.
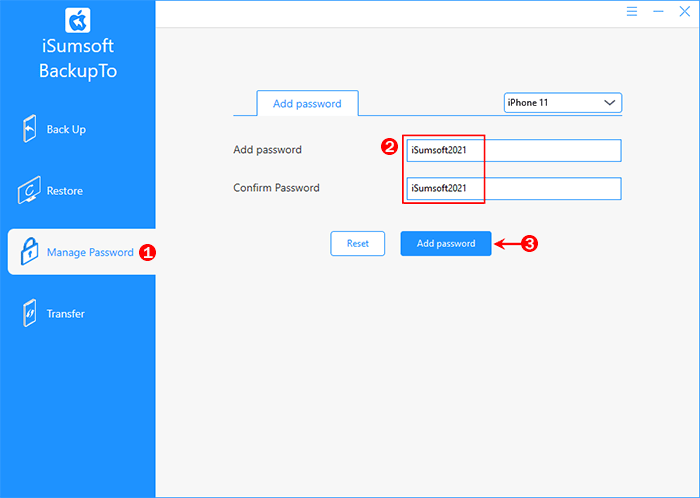
Step 1: Select the "Manage Password" option on the left. If your iPhone backup does not currently have a password, you can add a password for it. Just enter the password you want and click the Add password.
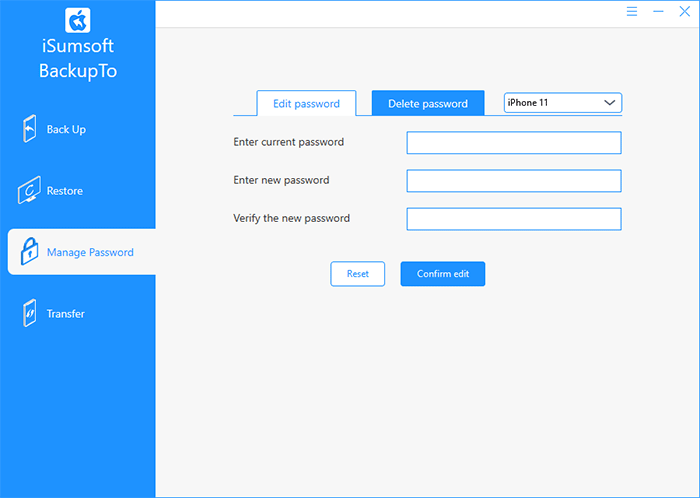
Step 2: If your iPhone backup currently has a password, you can change or delete the password if you want.
If you want to transfer data from an iPhone to another, connect both iPhones to your computer, and then follow these steps.
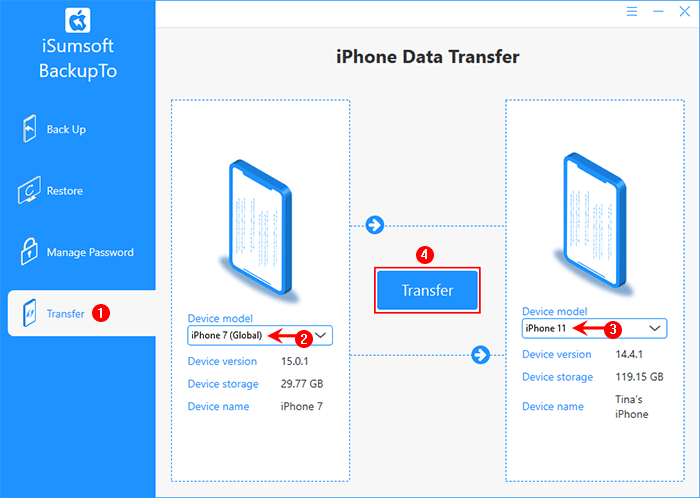
Step 1: Select the Transfer option on the left. Select the iPhone you want to transfer data from in the rectangular box on the left, select another iPhone you want to transfer data to in the rectangular box on the right, and then click the Transfer button in the middle.
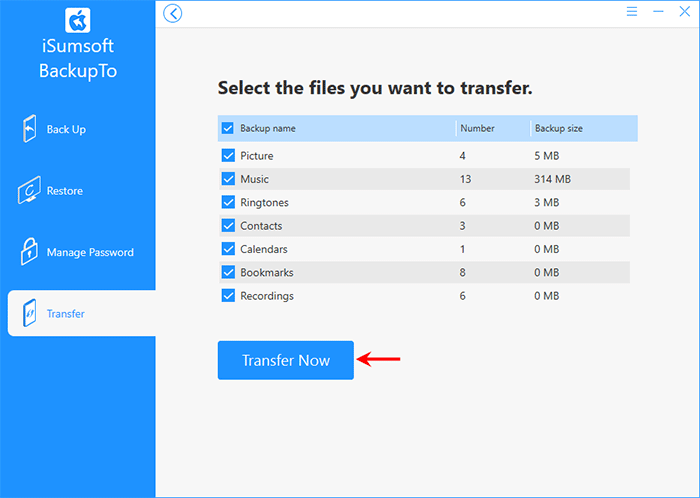
Step 2: The software will quickly load files from the first iPhone and display them on the interface. Check all file types you want to transfer to the second iPhone, and then click Transfer Now.
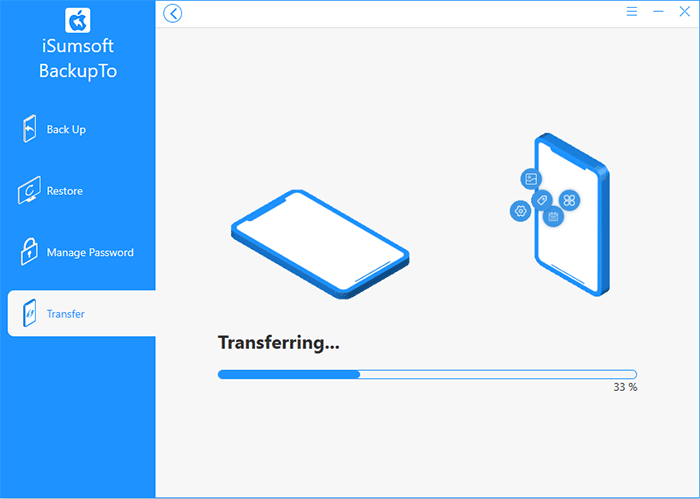
Step 3: Wait for the data transfer to complete. Do not disconnect both iPhones until the transfer is complete.
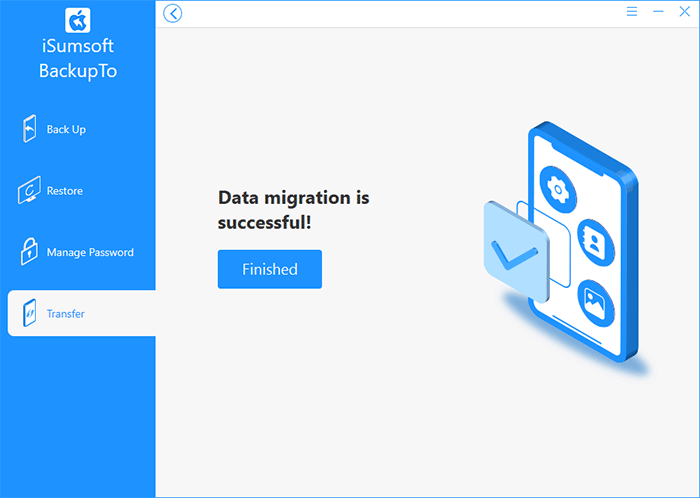
Step 4: When the software prompts that the data migration is successful, you're done.