iCloud Music Library stores all the music in iCloud, you can access your entire music collection from all of your devices. This tutorial will show you how to enable and disable iCloud Music Library on iOS device.
iCloud Music Library may give you copies of your songs in the cloud, before turning on iCloud Music Library, you'd better back up all of your music on your primary computer (or external hard drive).
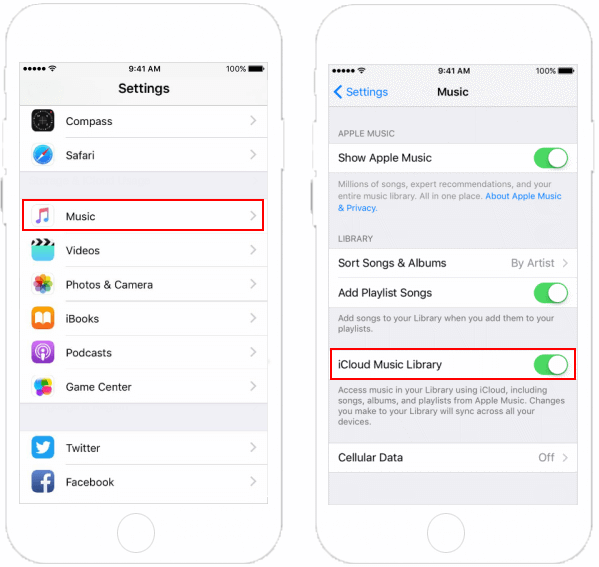
To Enable iCloud Music Library on iPhone/iPad:
Step 1: Go to Settings > Music.
Step 2: Tap iCloud Music Library to turn it on.
If you worry about that iCloud will mess up, or you don't want to save songs offline from Apple Music, you can turn iCloud Music Library off.

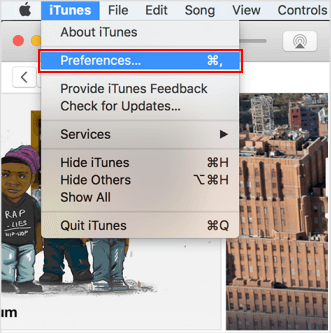
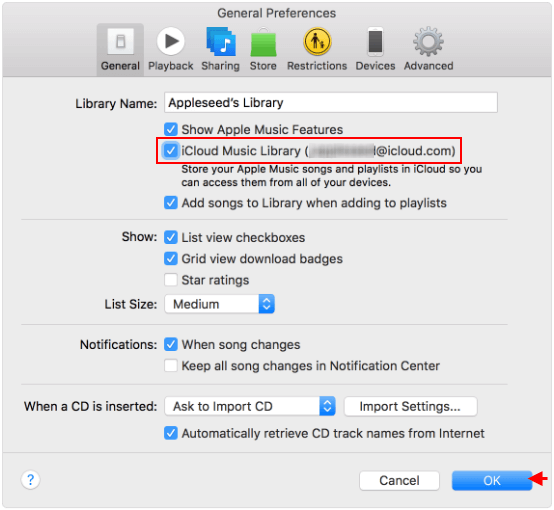
Step 1: Open iTunes Preferences.
On Mac, go from the menu bar at the top of your computer screen, choose iTunes > Preferences.
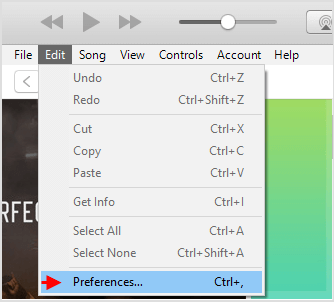
On PC, from the menu bar at the top of the iTunes window, choose Edit > Preferences.
Step 2: Select iCloud Music Library to turn it on.
Tips: If you disable iCloud Music Library, all Apple Music songs on your device will be deleted.
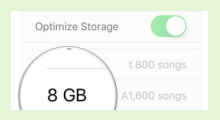
The downloaded music often takes up some storage, when your iPhone/iPad are low in space, you can enable Optimize Storage to tell iOS to automatically remove that music you rarely play.