This is a guide on how to set File Explorer to launch File Explorer to open This PC instead of Quick Access by default for your user account in Windows 10.
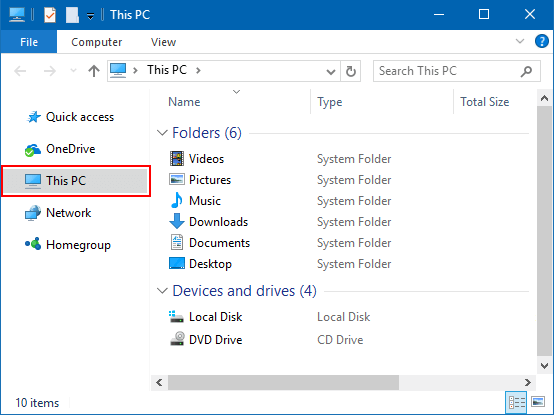
This PC displays your Desktop, Documents, Downloads, Pictures, Music and Videos folders in addition to the usual devices and drives.
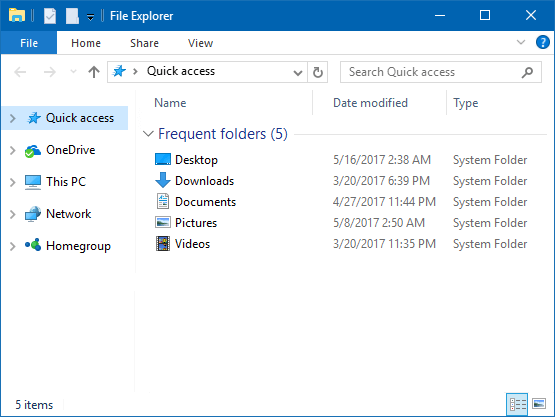
In Windows 10, File Explorer opens to Quick access by default which shows your Frequent folders and Recent files. To set File Explorer to open This PC instead of Quick Access in Folder Options, here's how:
Step 1: Open File Explorer by pressing Win+E on the keyboard.
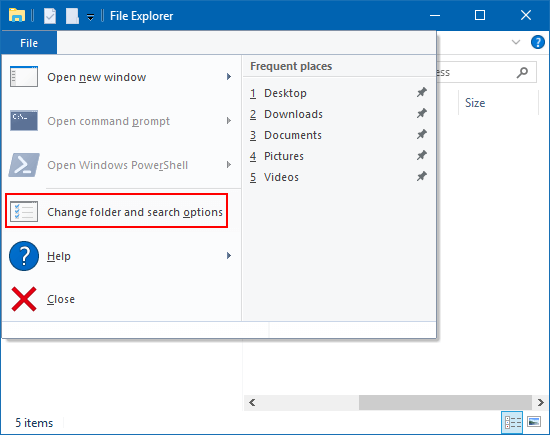
Step 2: In File Explorer Ribbon, click the File > Change folder and search options.
Step 3: In the General tab, select This PC in the Open File Explorer to drop menu, and click on OK.

To launch File Explorer to open This PC instead of Quick Access by modifying the DWORD value below in the registry key, here's how:
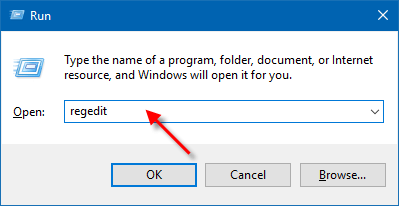
Step 1: Open Registry Editor.
Press Win+E to bring up Run, type regedit, then hit Enter key.
Step 2: In Registry Editor, navigate to the following path:
HKEY_CURRENT_USER\Software\Microsoft\Windows\CurrentVersion\Explorer\Advanced
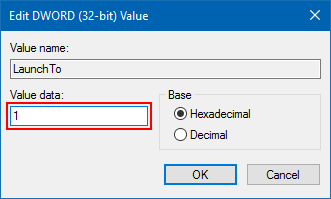
In the right pane of Advanced key, double-click on LaunchTo to modify its value data.
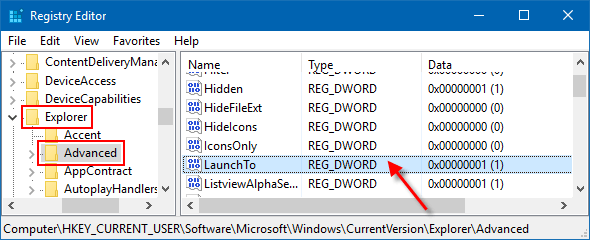
Then change LaunchTo DWORD for what you would like:
1 = This PC
2 = Quick access
3 = Downloads