
If you're tired of manually entering a password to unlock your BitLocker encrypted drive, then turning on the auto-unlock feature should be a good idea. When the BitLocker drive has auto-unlock enabled, it will always unlock automatically without you entering a password or key. Now, this article describes three simple ways to enable or disable auto-unlock for a BitLocker drive in Windows 10/8/7.
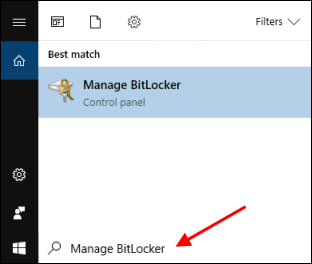
Click on the Start Menu. In the search box, type "Manage BitLocker", then hit Enter to open the Manage BitLocker windows.
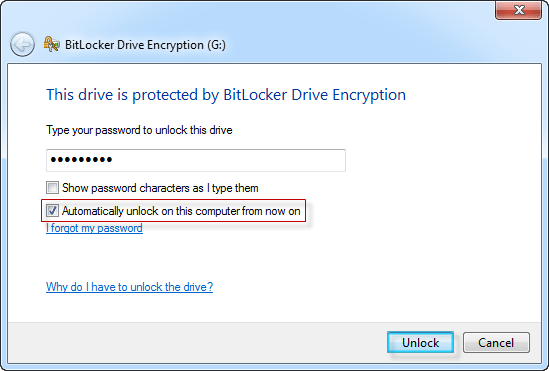
To set a BitLocker-protected drive to unlock automatically in a computer that is running in Windows 7, check Automatically unlock this drive on this computer box after typing your password to unlock that drive.
If you are using Windows 10, locate to the drive on which you want to enable auto-unlock, and then click Turn on auto-unlock.
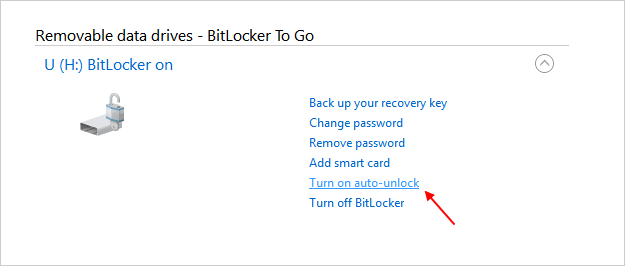
Return to the Manage BitLocker window to Turn off auto-unlock if you change your mind.
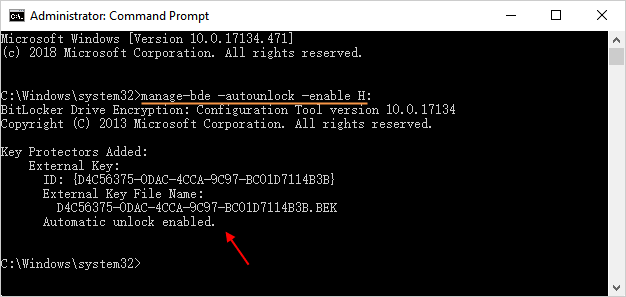
Step 1: Open Command Prompt as an Administrator.
Step 2: You can enable Auto-unlock protector using the following command, replace H with your drive letter.
manage-bde -autounlock -enable H:
You can disable Auto-unlock protector using: manage-bde -autounlock –disable H:
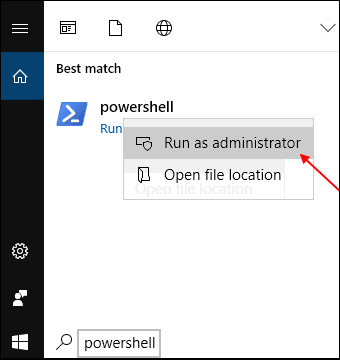
Step 1: Click on the Start Menu. In the search box, type "PowerShell", and right-click it in the result list and select to run PowerShell as administrator.
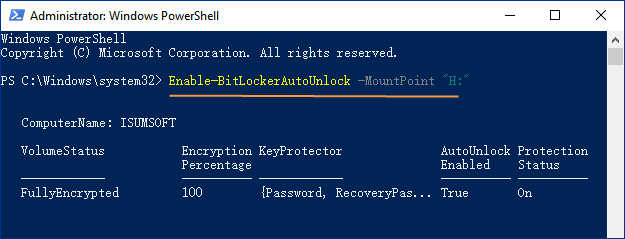
Step 2: You can enable auto-unlock, run the following command and press Enter. Replace H with your drive letter.
Enable-BitLockerAutoUnlock -MountPoint "H:"
To disable auto-unlock, run the following command and press Enter.
Disable-BitLockerAutoUnlock -MountPoint "H:"
 How to Access/Read BitLocker Protected USB Drive on Mac
 How to Turn off or Disable BitLocker Encryption in Windows 10
 Unlock a BitLocker Encrypted USB Drive without Password
 Unlock a BitLocker-encrypted USB Drive on Mac
 How to Encrypt and Decrypt Files/Folders in Windows 10
 How to Encrypt Hard Drive in Windows 10 by Using BitLocker