iSumsoft iOS Refixer homes 4 main features, incorporating System Repair, Upgrade &
Downgrade iOS version, iTunes Repair, and Apple USB Driver Repair.
If you have problems with your iOS system, such as getting stuck in recovery mode, Apple logo, white
screen, black screen, etc., allowing you to fix various iOS issues and get your device back to normal.
Additionally, it empowers you to repair 200+ iTunes errors like error 10, error 200, etc.
Now, this page shows you how to use iOS Refixer with step-by-step tutorial.
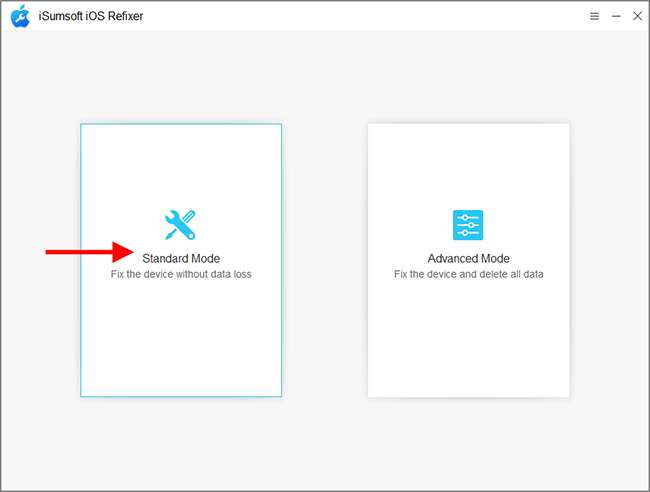
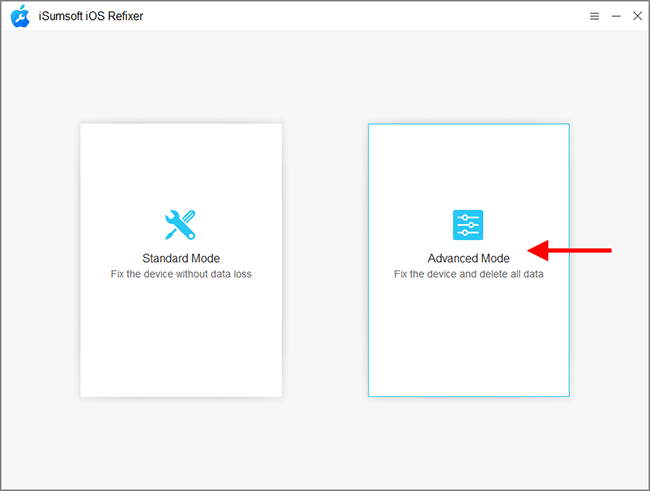
When it comes to repairing your iOS device, iSumsoft iOS Refixer offers you two repair modes: Standard Mode and Advanced Mode. Each mode is designed for specific scenarios, ensuring that you have the ideal solution at your disposal.
In Standard Mode, iSumsoft iOS Refixer allows you to fix common problems without the risk of data loss. This mode is perfect for solving usual issues such as getting stuck in recovery mode, flashing the Apple logo, facing white or black screens, and other similar issues. With Standard Mode, you can restore the functionality of your device and get it back to normal in no time.
1. Select System Repair.

2. Choose Standard Mode.
3. On the next page, click Start to proceed.

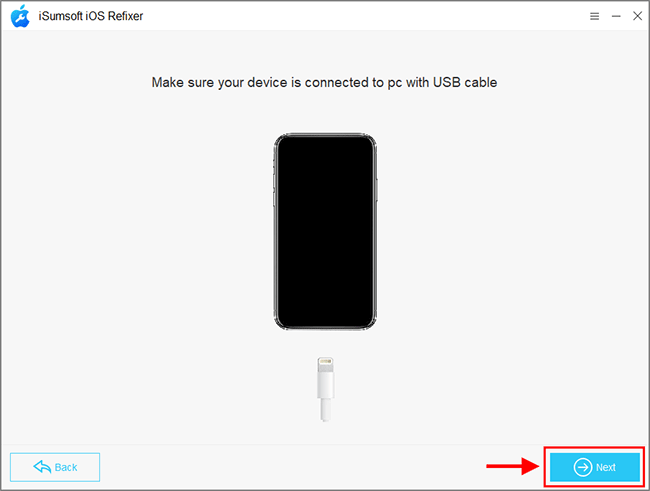
4. Make sure your iOS device is connected to the computer and click Next. The software will recognize your iOS device and load its information.
5. Click Download to download the firmware package required to repair the iOS system. The download will start automatically and complete in a few minutes.

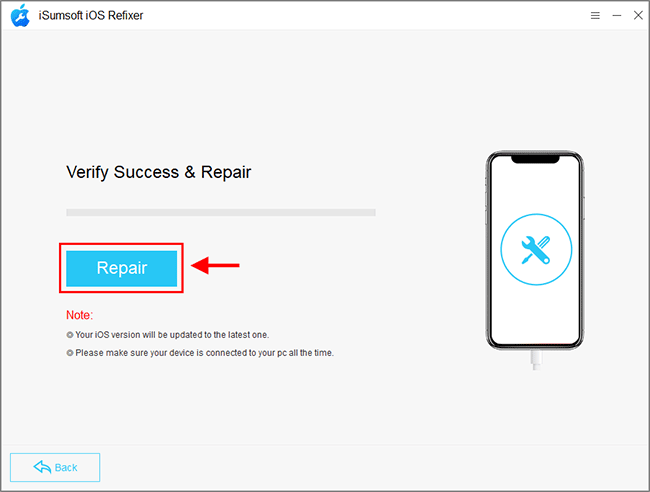
6. Click Repair to start repairing the iOS system.
7. Wait for the repair process to complete. It will take a few minutes.

8. The iOS system is repaired successfully. You can then get into your iOS without any problems. All your personal data and settings are preserved.

For more complex and unusual issues, Advanced Mode is recommended. Though Advanced Mode may involve data loss, it provides a comprehensive solution to tackle even the most complicated iOS problems. It is particularly useful when dealing with severe software glitches, persistent crashes, or issues that cannot be resolved through Standard Mode alone.
Step 1: Select System Repair task, and then choose Advanced Mode.
Step 2: The remaining steps are basically the same as those in Option 1. What you
need
to do is:
* Click Start.
* Connect your iOS device to the computer and click Next.
* Click Download to download the firmware package.
* Click Repair.
* Wait for the repair to complete.
4. Once the iOS system is repaired successfully, it will boot and run normally without any problems, and then you can reset it.
iOS Refixer gives you much easier access to upgrading or downgrading your iOS/iPadOS/tvOS to any available version, including the latest Beta version, without using iTunes or registering for a developer account.
1. Select iOS Upgrade/Downgrade on the home page.

2. Select Upgrade iOS or Downgrade iOS.

3. Click Next if your device is successfully connected to your computer using a USB cable.
4. The software will check your device information automatically and display it on the interface. Click the drop-down button next to the firmware version and choose a version you would like to upgrade or downgrade. Then press Download to proceed.

5. When the download is complete, click Start to install the firmware and your device will automatically enter recovery mode. This section will take approximately 10-20 minutes.

6. When the message "Upgrade Successfully" or "Downgrade Successfully" appears on the interface, click Done to close the window, and your device will restart.

If you encounter unexpected iTunes code errors while using iTunes - related to downloads, updates, installations, backups, etc. - the iTunes Repair feature may be a way out. It provides you with two solutions to repair iTunes: Repair iTunes Errors and Repair iTunes Connection Issues.
If you encounter iTunes errors that prevent the software from running smoothly, the Repair iTunes Errors option resolves various iTunes code errors and helps you out. Whether the error code is related to synchronization, library management, or any other error code, this option effectively resolves it and restores iTunes to its optimal state.
Step 1: Select iTunes Repair.

Step 2: Select Repair iTunes Errors.

Step 3: iTunes is checking its components. Then click Repair to start repairing iTunes.

Step 4: You will see a prompt message once the iTunes is repaired successfully.

If you encounter difficulties establishing a stable connection between iTunes and iPhone/iPad/iPod, the Repair iTunes Connection Issues option becomes invaluable. It addresses connection problems that may arise due to faulty settings, network issues, or other factors.
Step 1: After selecting iTunes Repair, choose Repair iTunes Connection Issues.

Step 2: Connect your device to the computer and unlock it, then click Start to continue.

Step 3: The issue is being fixed.

Step 4: Now the process is completed.

If you are having trouble establishing a stable connection between iTunes and your iPhone/iPad/iPod, including iTunes not recognizing your device and iTunes not being able to read your device's contents, the Fix iTunes Connection Issues option serves as a lifesaver.
Step 1: Select Apple USB Driver Repair.

Step 2: Click Start to proceed.

Step 3: The program is repairing Apple Driver.
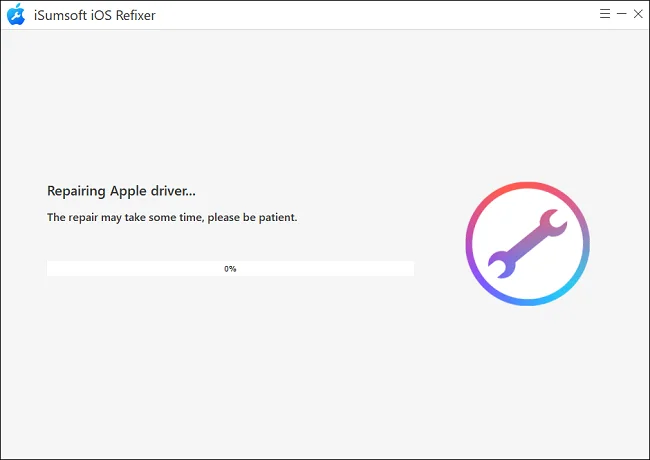
Step 4: The process is complete and you must reconnect your device to your computer for it to take effect.